⚠️ Affiliate Disclosure: This post contains Amazon affiliate links. If you purchase through our links, we may earn a small commission at no extra cost to you. We only recommend hardware we have researched and verified against live listings. Prices change constantly, so we deliberately don’t list them here. Tap through and confirm the current price on Amazon before buying.
Ultimate Buying Guide 2026
🏠 Best Home Assistant Hardware Kits
8 complete Home Assistant systems ranked for a fast, fully local smart home, from the official plug-and-play Green hub to fanless x86 servers, NAS boxes with room for weeks of camera footage, and budget Raspberry Pi builds.
✅ 8 Systems Reviewed
✅ Verified Amazon Listings
✅ Updated August 2026
✅ Honest Pros & Cons
Home Assistant is the open-source smart home platform that runs entirely on your own hardware. Nothing leaves your network, nothing stops working when a vendor shuts down a cloud service, and every device (Zigbee bulbs, Z-Wave locks, Matter plugs, ESP32 sensors you built yourself) lands in one dashboard with one automation engine behind it. That local-first promise is exactly why it has become the default choice for makers, engineers and privacy-minded homeowners.
But Home Assistant is software, and software needs a machine to live on. The box you choose decides how fast your dashboard loads, how many add-ons you can stack, whether you can run Frigate camera detection or a local voice pipeline, and how much of your weekend disappears into setup. This guide ranks 8 complete Home Assistant systems: official hubs, x86 mini PCs, fanless single-board servers, NAS-class boxes and Raspberry Pi kits, on the specs that actually matter for a machine that has to stay up 24/7.
💡 Reality check before you buy: Budget for a radio dongle. None of the systems below except Home Assistant Yellow has a Zigbee, Thread or Z-Wave radio inside, so almost every real setup ends up as a controller plus one or two cheap USB sticks. Factor that in before you compare prices. Second: SD cards die. Home Assistant hammers its database with writes, so any microSD-booting Pi build should get an SSD or NVMe drive within a few months. Third, be realistic about add-ons. Core Home Assistant is light, but Frigate object detection and local speech-to-text are not, and they are the reason most people outgrow their first hub. Buy for the setup you’ll have in a year, not the one you’ll have on day one.
🏠 Quick Comparison — All 8 Home Assistant Systems
| System | Type | Processor | RAM / Storage | Best For | Buy |
|---|
| 🥇 Home Assistant Green | Official hub | Quad-core ARM Cortex-A55 | 4GB · 32GB eMMC | Best Overall | Buy → |
| 🏅 Beelink Mini S12 Pro | x86 mini PC | Intel N100 · 4C/4T · 3.4GHz | 16GB · 500GB NVMe | Best Performance | Buy → |
| 🍓 Raspberry Pi 5 Starter Kit | SBC kit | BCM2712 quad A76 · 2.4GHz | 8GB · microSD | Best DIY Build | Buy → |
| 📹 Beelink ME mini | NAS mini PC | Intel N150 quad-core | 12GB · 64GB eMMC + 6× M.2 | Best for Cameras | Buy → |
| 🧊 ZimaBoard 2 832 | Fanless x86 SBC | Intel N150 quad-core | 8GB LPDDR5 · 32GB eMMC | Best Silent x86 | Buy → |
| 🔵 ODROID-N2+ | ARM SBC | Amlogic S922X hexa-core | 4GB · eMMC module slot | Best Low-Cost Appliance | Buy → |
| 💵 CanaKit Raspberry Pi 4 Kit | SBC kit | BCM2711 quad A72 · 1.5GHz | 4GB · card not included | Best Budget Entry | Buy → |
| 🎙️ HA Voice Preview Edition | Official voice satellite | ESP32-S3 · XMOS DSP | Dual mic array + speaker | Best Local Voice | Buy → |
We deliberately omit prices. Amazon listings for smart home hardware are volatile and frequently sold by third-party resellers above MSRP, so tap “Buy” to check the live price and seller before you order.
🔍 What to Look for in a Home Assistant System
⚡
CPU Headroom
Core Home Assistant runs happily on a Pi 4. What kills performance is what you bolt on: Frigate object detection, Whisper speech-to-text, Piper TTS, InfluxDB and Grafana. If any of those are in your plan, go x86 with an N100 or N150 CPU rather than ARM.
💾
Storage Type & Capacity
Home Assistant writes to its recorder database constantly, so microSD will corrupt eventually. eMMC is far more robust, NVMe better still. If you plan to record cameras, capacity matters too: continuous 24/7 footage eats terabytes.
📡
USB Ports for Radios
Zigbee, Thread and Z-Wave each need their own USB radio, and you’ll want them on extension cables away from the host. Count the free USB ports before you buy, and prefer a machine with USB 2.0 ports available for the dongles.
🔌
Power, Noise & Uptime
This machine runs 24/7 and your lights depend on it. Low idle draw keeps running costs trivial, fanless designs keep it silent enough for a living room, and wired Ethernet plus a small UPS keeps it up when Wi-Fi or mains power wobbles.
🧰
Setup Effort
Be honest about your weekend. The Green boots straight into onboarding. A Pi or ODROID needs imaging and assembly. An x86 box means installing Home Assistant OS bare-metal or under Proxmox. All routes end in the same place; the difference is how much of the journey you enjoy.
🏆 Detailed Reviews — All 8 Home Assistant Systems
🥇 BEST OVERALL
Home Assistant Green
⭐ 4.8/5 · The Official Plug-and-Play Hub
Buy on Amazon →

The Home Assistant Green is the box the Home Assistant team built so that nobody has to flash an SD card again. It arrives with Home Assistant OS already on its 32GB eMMC: plug in Ethernet and USB-C power, open homeassistant.local:8123, and you’re onboarding in under five minutes. There’s no fan, it idles around 3W, and because it’s official hardware, OS updates and support are first-class. For the overwhelming majority of people, this is where the journey should start.
✅ Pros- Genuinely zero-config setup
- Robust eMMC, no SD card to corrupt
- Silent, fanless, ~3W idle
- Official hardware, first-class updates
❌ Cons- No Zigbee, Thread or Z-Wave radio built in
- Not enough CPU for Frigate or local LLMs
- Storage is not user-upgradable
- Often marked up by resellers on Amazon
🎯 Verdict: The best default choice. Add a cheap Zigbee stick and you have a complete, fully local smart home hub with almost no setup friction.
👉 Check Price on Amazon →
🏅 BEST PERFORMANCE
Beelink Mini S12 Pro (N100)
⭐ 4.7/5 · The Power User’s Home Server
Intel N100
4C/4T · 3.4 GHz

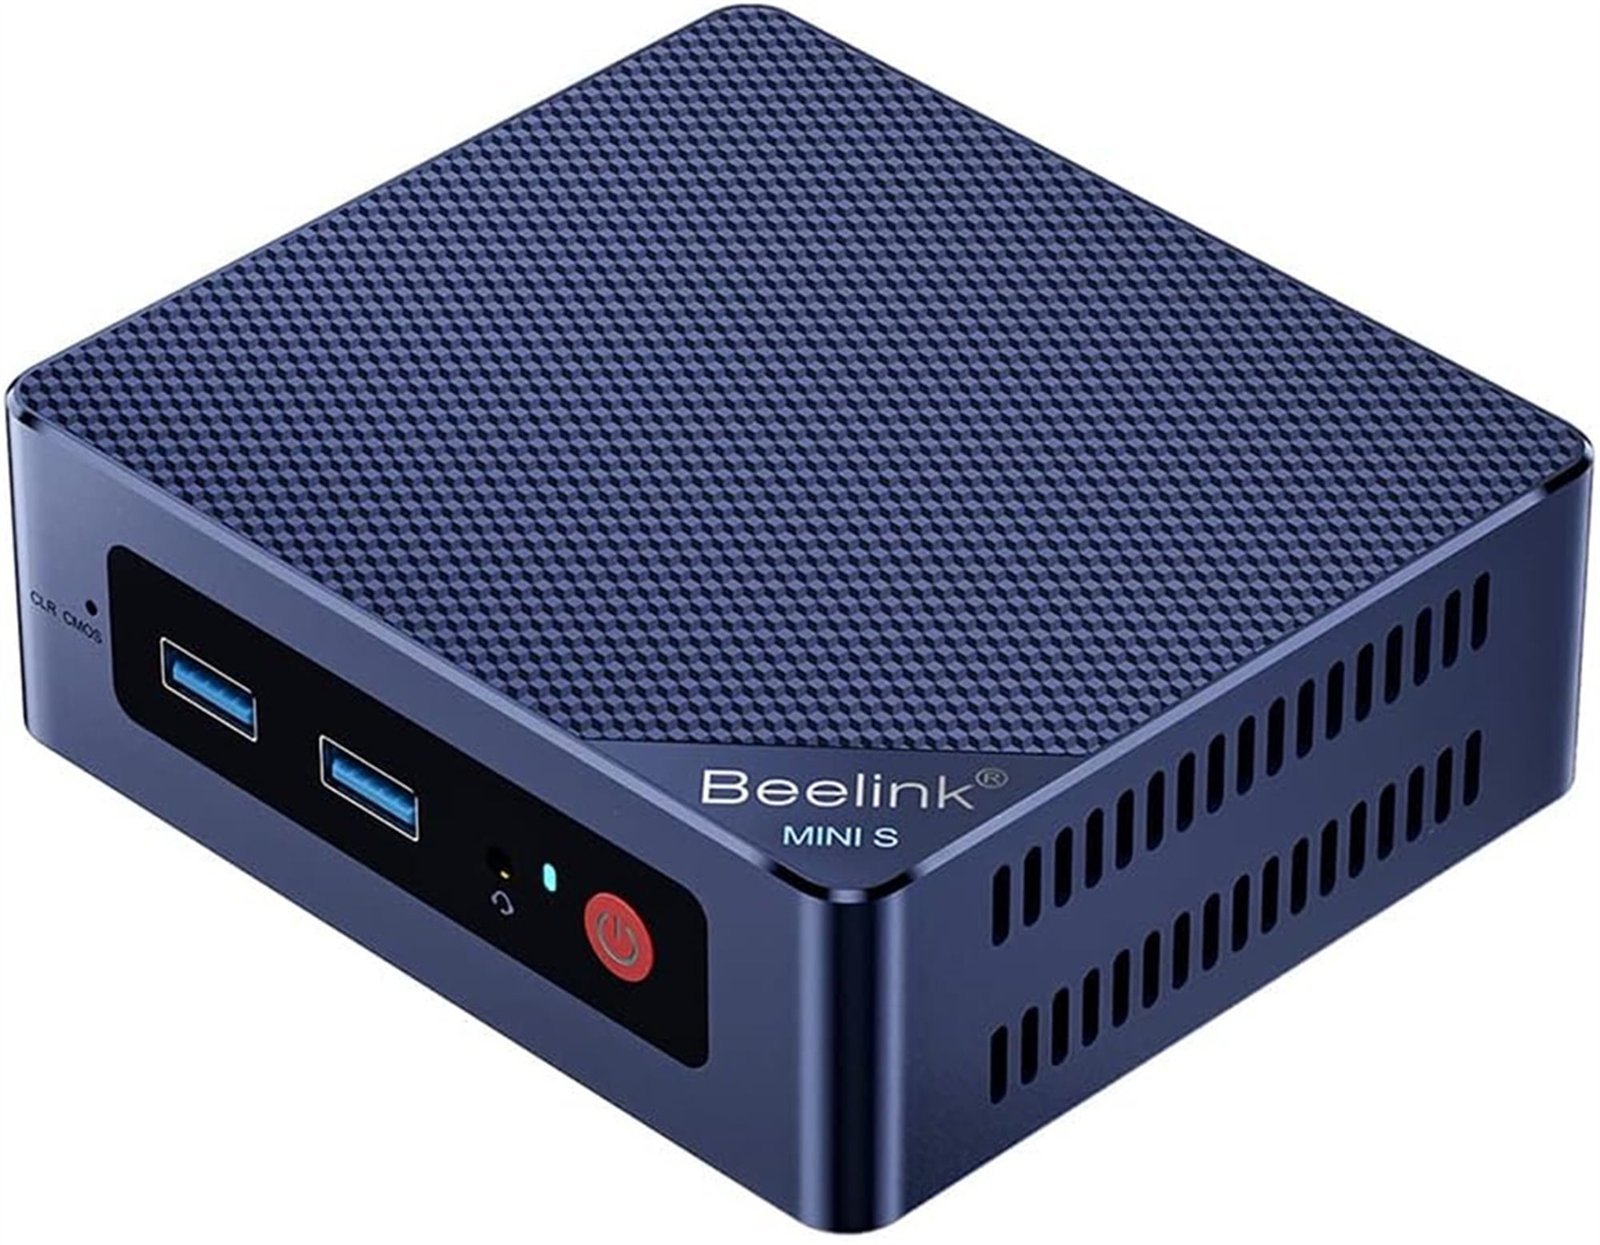
The Beelink Mini S12 Pro has quietly become the Home Assistant community’s favourite mini PC, and the reason is the Intel N100. It sips roughly 6–15W, yet its Quick Sync video engine chews through Frigate camera streams that would melt a Raspberry Pi, and 16GB of RAM leaves room for Whisper, Piper, InfluxDB, Grafana, Zigbee2MQTT and a dozen add-ons at once. Most people install Proxmox and run Home Assistant OS as a VM, which makes snapshots and rollbacks trivial. It’s the box you buy when you know you’ll keep adding things.
✅ Pros- Handles Frigate NVR and local voice easily
- Fast NVMe storage, no SD-card risk
- Runs Proxmox for VM snapshots
- 2.5GbE and plenty of USB ports for dongles
❌ Cons- You install the OS yourself
- Small fan is audible in a silent room
- Sits well above the Green in price
- Configuration varies by seller, check RAM/SSD
🎯 Verdict: The best Home Assistant server if you want camera AI, local voice and room to grow. Above the entry-level price bracket, and worth every cent if you’ll use it.
👉 Check Price on Amazon →
🍓 BEST DIY BUILD · ⭐ 4.6/53. Raspberry Pi 5 Starter Kit (8GB)
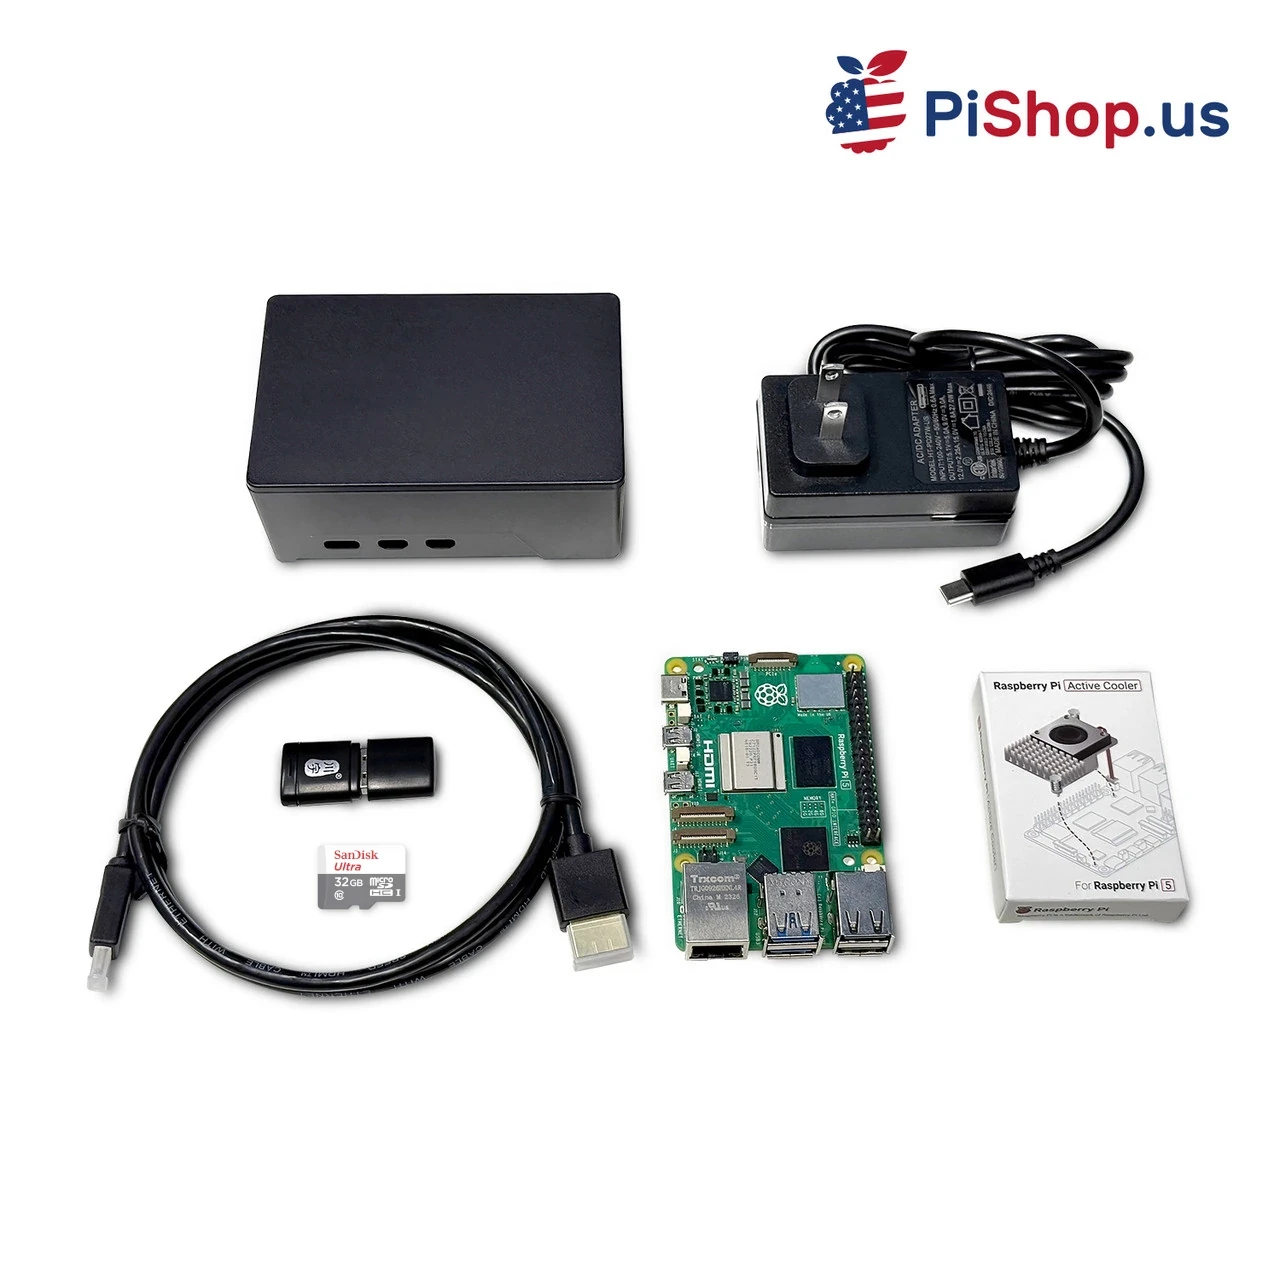
BCM2712 quad Cortex-A76 @ 2.4GHz · 8GB LPDDR4X · case + active cooler + 27W PSU + preloaded SD card
Buy →

The Raspberry Pi 5 is roughly two to three times faster than the Pi 4 that carried Home Assistant for years, and a complete starter kit saves you sourcing the official 27W USB-C supply, an active-cooled case and boot media separately. It’s the route to take if you want to understand your system: a familiar Linux underneath, a GPIO header for hardware experiments, and an enormous body of tutorials behind every problem you’ll hit. Add an NVMe HAT or a USB SSD within the first few months and the SD-card corruption problem disappears entirely.
✅ Pros: Everything in one box; huge community; GPIO for DIY hardware; PCIe/NVMe upgrade path.
❌ Cons: SD boot is a ticking clock; needs assembly and imaging; no Quick Sync for camera AI.
🎯 Verdict: The best kit for makers who want to learn the stack, not just use it. Budget for SSD boot from day one.
📹 BEST FOR CAMERAS & STORAGE · ⭐ 4.6/54. Beelink ME mini (N150 NAS)
Intel N150 · 12GB LPDDR5 · 64GB eMMC · 6× M.2 PCIe 3.0 slots (up to 24TB) · dual 2.5G LAN · Wi-Fi 6
Buy →

Camera recording is where most Home Assistant servers run out of room, and the Beelink ME mini solves that in the most direct way possible: six M.2 NVMe slots in a machine the size of a tissue box, for up to 24TB of storage. The N150 has the same Quick Sync engine that makes Frigate practical, 12GB of LPDDR5 handles the add-on stack, and dual 2.5G LAN means camera traffic and your dashboard don’t fight for bandwidth. Run Proxmox with Home Assistant OS in a VM and your NAS in another, and one small box covers both jobs.
✅ Pros: Six NVMe slots for weeks of footage; Quick Sync for Frigate; dual 2.5GbE; internal PSU.
❌ Cons: SSDs are extra and add up fast; RAM is soldered; overkill without cameras or a NAS role.
🎯 Verdict: The best pick if Frigate and camera storage are the point. One box replaces both your hub and your NAS.
🧊 BEST SILENT x86 · ⭐ 4.4/55. ZimaBoard 2 832
Intel N150 quad-core · 8GB LPDDR5 · 32GB eMMC · PCIe 3.0 ×4 · dual SATA 3.0 · dual 2.5GbE · fanless
Buy →

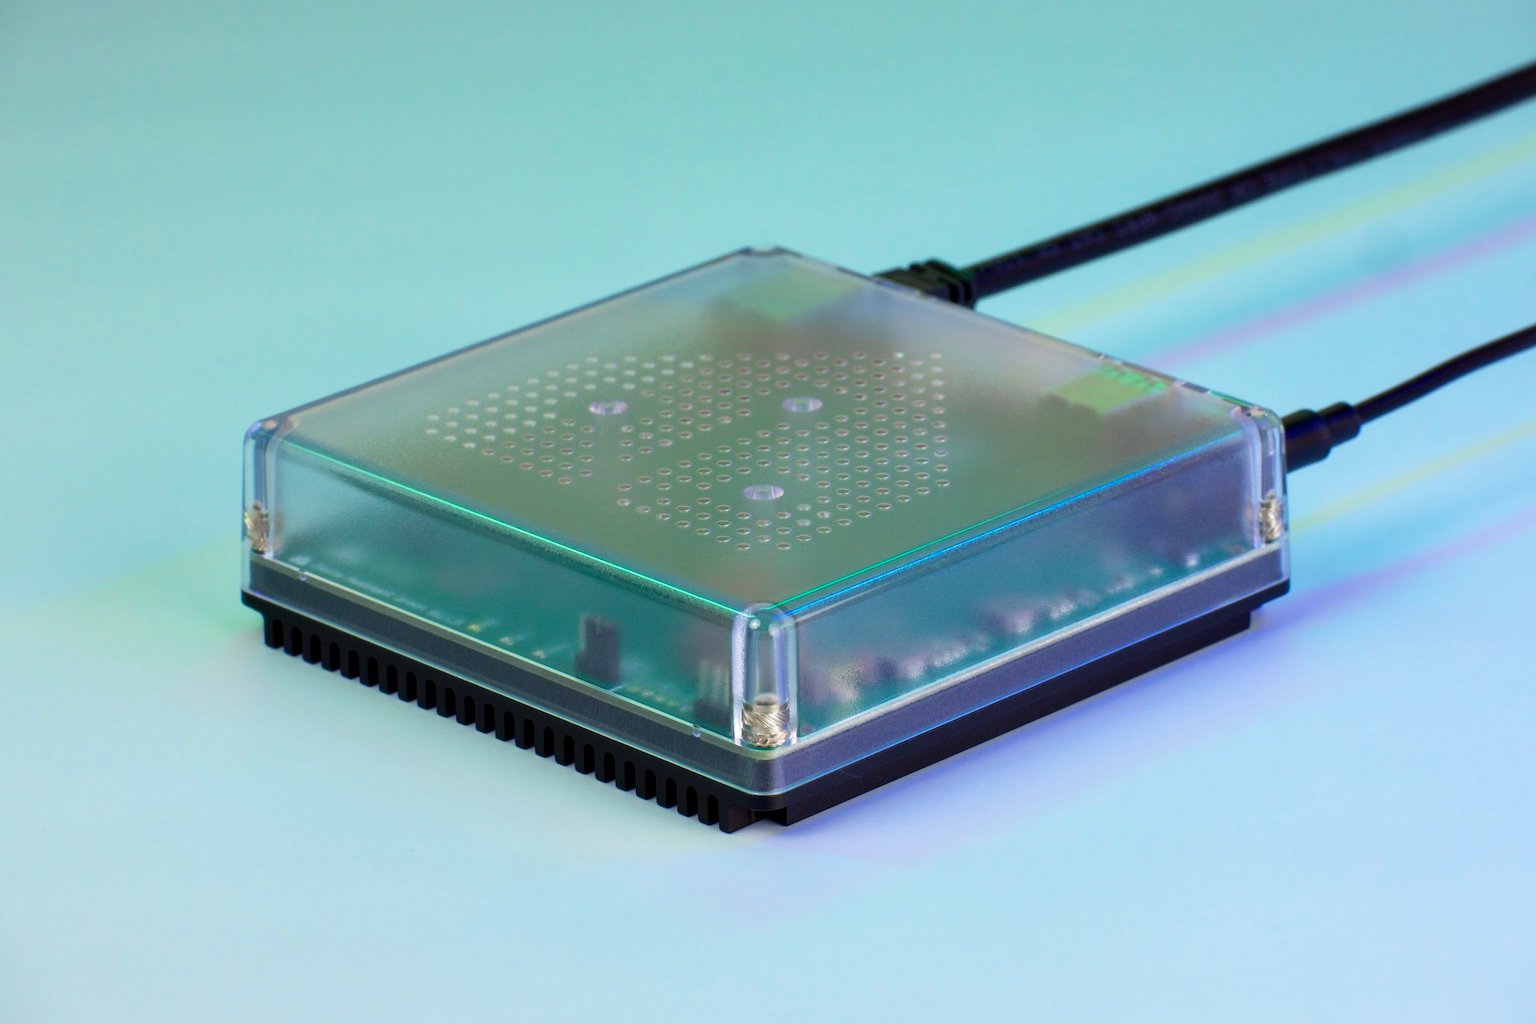
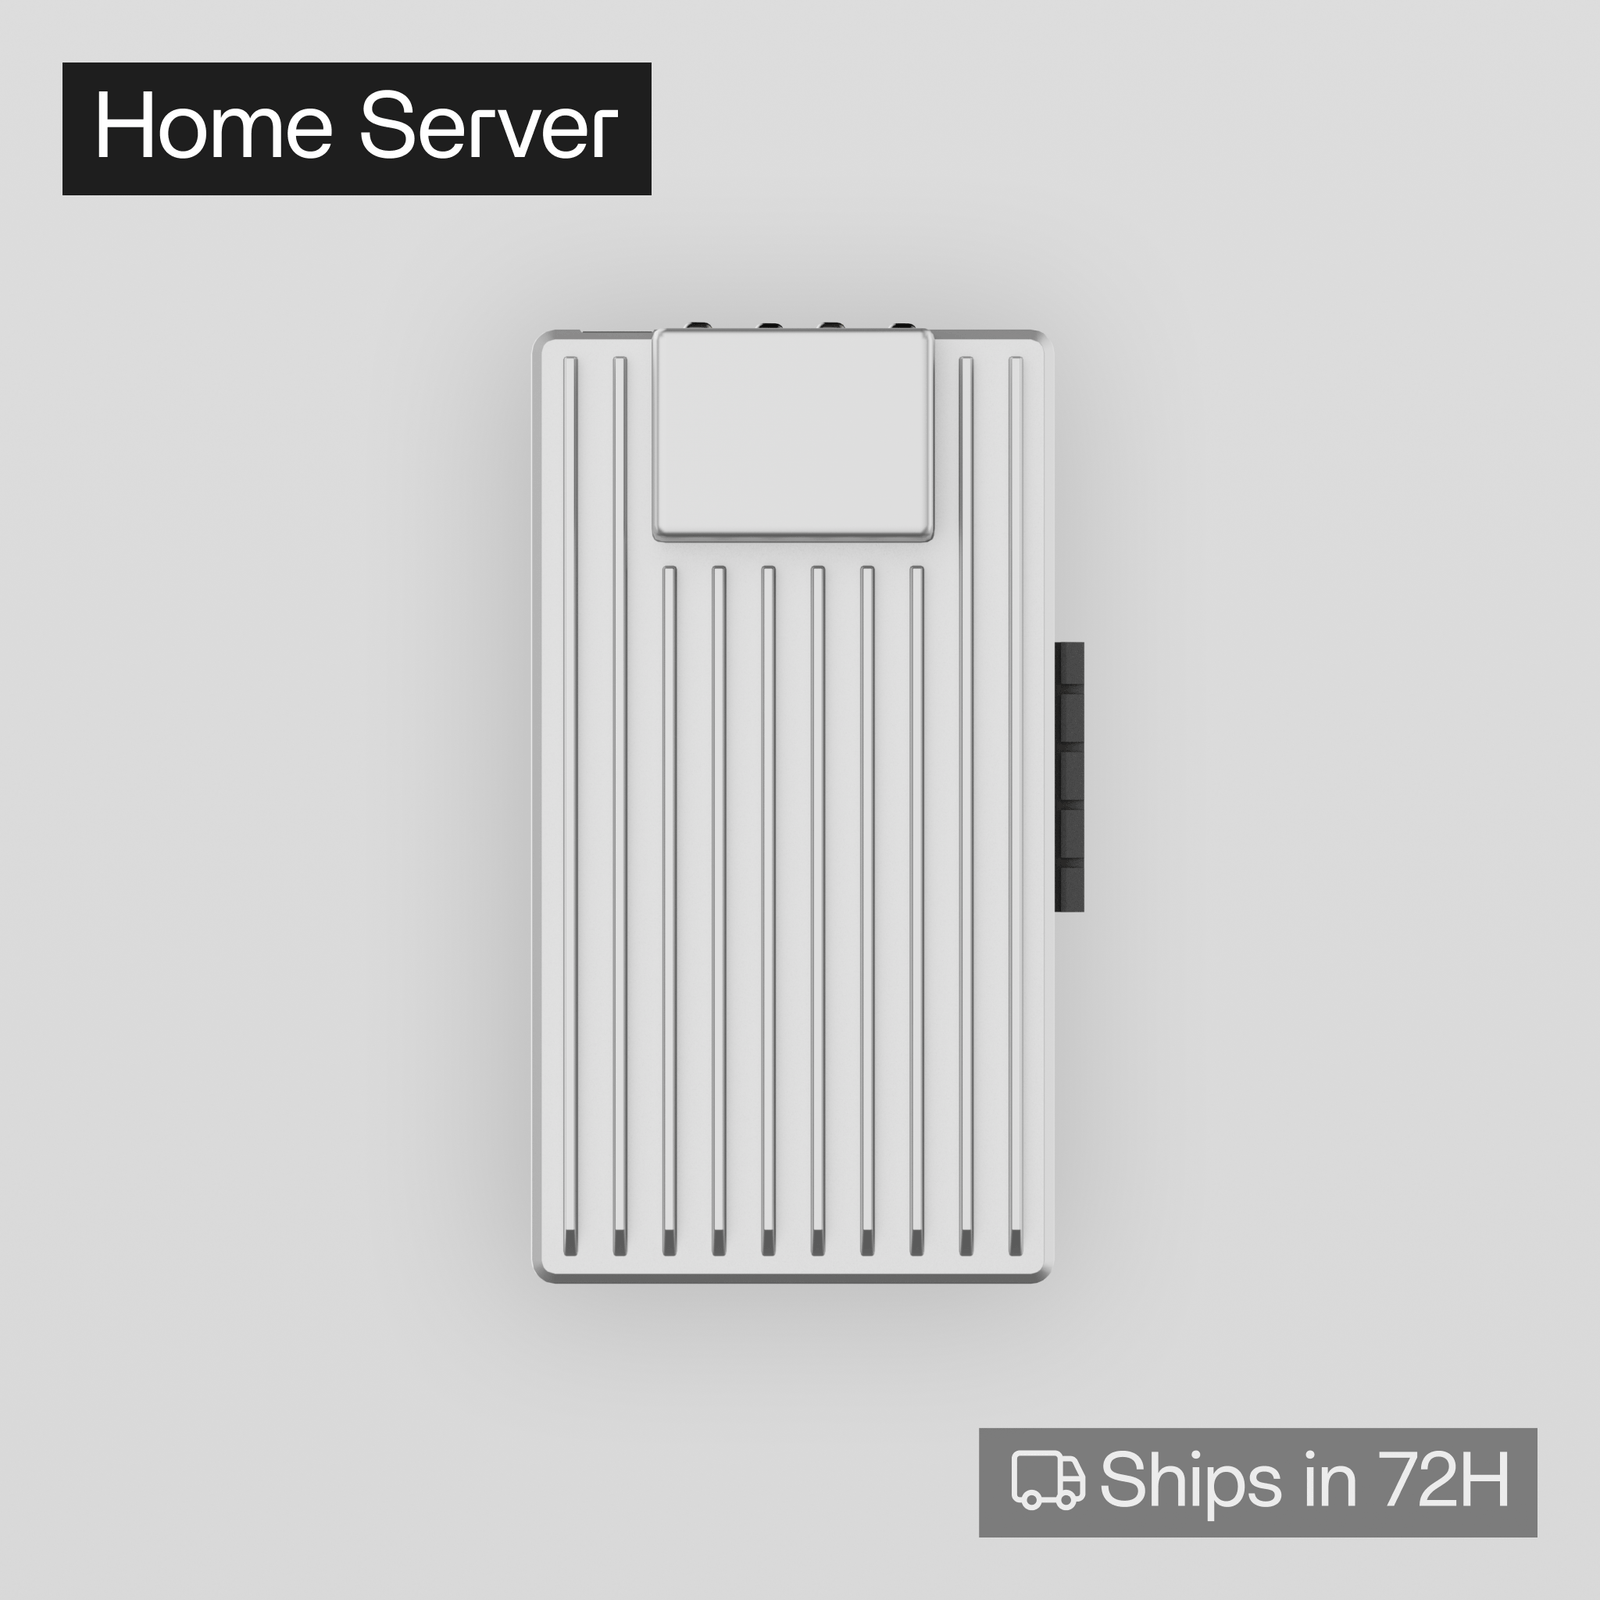
The ZimaBoard 2 is the interesting middle ground: x86 performance in a completely fanless single-board form factor with a proper heatsink shell. That means Intel compatibility and Quick Sync in something silent enough for a bookshelf, with a real PCIe 3.0 ×4 slot and two SATA ports for expansion that no Raspberry Pi can match. It ships with ZimaOS, but you can install Home Assistant OS bare-metal or run it in Proxmox like any other x86 machine. If your hub lives in a living room and fan noise is a dealbreaker, this is the one.
✅ Pros: Truly silent; x86 with Quick Sync; PCIe ×4 and dual SATA; dual 2.5GbE; low idle draw.
❌ Cons: Soldered 8GB RAM; passive cooling throttles under sustained load; smaller community than Pi or Beelink.
🎯 Verdict: The best silent x86 option. Buy it when noise matters more than peak sustained performance.
🔵 BEST LOW-COST APPLIANCE · ⭐ 4.5/56. Hardkernel ODROID-N2+ (4GB)
Amlogic S922X hexa-core (4× A73 @ 2.4GHz + 2× A53) · 4GB DDR4 · eMMC module slot · Gigabit LAN · passive heatsink
Buy →

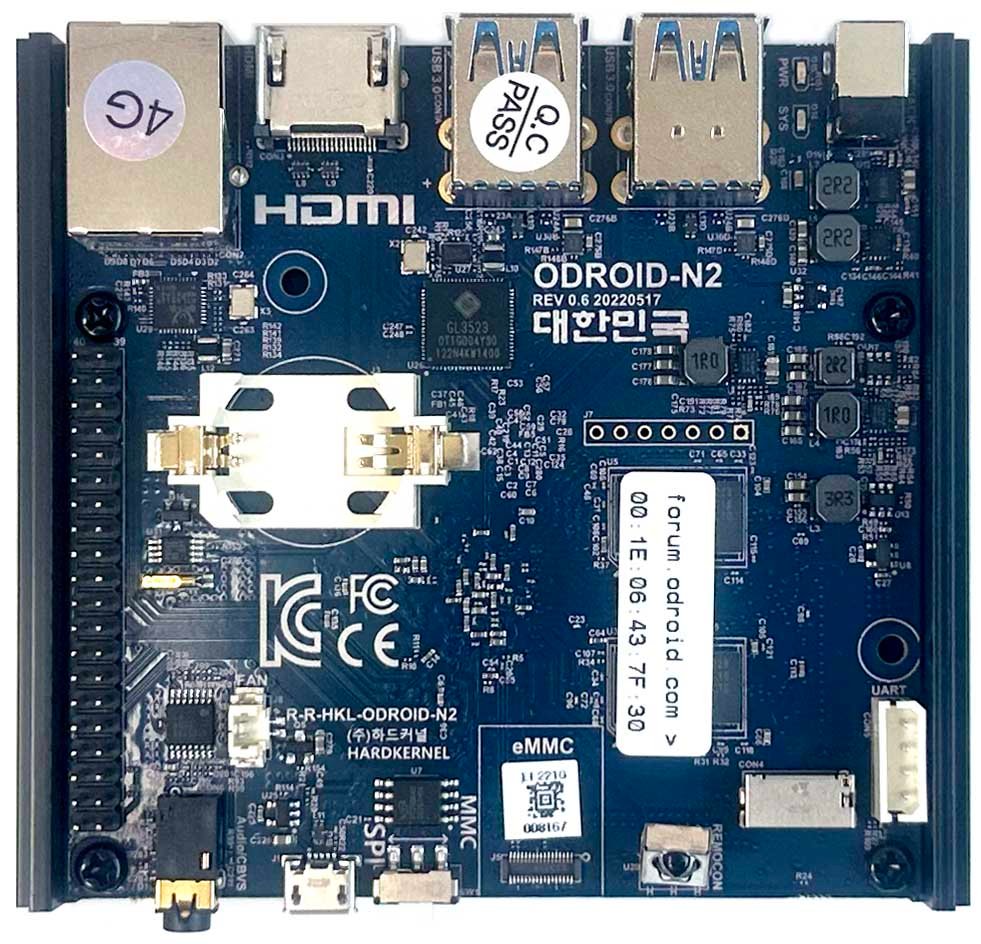
This is the board that Home Assistant Blue was built on, and it remains one of the officially documented install targets. The ODROID-N2+ pairs a fast hexa-core Amlogic S922X with a huge passive heatsink, so it runs silent and cool, and its eMMC module slot sidesteps the SD-card reliability problem that plagues Pi builds. It comfortably outruns a Raspberry Pi 4 for Home Assistant work, draws very little power, and Hardkernel have supported the platform for years. For a dedicated, set-and-forget hub at a low price, it’s excellent value.
✅ Pros: Officially documented HAOS target; eMMC slot; fanless and cool; faster than a Pi 4; long support life.
❌ Cons: eMMC module, case and 12V PSU are separate purchases; ARM, so no Frigate acceleration; smaller community.
🎯 Verdict: The Home Assistant Blue experience without the Blue price. Check the listing for whether a power supply is bundled.
💵 BEST BUDGET ENTRY · ⭐ 4.4/57. CanaKit Raspberry Pi 4 Basic Kit (4GB)
BCM2711 quad Cortex-A72 @ 1.5GHz · 4GB LPDDR4 · PiSwitch USB-C supply · heat sinks · no SD card
Buy →

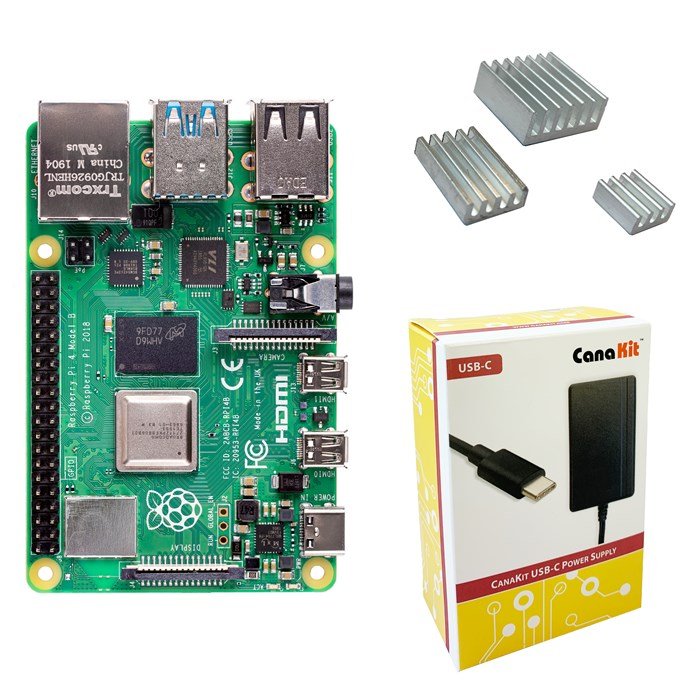
The Raspberry Pi 4 ran the Home Assistant community for years and it still does the core job perfectly well. This CanaKit bundle is the cheapest sensible way in: the 4GB board, a CanaKit PiSwitch USB-C supply with a real on/off switch (a genuinely useful thing on a headless server), and a set of aluminium heat sinks. Be aware of what’s not in the box: there is no case, no microSD card and no micro-HDMI cable, so add those to your basket. For a first Home Assistant server, or a spare you can experiment on without fear, it’s hard to beat on price.
✅ Pros: Lowest cost of entry; PiSwitch on/off supply; proven platform; endless tutorials and support.
❌ Cons: No case, SD card or HDMI cable included; slowest CPU here; will struggle once you stack add-ons.
🎯 Verdict: The cheapest honest way to start. Fine for core Home Assistant, but you will outgrow it if you add cameras or voice.
🎙️ BEST LOCAL VOICE · ⭐ 4.3/58. Home Assistant Voice Preview Edition
ESP32-S3 · dual-mic array with XMOS DSP · speaker · rotary dial · physical mute switch
Buy →

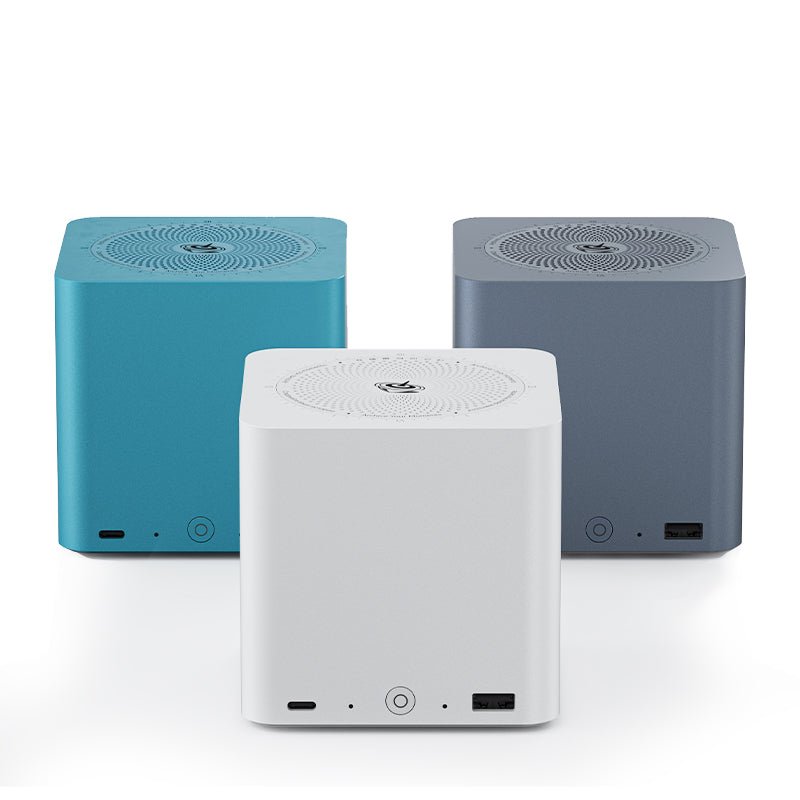
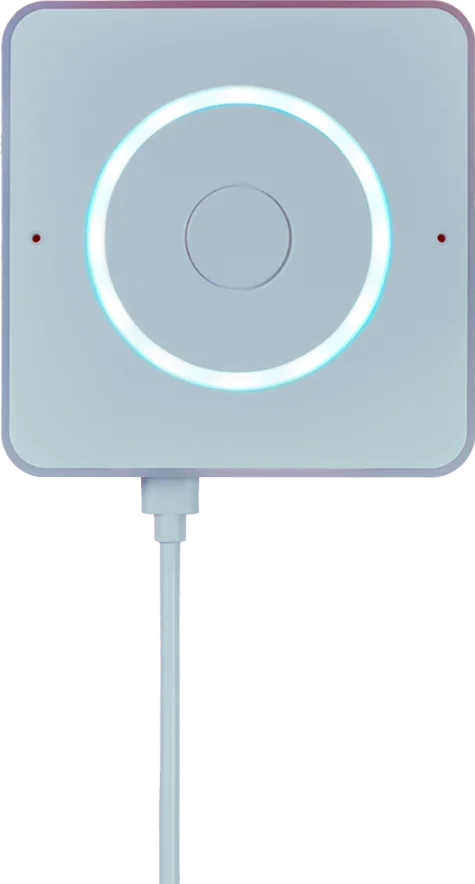
This is what an Echo looks like when nothing goes to the cloud. The Voice Preview Edition is official Home Assistant hardware: an ESP32-S3 satellite running ESPHome, with a dual-microphone array and hardware DSP for wake-word detection, a speaker, a volume dial and a physical mute switch that cuts the mics electrically. Speech-to-text and text-to-speech run on your own server via Whisper and Piper, so nothing is recorded off-site. It is called “Preview” honestly: recognition is not as polished as Alexa, and it wants a reasonably fast host behind it. But for local control of your own lights and scenes, it works, and it works privately.
✅ Pros: Fully local voice pipeline; hardware mute switch; official HA hardware; open ESPHome firmware.
❌ Cons: Recognition trails Alexa/Google; needs a capable server for Whisper; small speaker; often marked up online.
🎯 Verdict: The best private voice assistant you can buy today. Pair it with one of the x86 systems above, not a Pi 4.
🛒 How to Choose the Right Home Assistant System
🏠
Brand new to Home Assistant?
Buy the Home Assistant Green. It boots into onboarding with nothing to flash, and you’ll be automating the same evening.
🧠
Planning a big add-on stack?
Go x86 with the Beelink Mini S12 Pro. Its N100 and 16GB of RAM absorb Frigate, Whisper, Piper and Grafana without complaint.
📹
Recording security cameras?
The Beelink ME mini takes six NVMe drives, so Frigate footage and your NAS live in one small, quiet box.
🤫
Hub living in a quiet room?
The ZimaBoard 2 is completely fanless yet still x86, with a PCIe slot and dual SATA for expansion later.
🔧
Want to learn the whole stack?
Take the Raspberry Pi 5 kit. You’ll understand every layer, and the GPIO header opens hardware projects a hub can’t touch.
💰
Spending as little as possible?
The ODROID-N2+ or the CanaKit Pi 4 both run core Home Assistant well. The ODROID’s eMMC slot makes it the more reliable of the two.
⚙️ Key Specs Compared — Side by Side
| Spec | HA Green | Beelink Mini S12 Pro | Beelink ME mini | ZimaBoard 2 | Raspberry Pi 5 Kit |
|---|
| Architecture | ARM | x86 (N100) ⭐ | x86 (N150) ⭐ | x86 (N150) ⭐ | ARM |
| RAM | 4GB | 16GB DDR4 ⭐ | 12GB LPDDR5 | 8GB LPDDR5 | 8GB LPDDR4X |
| Storage | 32GB eMMC | 500GB NVMe | 6× M.2, up to 24TB ⭐ | 32GB eMMC + dual SATA | microSD (upgradable) |
| Frigate / Local Voice | Not recommended | Yes, comfortably ⭐ | Yes, comfortably ⭐ | Yes, modest loads | Light workloads only |
| Networking | Gigabit | 2.5GbE + Wi-Fi 6 | Dual 2.5GbE + Wi-Fi 6 ⭐ | Dual 2.5GbE ⭐ | Gigabit + Wi-Fi 5 |
| Cooling | Fanless ⭐ | Active fan | Active fan | Fanless ⭐ | Active cooler |
| Setup Difficulty | Easiest, preloaded ⭐ | Install HAOS / Proxmox | Install HAOS / Proxmox | Install HAOS / Proxmox | Assemble + image SD |
| Official HA Hardware | Yes ⭐ | No | No | No | No (supported install) |
Specs vary by seller configuration, especially for mini PCs. Always confirm RAM, storage and what’s actually in the box on the live Amazon listing.
❓ Frequently Asked Questions
Do any of these systems have Zigbee or Z-Wave built in?
Only Home Assistant Yellow, which is not reliably stocked on Amazon in the US. Everything in this guide ships with Wi-Fi, Bluetooth and Ethernet only, so plan on adding a USB radio: a Zigbee or Thread stick such as the official Home Assistant Connect ZBT-1 or a SONOFF ZBDongle, and a separate Z-Wave stick if you own Z-Wave devices. They are different radios on different frequencies and one cannot do the other’s job. Always run dongles on a short USB 2.0 extension cable, because USB 3.0 ports and NVMe drives throw enough 2.4GHz noise to wreck Zigbee range.
Home Assistant Green or a Raspberry Pi 5 — which should I actually buy?
If your goal is a working smart home, buy the Green: it ships with Home Assistant OS on eMMC, so there is no imaging, no assembly and no SD card waiting to fail. If your goal is to learn, buy the Pi 5: you get a general-purpose Linux machine, a GPIO header for hardware projects and the freedom to repurpose it later. Performance is broadly comparable for core Home Assistant work. The Pi wins on flexibility, the Green wins on reliability and time-to-first-automation.
How much RAM and CPU does Home Assistant really need?
Core Home Assistant with a few dozen entities runs fine in 2GB on a quad-core ARM chip. The load comes from add-ons. Zigbee2MQTT, Mosquitto and Node-RED together are light. Frigate object detection, Whisper speech-to-text and a local LLM are not. Those want 8–16GB and an x86 CPU with hardware video acceleration. A useful rule: pick your hardware for the add-ons you’ll be running in a year, not the ones you’re running in week one.
Should I install Home Assistant OS directly or run it under Proxmox?
On a dedicated hub, install Home Assistant OS bare-metal. It is simpler, and you get the supervised add-on store with nothing in the way. On an x86 machine you also want to use for other jobs, such as a NAS role or Docker services, install Proxmox first and run Home Assistant OS as a VM. The real benefit is snapshots: you can roll back a bad update in seconds. Pass the USB radio dongles through to the VM and everything else behaves identically.
Can I build my own sensors instead of buying commercial ones?
Yes, and it is the single biggest saving available once your hub is running. An ESP32 board plus a BME280 or mmWave sensor costs a fraction of an equivalent branded device. Flash it with ESPHome and the node appears in Home Assistant automatically with over-the-air updates from then on, or publish readings over MQTT to a Mosquitto broker if you want explicit control of the topics. Our ESP32 MQTT sensor tutorial and Mosquitto broker setup guide walk through both routes end to end.
🏁 Final Verdict — Best Home Assistant System for Every Budget
The right machine for every kind of smart home builder:
🥇 Best Overall — Home Assistant Green: official hub, preloaded HAOS, silent and fanless
Buy →🏅 Best Performance — Beelink Mini S12 Pro: N100, 16GB, NVMe, handles every add-on you’ll throw at it
Buy →📹 Best for Cameras — Beelink ME mini: six NVMe slots and Quick Sync for a Frigate-first build
Buy →🧊 Best Silent x86 — ZimaBoard 2 832: fanless N150 with a real PCIe slot and dual SATA
Buy →🍓 Best DIY Build — Raspberry Pi 5 Starter Kit: learn the whole stack, GPIO included
Buy →🔵 Best Low-Cost Appliance — ODROID-N2+: the Home Assistant Blue board, fanless with an eMMC slot
Buy →💵 Best Budget Entry — CanaKit Raspberry Pi 4 Basic Kit: the cheapest honest way to start
Buy →🎙️ Best Local Voice — HA Voice Preview Edition: private wake-word control with a hardware mute switch
Buy →There is no single Home Assistant system that suits everyone, but there is a clear path for each kind of builder. Most people should start with the Home Assistant Green, because it gets you a fully local, fully private smart home in an evening with nothing to flash. If a growing add-on stack is in your plans, skip straight to the Beelink Mini S12 Pro; if security cameras are the point, the Beelink ME mini and its six NVMe slots will hold months of Frigate footage; and if silence matters, the fanless ZimaBoard 2 is the one. Makers who want to understand every layer should take the Raspberry Pi 5 kit, while the ODROID-N2+ and the CanaKit Pi 4 keep the cost of entry low. Whichever you choose, remember to add a USB Zigbee or Z-Wave radio for your existing devices, then pair the hardware with our ESP32, ESP8266, Raspberry Pi and MQTT tutorials to build your own sensors and automations that answer to nobody’s cloud but your own.
💬 Not sure which system fits your home? Tell us what you’re running (how many devices, which protocols, and whether cameras are in the plan) in the comments below, and we’ll point you to the right one.
All Amazon links above use our affiliate tag (microlab05-20). Purchasing through them supports microcontrollerslab.com at no extra cost to you. We do not list prices because smart home hardware is frequently resold above MSRP and pricing changes constantly, so always confirm the current price and the seller on Amazon before buying.