In this tutorial, we will learn how to install Node-RED on Windows and how to use Node-RED dashboard locally with Windows. This guide includes the installation of Node.js and Node-Red on Windows, an overview of the user interface, and an example where we will create a simple graphical UI.
We have a similar guide with Raspberry Pi:
Node-Red Installation on Windows
It is a free-to-use tool used in IoT applications that provides visual programming through connecting nodes wired together as flows.
“Node-RED is a flow-based development tool for visual programming developed originally by IBM for wiring together hardware devices, APIs, and online services as part of the Internet of Things. Node-RED provides a web browser-based flow editor, which can be used to create JavaScript functions.”
Install Node.js on Windows
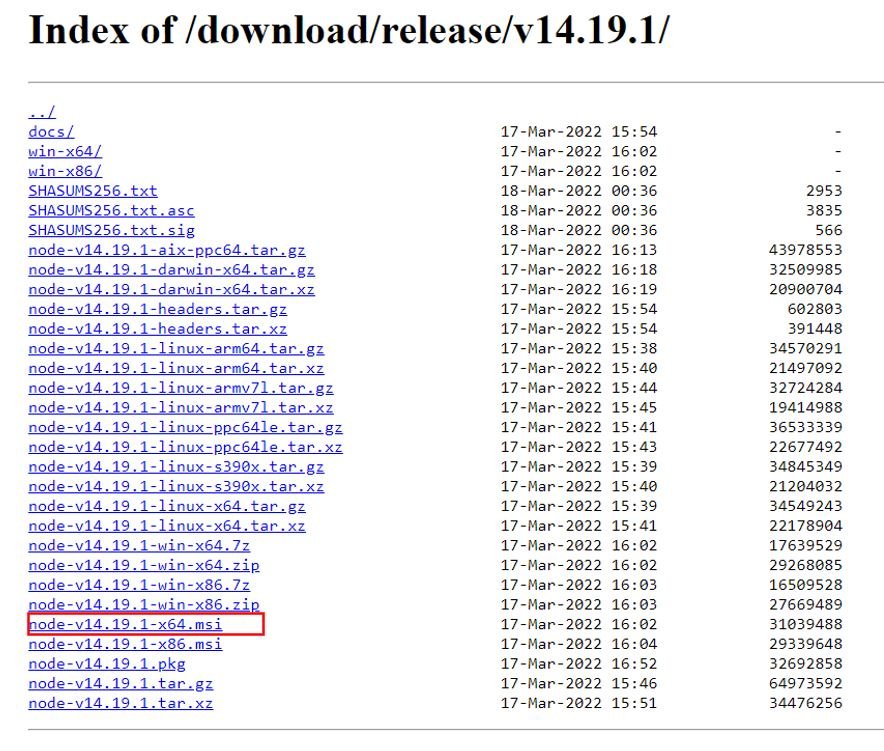
To work with Node-RED locally, we will require a supported version of Node.js in our system. Refer to this link to get to know about the version you are required to install. It is recommended to use the latest 14.x LTS version. Go to the Node.js webpage by clicking here and download it. you will be able to access it from Downloads > Previous Releases :

Click to download the setup file according to your system.
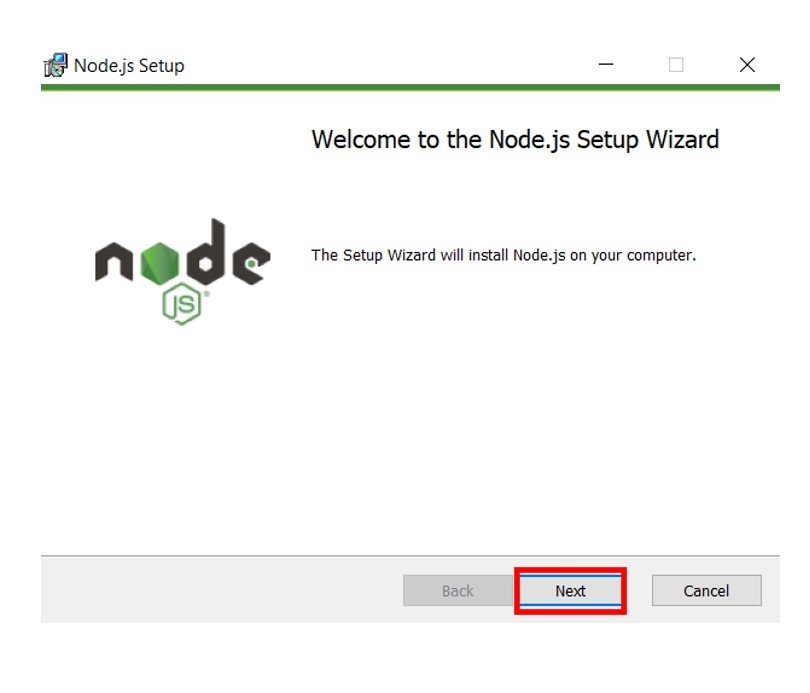
After downloading the Node.js setup, click ‘Next’ to install it on your PC.
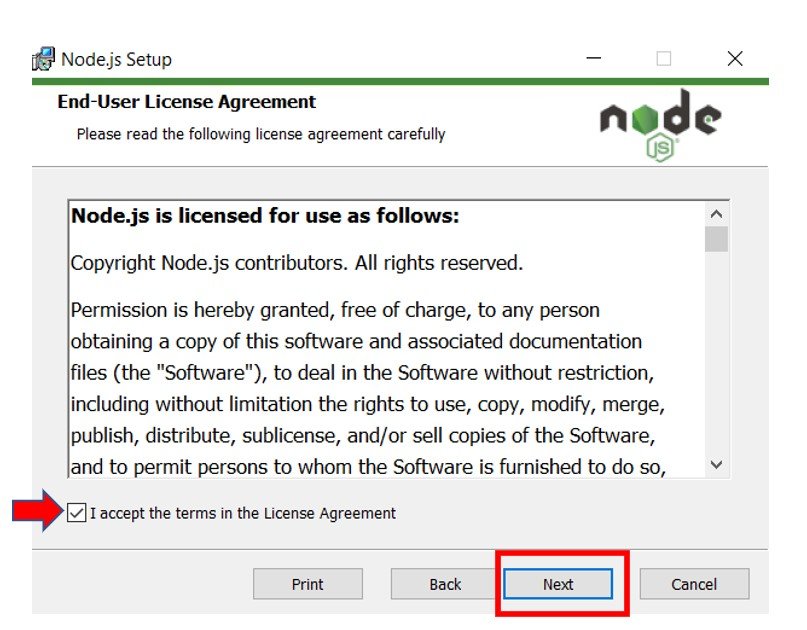
Check the agreement box and click ‘Next’ to proceed further.
After specifying the relevant saving location click on ‘Install’ to finish the installation process.

A few moments later, you will receive the following prompt indicating that the installation was performed successfully.

Click the ‘Finish’ button to exit the setup.
Install Node-Red on Windows
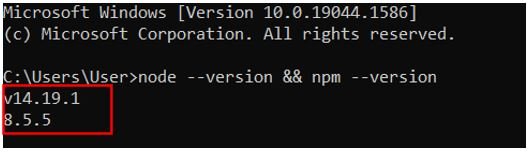
Now open your command prompt and type node –version && npm –version to verify that Node.js and npm have successfully been installed in your system or not.
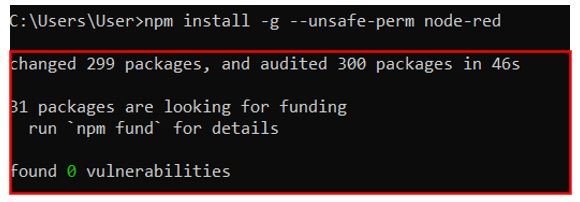
Now to install Node-Red type the following command: npm install -g –unsafe-perm node-red
You should get similar results:
Start Node-Red on Windows
To initiate Node-Red, type node-red in the command prompt. Node-Red will start.
Head over to ‘Server now running at http://…..” and copy the HTTP URL.
Note: Depending on your Windows Defender Firewall security settings you will be asked to Allow access to some of the features of Node.js.

Type this URL in a new web browser and Node-Red editor will open up.

Note: Make sure you do not close your Command Prompt while using Node-Red otherwise the connection will be lost.
Install Node-Red Dashboard on Windows
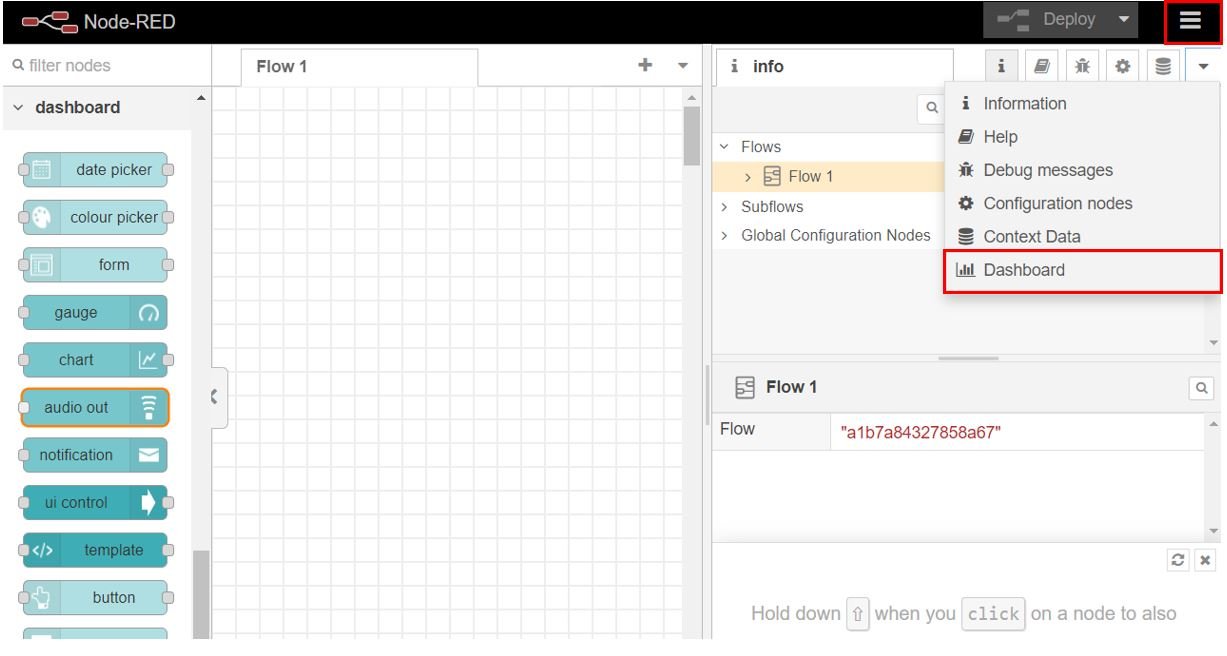
Now we will install the Node-Red Dashboard so that we can access the set of nodes consisting of it. Go to Menu > Manage palette

The following User Settings appears. Go to the Install tab and then write ‘Dashboard’ in the search bar and press enter. Click Install for the Node-Red Dashboard as shown below:

You will receive a notification that will refer you to the official Node-Red dashboard site for a brief overview. Click ‘Open node information’ to view that. To proceed with the installation just click ‘Install’ as highlighted below:

After a few moments the Node-Red Dashboard will successfully get installed. You will receive a notification that the Dashboard nodes have been added to the Palette.
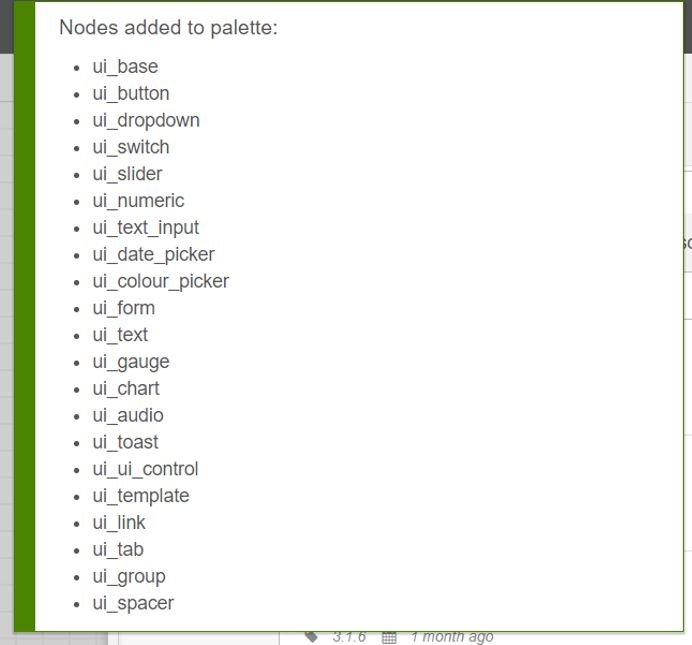
Now head over to the Nodes section found at the far left and scroll down to view the nodes under Dashboard already added. It includes various functions provided by the dashboard. If for some reason you are not able to view the nodes, restart Node-Red.

Overview of Graphical User Interface
Now let us understand how to use the dashboard nodes to build an interactive graphical user interface. Notice that each of the dashboard nodes act as widgets inside the UI.
Layout
The graphical user interface is arranged by:
- Tabs: These are separate pages on the UI
- Groups: These are found inside each tab. They are used to divide the tabs in various sections in order to place the widgets in a systematic order. Each widget is associated with a group therefore specifying the exact placement of the widget on the UI.
Create Tabs
Now let us see how to create tabs and groups for our UI. Open Node-Red with the dashboard already installed. Head over to the extreme right side and find dashboard.
After you click it, the Dashboard tab appears:
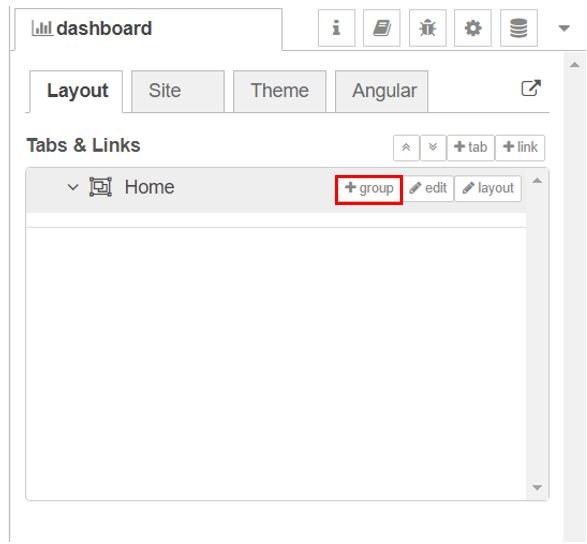
Here we are inside the Layout. To add a tab click +tab as shown below:

This will create a new tab where you will have the option to add groups, edit it and also change its layout.

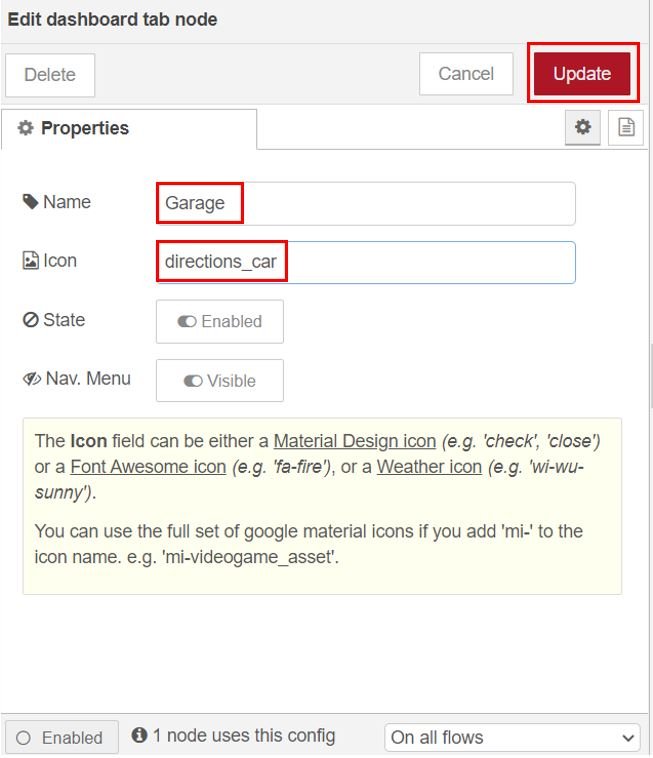
To edit this newly created tab, click the edit button and you will get an option to change the name and icon of the tab, then click the update button for the changes to take place.
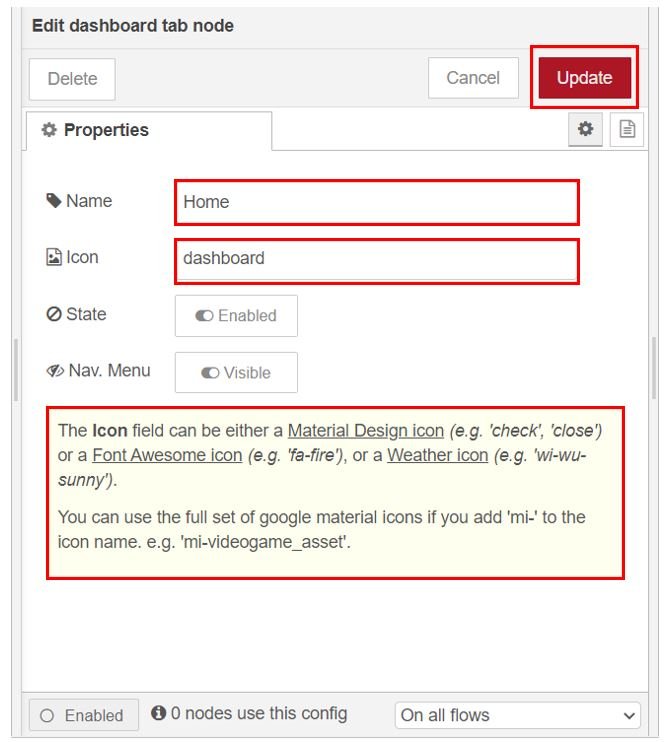
Note: You can use any name according to your preference but for the icon you have to use one available at these three links found below:
Create Groups
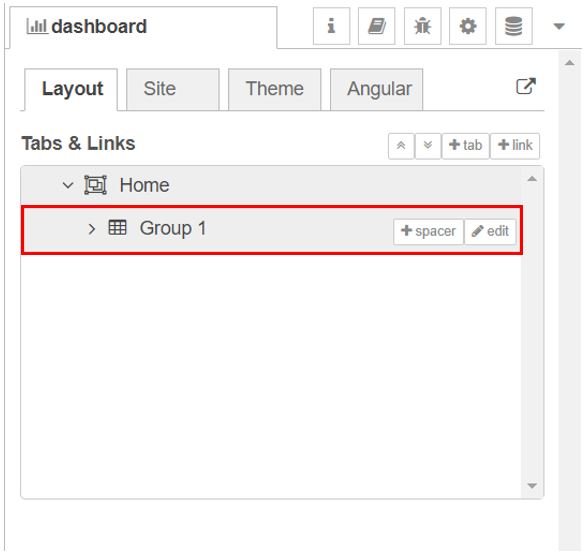
Now to create a group for the tab, click the +group button.
This is where we will place our widget. You can add several groups under a tab to organize your UI.
To edit this newly created group, click the edit button and you will get an option to set the name, select the corresponding tab and change the width .Then click the update button for the changes to take place.

Set Dashboard Theme
Now after learning how to add the Tabs and Groups forming the layout of the UI, let us move ahead and set the theme of the dashboard.
Inside the Dashboard tab, go to Theme tab and the following window appears. Here we have an option to select the style, colour and font for the user interface.
As you may see, by default the style is set as ‘light’ with colour blue with the default font.
Change according to your preference.

Further Dashboard Customization
For further customization, head over to the Site tab and click it.
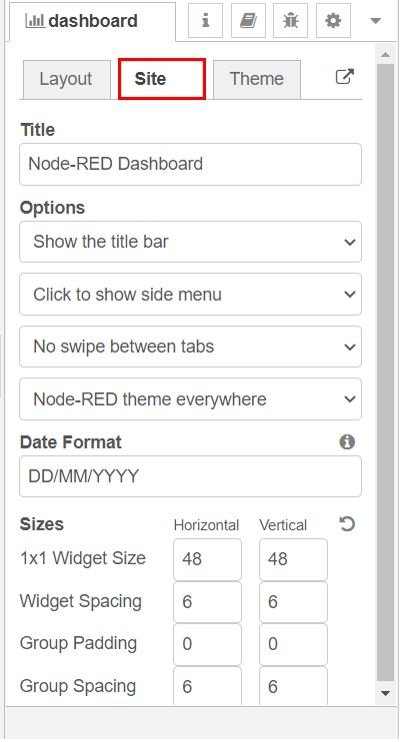
Here as you may see you have further categories which you can modify according to your needs. Change the Title of the UI, the sizes of the widgets, date format and several other options. Feel free to try different options until you get a satisfactory outcome.
Demonstration: Build a Graphical User Interface
To show everything we have learnt this far regarding the Node-Red dashboard, let us create a simple user interface as a demonstration example. We will show you how to edit and place the widgets.
The user interface we will create will consist of two tabs: one named Garage and another named Lounge. Further both of these tabs will have two groups each where we will place the widgets. For the Garage we will add a gauge and a slider. Likewise, for the Lounge we will add a button and a switch.
So let us start building!
Create Tabs
The first step is to create the tabs. Head over to the Dashboard tab and click +tab to create a new tab. Specify the name and icon and click Update for the changes to take place. Here we are using icons from Angular Material Icons.
We will create two tabs: one named Garage and another named Lounge

Create Groups to add Widgets
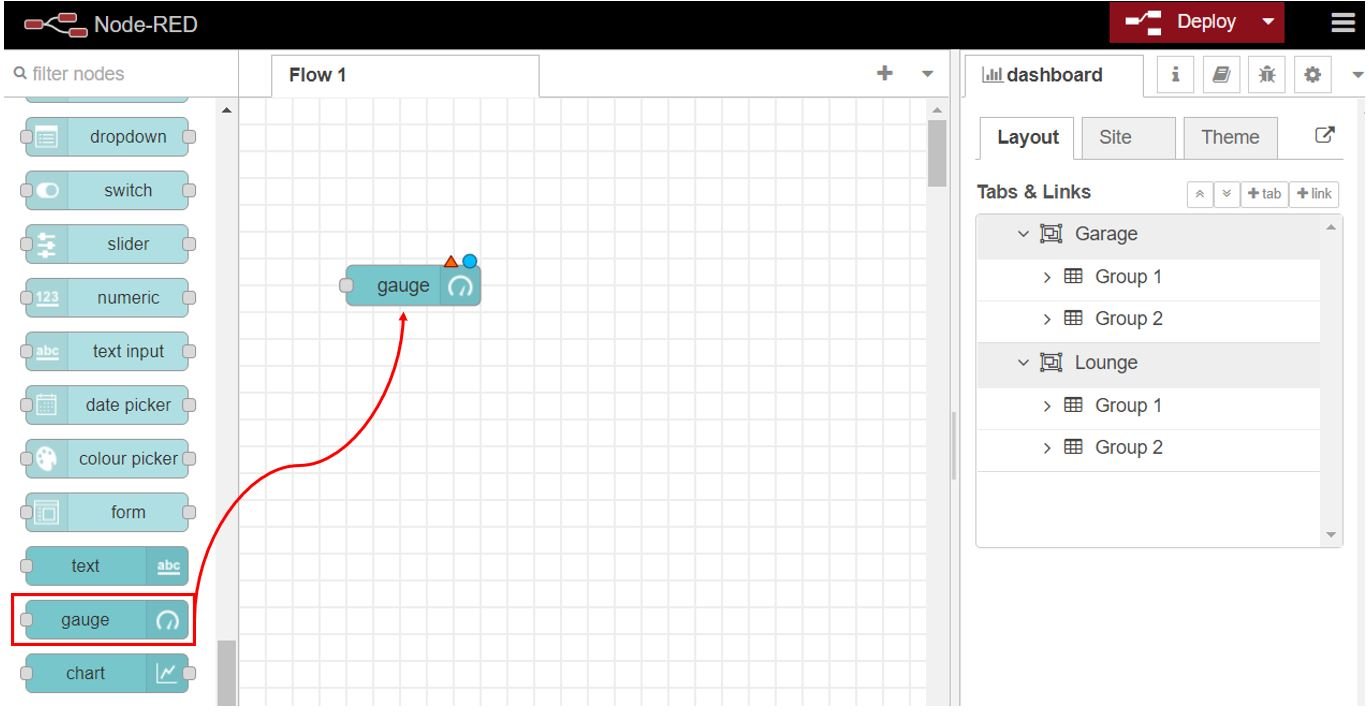
The next step is to add the widgets. We will add two groups to both the tabs. Click +group in each of the tab and create the groups. Our dashboard layout looks like this:

As mentioned before we will add a gauge and a slider for the Garage. Likewise, for the Lounge we will add a button and a switch.
Therefore we will be adding these four nodes to the flow. Head over to the Nodes section found at the far left and scroll down to view the nodes under Dashboard. Drag and drop the gauge to the flow as shown below:
Next include all the rest of the nodes to the flow as well.

Now double click the gauge. A new window will appear. Here select group where this widget will be placed. We will choose Group1 of Garage. You have other options to change as well including size, type, label etc.. We are leaving it as default.

Likewise, add the rest of the widgets to the respective groups.
- gauge: Group1(Garage)
- slider: Group2(Garage)
- button: Group1(Lounge)
- switch: Group2(Lounge)
You can also change the theme of the dashboard but we will leave it as default. Now deploy the changes by clicking the Deploy button found at the top.

To view the UI, open a new web browser and type: http://Your_local_IP_address:1880/ui
The user interface will open up once you press enter.
Here you can view the dashboard consisting of two tabs: Garage and Lounge

Head over to each tab to view how the widgets look. Our Garage tab with two groups:

Our Lounge tab with two groups:

It was a great full guide to deploying node-red. But, let me know how we can connect it to hardware as a microcontroller-based for making an IoT platform.
Regards
Rasoul Komari
We will publish an article with ESP32 publishing data to Node-RED tomorrow.