In this tutorial, we have explained the workings of MathScript in LabVIEW. At the start, an explanatory introduction to MathScript is provided to provide some basic knowledge of the window. After that, some of the basic commands and their uses are explained with examples. MathScript is a very extensive programming environment itself; it is impossible to explain its entire feature set in one tutorial. However, we tried to explain the basic features along with some knowledge on how to do self-study on MathScript. At the end of the tutorial, we have provided an exercise for you to do by yourself, and in the next tutorials, we will assume that you have done those exercises and not explain the concept regarding them.
Introduction to MathScripts in LabVIEW
Textual math can be added to the LabVIEW development environment with a compiler for the .m files, added by LabVIEW MathScript Modules. Textual and graphical approaches can be blended together in MathScript. It may be used for algorithm development, control design, data processing and analysis, and signal processing tasks. Without extra code generation steps, we can easily deploy our .m code to real-time hardware.
It has many advantages over different programming languages, i.e., we can save valuable time with LabVIEW MathScript, which is generally compatible with almost all the .m file compilers, i.e., MATLAB, Octave, etc. We can reuse our already developed, i.e., existing .m files in line with G code for analysis, processing, or data presentation using this module of LabVIEW.
Libraries related to engineering and scientific control, like dials and controls, are already present in the built-in LabVIEW GUI. We can always use the built-in LabVIEW features to add user interaction and decision-making to the .m files and take advantage of LabVIEW’s MathScript.
We have all of the tools to deploy our custom .m files for deterministic execution with LabVIEW and MathScript, along with a framework to both develop and test these .m files.
Explanation MathScripts with Example
In the search bar on our laptop or desktop, type LabVIEW and don’t open a blank VI, as we have been doing so far. The window shown in the figure below will appear after we open LabVIEW.

Opening Mathscipt Window
Then, click on the Tools button in the top bar; a dropdown menu will appear. Select MathScript from that menu, as shown in the figure below.

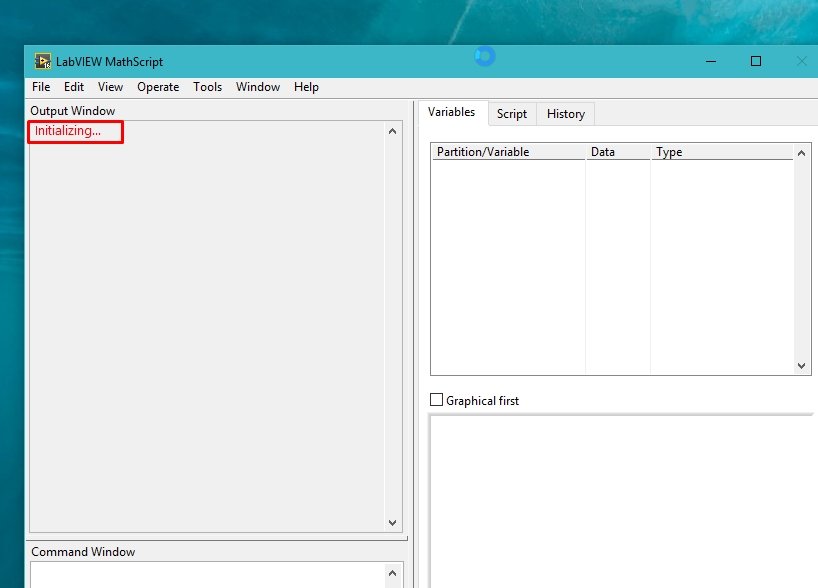
When we click on the “MathScript Window” button, a window will appear with initializing written on top of it, as shown in the figure below.
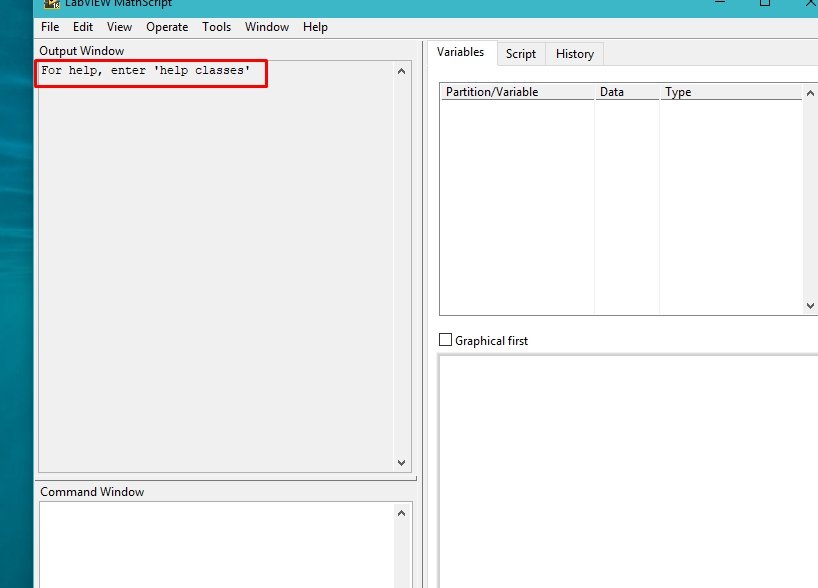
When the window initializes, MathScript will give us a help instruction. These are very helpful. See the figure below.
Now, type “help classes” in the command window, similar to the figure below.

A window will appear that displays all the help features that could be needed while writing code in MathScript. See the figure below for reference.
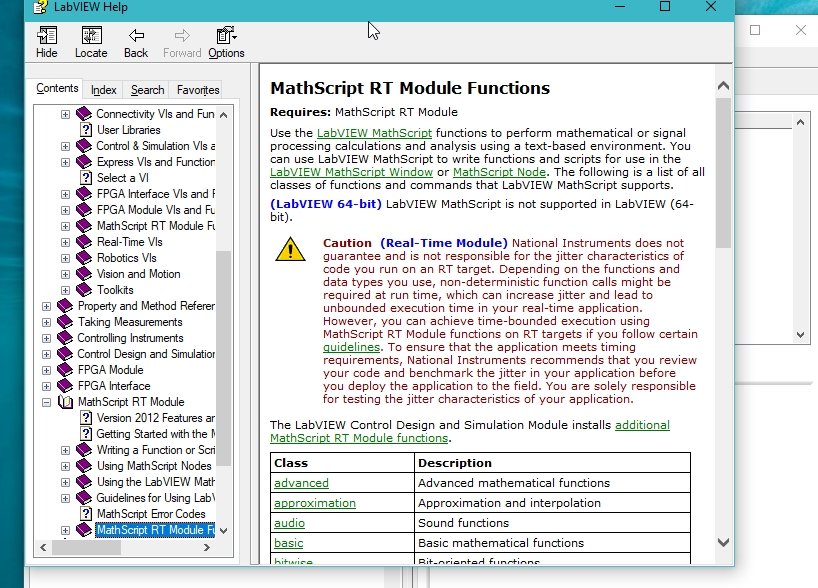
Features of Help Window
We can get almost every piece of help regarding the coding for this window; scroll down to see the features that this help window provides, and see the figure below.

When we open a MathScript window, it will show a variables window at the right portion of the screen, as shown in the figure below.

All variables once declared or used, either in the command window or in the script, will appear in this section, no matter whether the variables used in the code are local or global.
The code written in MathScript cannot be accessed again as it is not saved anywhere. However, we can write code in MathScript that can be saved.
Script
The script to write multiple lines of code and save them for future use is also available in the MathScript window. The figure below shows a blank script in which we can write the desired code.

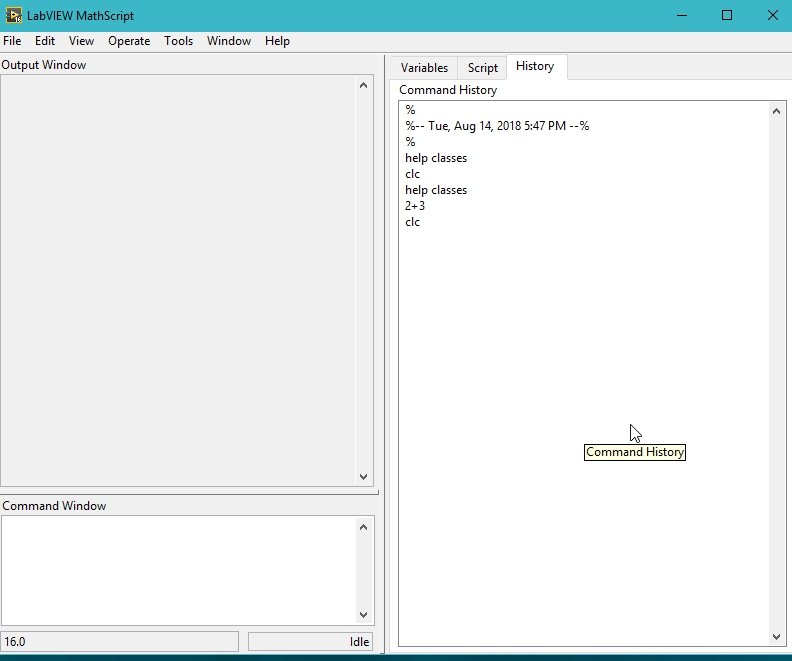
We can also see the history of all the commands we have typed so far after opening the MathScript by clicking on the history button next to the script, as shown in the figure below.
We can also declare variables and add them in the command window; the variables and all of the answers will appear in the variable section as shown in the figure below.

The variables window not only shows the name of the variables but also their value and data type, as is obvious from the above figure.
If we place a semicolon (;) after a command written in the command window, it results in output not appearing in the output window, as shown in the figure below.

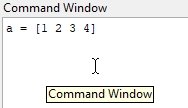
Usually, we declare simple variables in the command window, but we can also declare an array using square brackets, as shown below.
We can also get the transpose of the array by using an apostrophe along with the name of the array, as shown in the figure below.

Matrix Multiplication
MathScript follows the matrix multiplication rule, and we can’t multiply the matrix that doesn’t follow the multiplication rule of two matrices, i.e., a matrix in the above example cannot be multiplied by itself. MathScript will give an error.

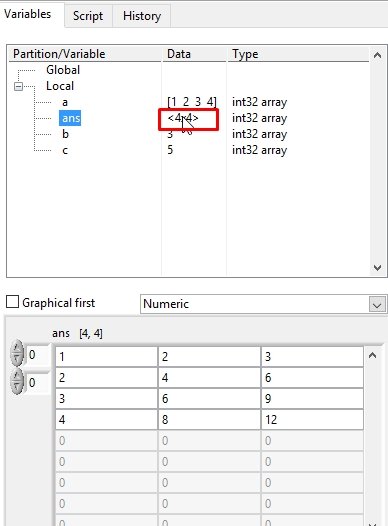
However, multiplying the array with its transpose will satisfy the multiplication rule of matrices, and hence the error will be compensated.

The variable window, however, will not show the value of this matrix but only the size, and if we want to see its value, we can double-click on the size, and the value will be displayed in the section below the variables section.
Script Code
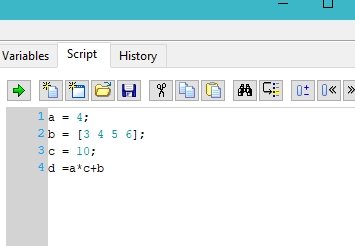
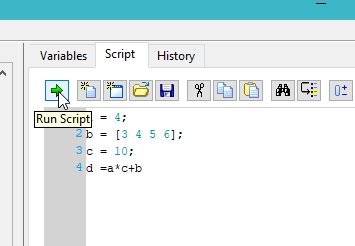
We can also write multiple lines of code in the script; for instance, declare an array, take its complement, multiply it with a scalar, or add two arrays, and after doing all this, run the code once, in spite of doing all this work statement-wise. Let’s write a simple addition and multiplication code in the script as shown below.
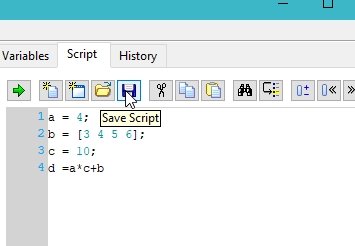
We can also save the script for future use by pressing the button shown in the figure below.
A script can be run by pressing the green arrow above the script, as shown in the figure below, or simply by pressing <Ctrl+R>.
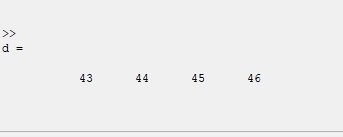
The output of the script is shown in the figure below.
Working Directory
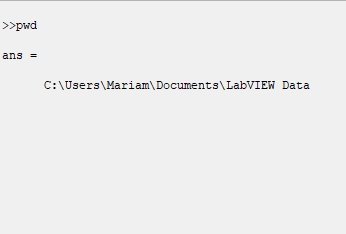
We can also see the present working directory of the code by writing “pwd” in the command window, as shown in the figure below.
Lastly, we can also use MathScript for plotting. It uses an array to plot a function because plotting a function requires the value of the function at multiple points. To generate multiple points, a math script command colon (:) is used, as shown in the figure below.
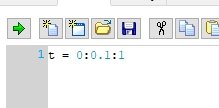
The output of this function is an array, as shown in the figure below.

Sin Function Generation
Use a sin function to plot the function at “t” points, as shown in the figure below.
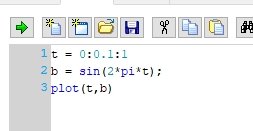
The output of this function is shown in the figure below.

The resolution of the sin function can be increased by decreasing the interval of the “t” function from 0.01 to 0.0001 or even less.
Exercise
- Plot all the trigonometric functions that are feasible for plotting.
- Try to adjust the range of the x and y axes.
- Label both axes and give titles to our graphs.
(Hint: Use help command for all the above tasks)
Conclusion
In conclusion, this tutorial has provided a comprehensive introduction to MathScripts in LabVIEW. It has discussed the benefits of using MathScripts for algorithm development, control design, data analysis, and signal processing tasks. The tutorial has walked through the process of opening and using the MathScript window, including features such as the help window, variables section, and script mode. It has also demonstrated matrix multiplication, script code execution, working directory management, and plotting functions. Furthermore, an exercise is provided to practice plotting trigonometric functions and customizing graph axes and labels. By following this tutorial, readers will be equipped with the fundamental knowledge and skills necessary to explore and utilize MathScripts in LabVIEW for various mathematical and engineering applications.
You may also like to read
- Set ESP32 Custom Hostname with Arduino IDE
- UART Communication with Pic Microcontroller (Programming in MPLAB XC8 )
- ESP32 MAX30100 Pulse Oximeter Web Server
- DC Motor Control with LabVIEW and Arduino – Tutorial 3
- Complete list of Labview tutorials and projects
This concludes today’s article. If you face any issues or difficulties, let us know in the comment section below.
The best site to learn LabVIEW. Thanks a lot.