In this tutorial, we will learn how to use Thonny Integrated Development Environment (IDE) to write programs for Raspberry Pi Pico using MicroPython firmware. By the end of this guide, you will be able to install Thonny IDE on Windows, Linux, and Mac operating systems. Moreover, we will also explore its built-in features, write and run a simple MicroPython code for Raspberry Pi Pico, and gain a comprehensive overview of the development environment. Whether you are a complete beginner or transitioning from Arduino, this guide will help you get up and running quickly with MicroPython on the Raspberry Pi Pico.
Prerequisites for Raspberry Pi Pico with Thonny IDE
Before we begin, make sure you have the following components and software ready:
- Raspberry Pi Pico or Raspberry Pi Pico W board
- USB Micro-B cable (for Pico) or USB Type-C cable (for Pico 2) for connecting to your computer
- A computer running Windows, Linux, or macOS
- Python 3 installed on your computer (Thonny bundles its own Python, but having Python 3 is recommended)
- Internet connection for downloading Thonny IDE and MicroPython firmware
We have a similar guide with ESP32 and ESP8266:
Thonny IDE Introduction
Thonny is an open-source IDE that is used to write and upload MicroPython programs to different development boards such as Raspberry Pi Pico, ESP32, and ESP8266. It is an extremely interactive and easy-to-learn IDE, widely known as a beginner-friendly environment for new programmers. With Thonny, coding in MicroPython becomes straightforward thanks to its built-in debugger that helps identify errors in your program by stepping through the script line by line.
The popularity of Thonny IDE is evident from the fact that it comes pre-installed in Raspberry Pi OS, the official operating system for Raspberry Pi single-board computers. Thonny is available for Windows, Linux, and macOS, making it a versatile choice regardless of your development platform.
Some key features of Thonny IDE include a simple and clean user interface, built-in Python interpreter, syntax highlighting and code completion, an integrated debugger with variable inspection, a file manager for accessing files stored on Raspberry Pi Pico, and a MicroPython REPL (Read-Eval-Print Loop) shell for testing commands interactively.
We also have a getting started guide for Raspberry Pi Pico using uPyCraft IDE:
Setting up Raspberry Pi Pico for MicroPython
Before you can program the Raspberry Pi Pico with Thonny IDE, you need to flash the MicroPython firmware onto the board. This is a one-time setup process that prepares your Pico to understand and execute MicroPython code. Follow the steps below carefully to complete the setup.
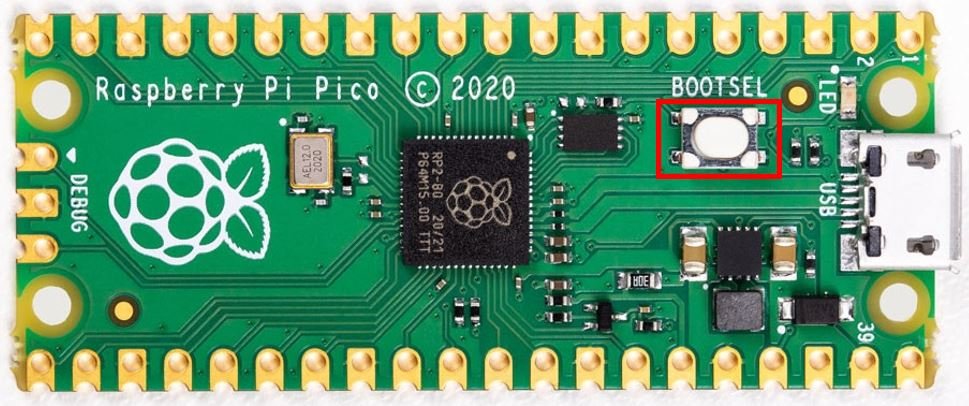
Step 1: Plug the Raspberry Pi Pico into your computer while holding down the BOOTSEL button. Keep holding the button until the board is fully connected and recognized by your computer.
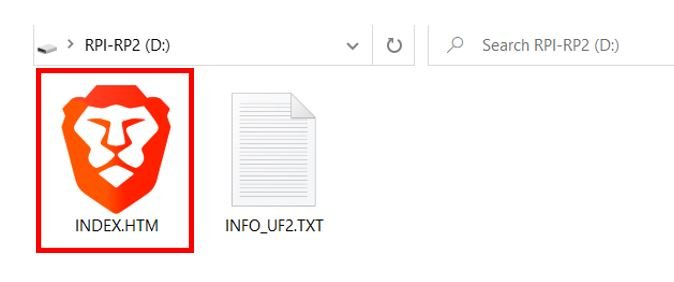
Step 2: Release the BOOTSEL button and the following two files will appear. Your computer recognizes the Pico as a removable storage device (similar to a USB flash drive). Click the INDEX.HTM file to open the official Raspberry Pi Pico documentation.
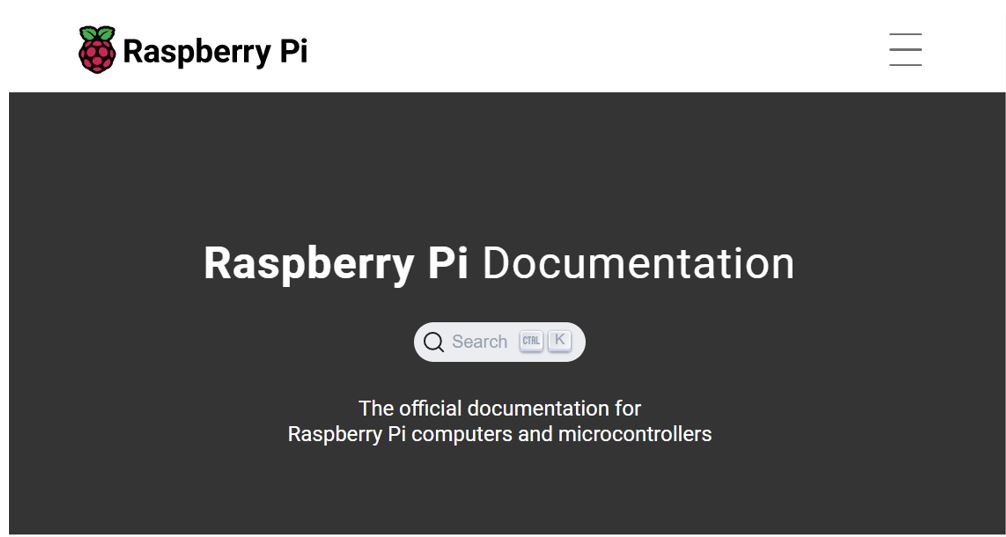
Step 3: This will open the official Raspberry Pi Pico documentation guide in your web browser.
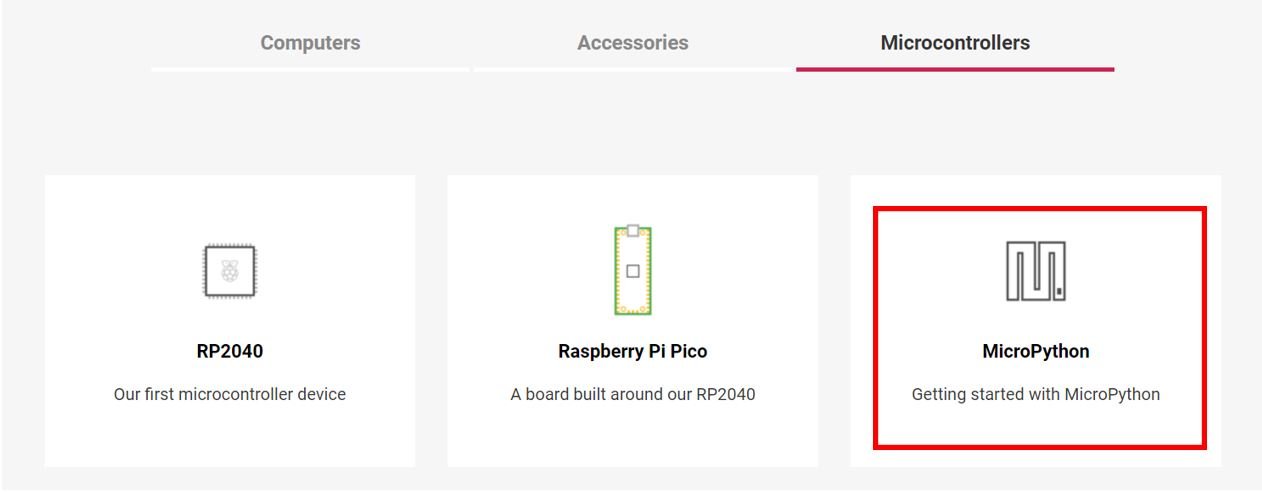
Step 4: Under the Microcontrollers tab, scroll down and click ‘MicroPython.’ This will take you to the MicroPython getting started page for Raspberry Pi Pico.
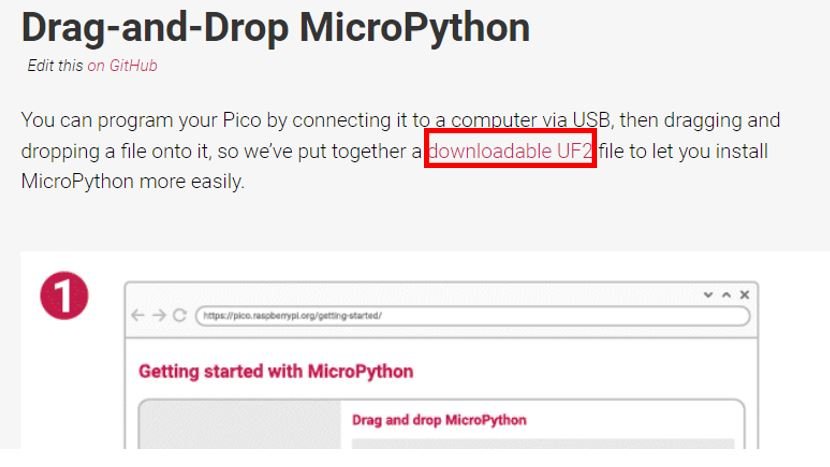
Step 5: A getting started guide with MicroPython for Raspberry Pi Pico will open up. You will need to download the MicroPython bootloader, which is a UF2 file. Scroll down on the page and find the download link for the latest MicroPython firmware.
Step 6: After the download is complete, drag the UF2 file and drop it into the Raspberry Pi Pico folder that appeared when you plugged in the board. The Pico will automatically detect the firmware file, install it, and reboot itself. The removable drive will disappear from your computer, which indicates that the firmware has been successfully flashed.
Now we are ready to program Raspberry Pi Pico in MicroPython using Thonny IDE.
Note: You can also flash the MicroPython firmware directly from within Thonny IDE. After installing Thonny, go to Tools > Options > Interpreter, select “MicroPython (Raspberry Pi Pico)” and click “Install or update MicroPython.” This method is simpler and does not require manually downloading the UF2 file.
Thonny IDE Installation Steps
In this section, we will provide step-by-step instructions to download and install Thonny IDE on Windows, Linux, and macOS computers.
Installing Thonny IDE in Windows Operating System
Follow these steps to download and install Thonny on Windows. By visiting the official Thonny website, you can download the latest version of the IDE. Click on the download link for the Windows version.

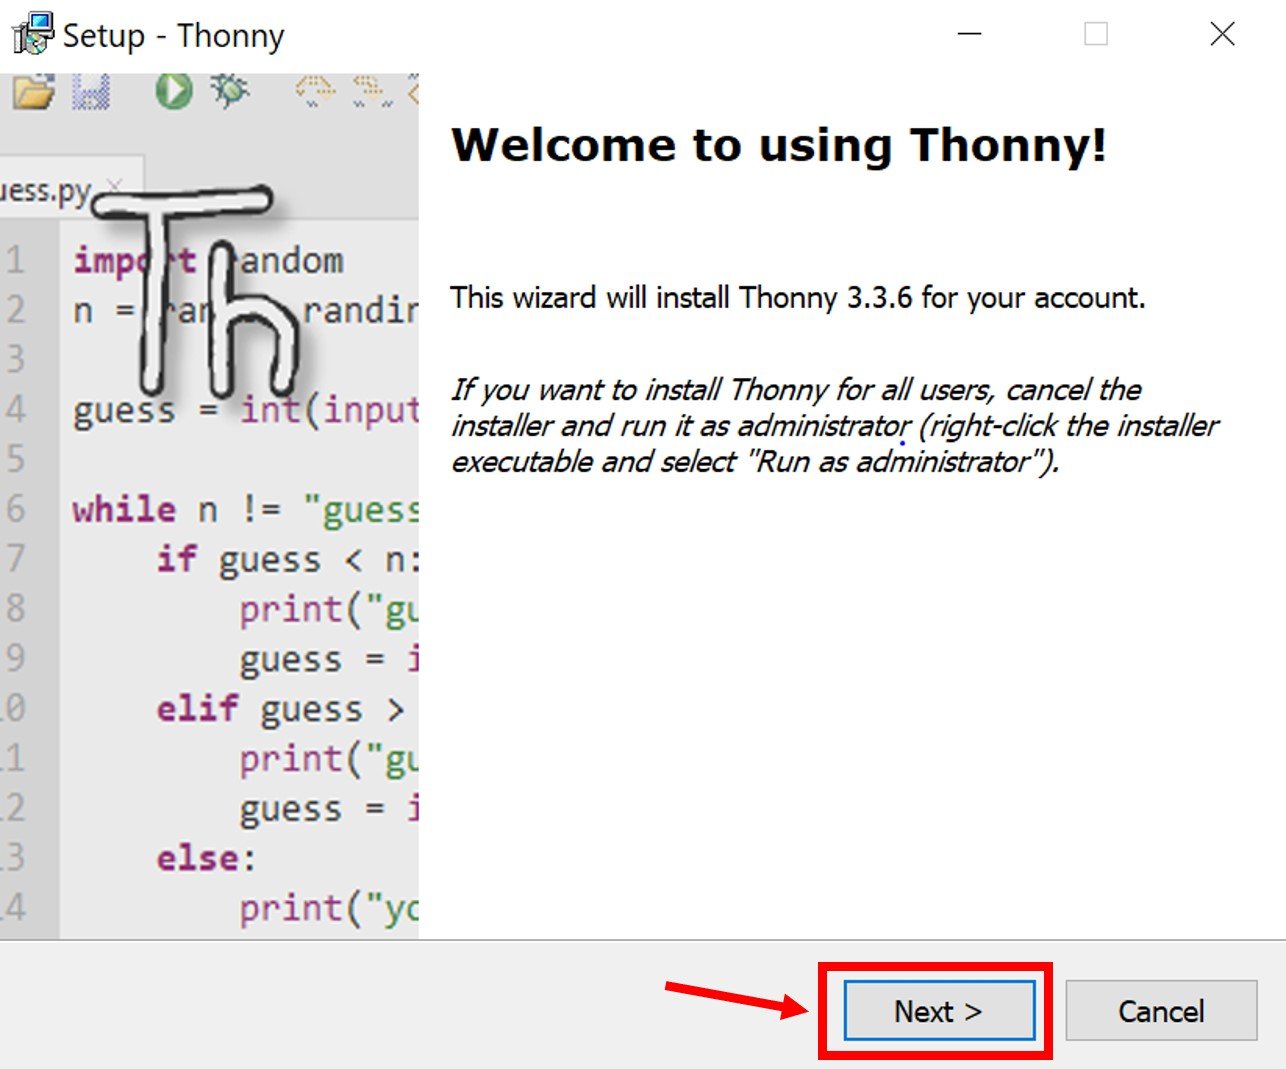
To start the installation process, run the downloaded .exe file and the Thonny Setup window will open. Click Next to proceed.
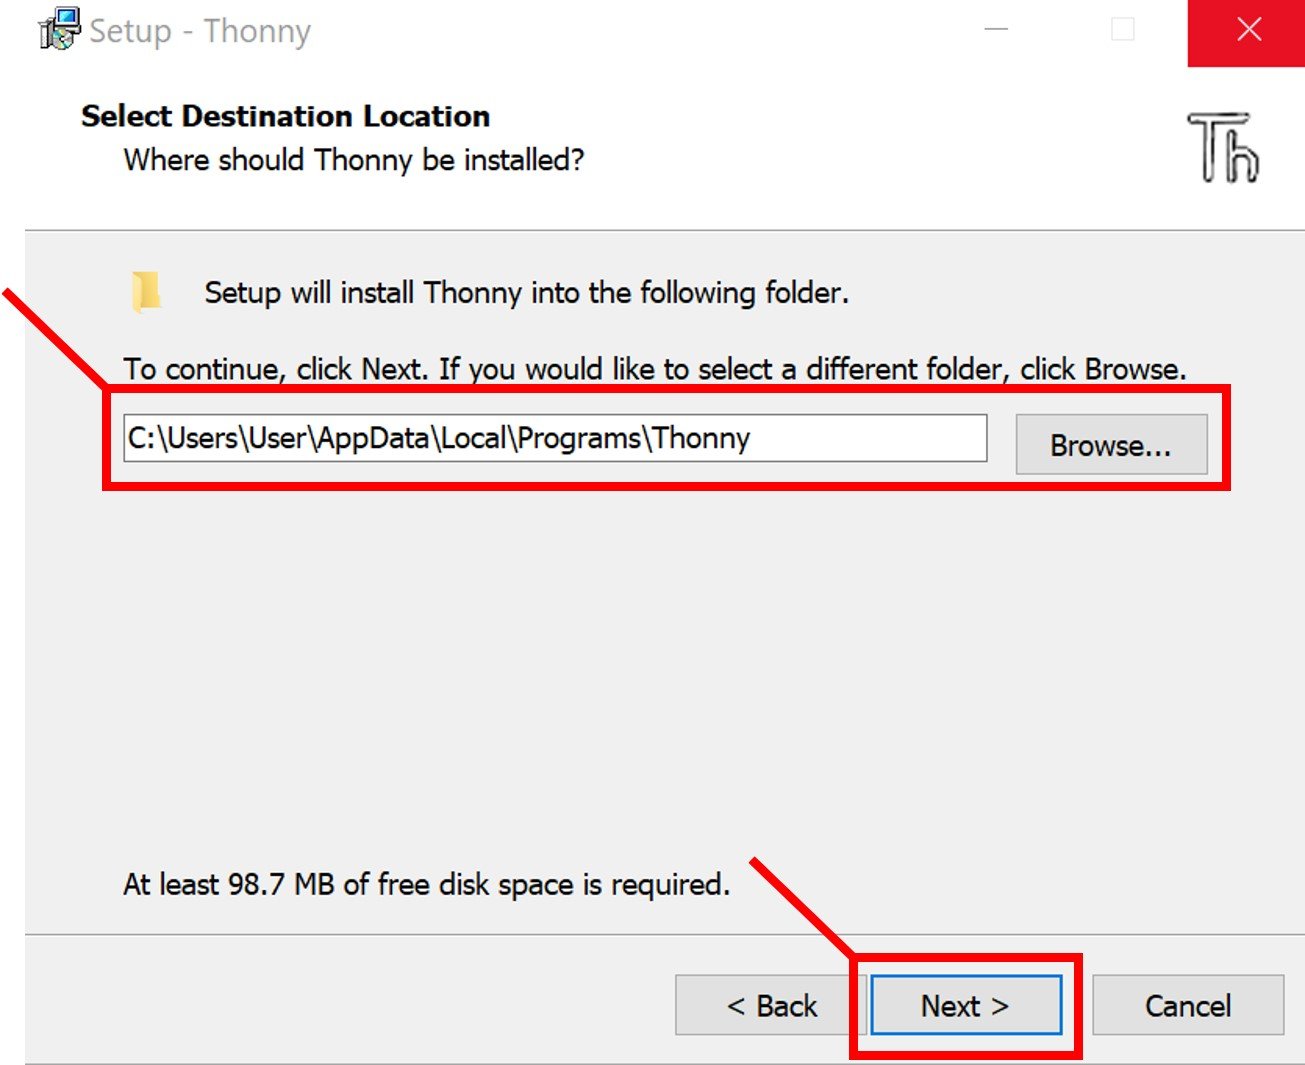
You can set the directory where Thonny should be installed by clicking the Browse button. After specifying the installation location, click Next to continue.
Follow the remaining instructions in the setup wizard. Once the installation process finishes, the following window will appear confirming that Thonny IDE has been successfully installed on Windows.
Installing Thonny IDE in Mac OS X
Since Thonny IDE is not available as a verified application on the App Store, macOS may block its installation by default. You will need to adjust your security settings to allow the installation. Follow these steps:
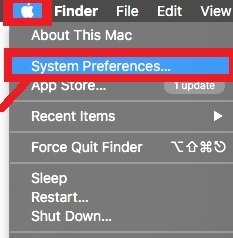
- In the Apple menu, click System Preferences
- Click on Security & Privacy

- Click on the lock icon at the bottom left to make changes to your security settings.
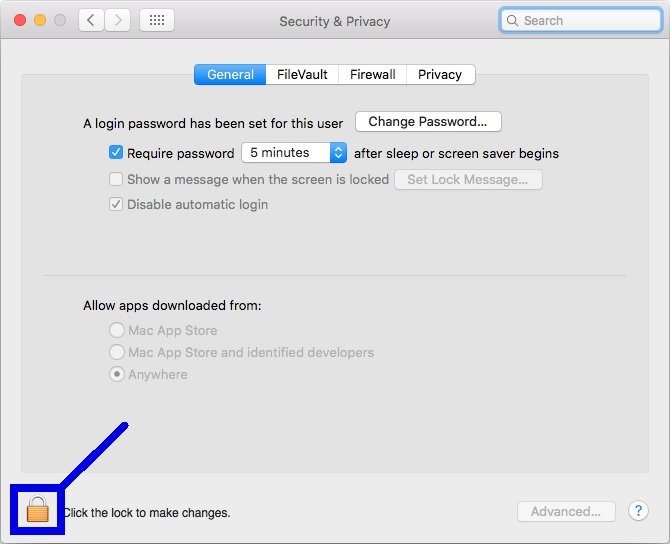
- Enter your username and password, then click the Unlock button.

After successfully entering your credentials and unlocking, select ‘Anywhere’ under “Allow apps downloaded from” to permit the installation of Thonny.

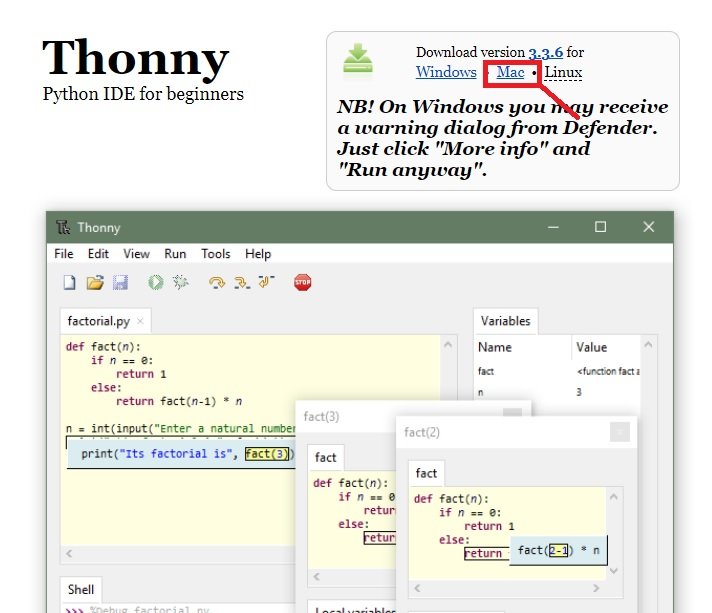
Now you can download Thonny from the official website. Click the download link for the Mac version.
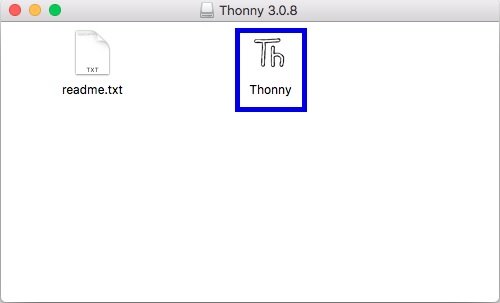
After the download completes, go to your Downloads folder and double-click the .dmg file to mount it.

Drag the Thonny icon to your Applications folder or desktop to create a shortcut.
When you open the IDE for the first time, the following language selection window will appear.
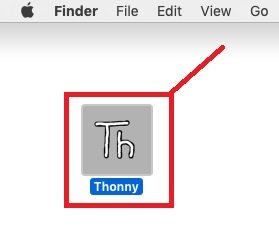
After completing the setup, the Thonny IDE main window will open. You have successfully installed Thonny IDE on macOS.
Installing Thonny IDE in Linux
To install Thonny IDE on Linux, you should first check your Linux distribution and install the required Python dependencies accordingly.
For Ubuntu and Debian-based distributions, install the following Python dependencies first:
sudo apt install python3 python3-pip python3-tkPress Enter and then type the following command to install Thonny IDE using the official installer script:
bash <(wget -O - https://thonny.org/installer-for-linux)Alternatively, you can install Thonny using pip3:
sudo pip3 install thonnyFor Fedora distribution, use this command to install Thonny IDE:
sudo dnf install thonnyAfter the installation is complete, launch Thonny by typing the following command in the terminal:
thonnyThe Thonny IDE window will appear, confirming successful installation on Linux.
Configuring Thonny IDE for Raspberry Pi Pico
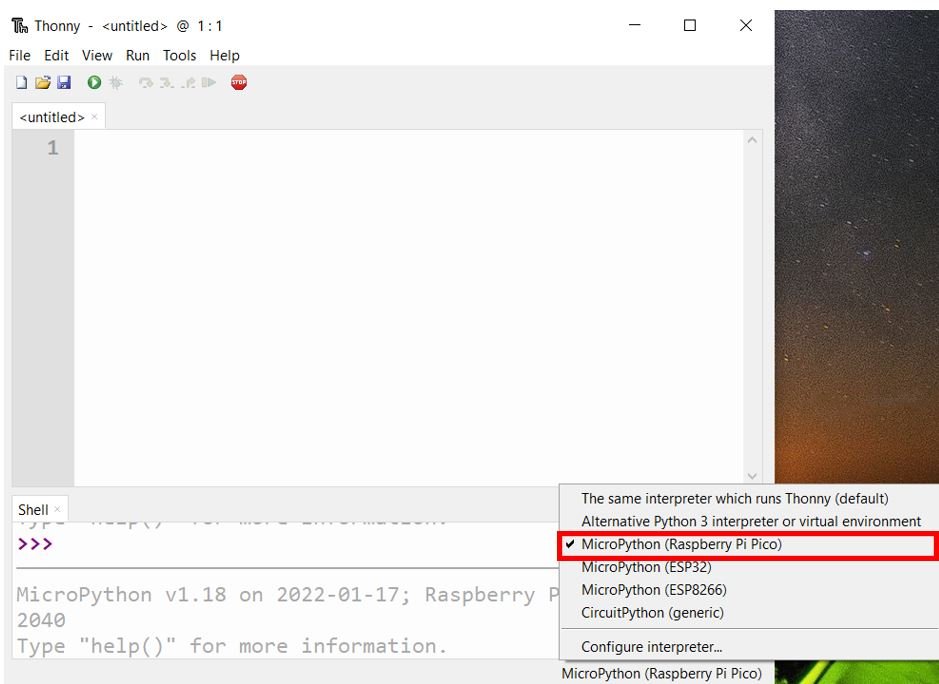
After installing Thonny IDE, you need to configure it to communicate with your Raspberry Pi Pico board. This involves selecting the correct interpreter and COM port. Follow these steps:
Open Thonny IDE and look at the bottom-right corner of the window. You will see an interpreter selection area. Click on it and select “MicroPython (Raspberry Pi Pico)” from the dropdown list. If your Pico is connected via USB, Thonny should automatically detect the correct port.
Once the interpreter is selected, your Raspberry Pi Pico board and Thonny IDE are now connected. You can verify the connection by checking the Shell window at the bottom of the IDE, which should display the MicroPython version and a prompt (>>>).
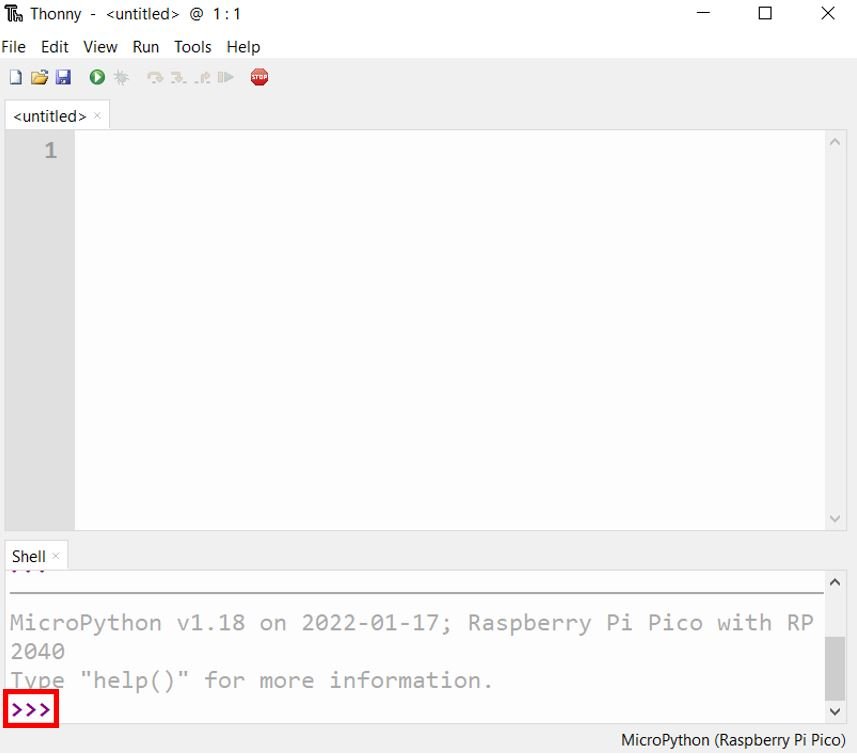
To further confirm the connection, type help() in the Shell terminal and press Enter. If you receive a response from the Raspberry Pi Pico showing general help information, it means Thonny IDE has been successfully configured for your Pico board.

Test Thonny IDE Installation with LED Blinking Example
Now that we have installed Thonny IDE and configured it for Raspberry Pi Pico, let us test the setup by controlling the onboard LED. The procedure to use Thonny IDE remains the same across Windows, Linux, and macOS.
Testing the Onboard LED via Shell
Let us first test by turning on the built-in LED of the Raspberry Pi Pico using MicroPython commands in the Shell terminal. Type the following code directly in the Shell window at the bottom of Thonny IDE. The onboard LED, which is connected to GPIO25 on the Raspberry Pi Pico, will turn on.

from machine import Pin
Pin(25, Pin.OUT).value(1)
In this code, we import the Pin class from the machine module. The Pin() method configures GPIO25 as a digital output. Calling .value(1) sets the pin HIGH, which turns the LED on.
Similarly, you can turn the LED off by entering the following command in the Shell terminal:
Pin(25, Pin.OUT).value(0)Setting value(1) turns the LED ON and value(0) turns the LED OFF. After successfully toggling the onboard LED, you can be confident that Thonny IDE is properly configured and communicating with your Raspberry Pi Pico.
Note: For the Raspberry Pi Pico W, the onboard LED is connected differently. Instead of GPIO25, you should use Pin("LED", Pin.OUT) to control the onboard LED on the Pico W model.
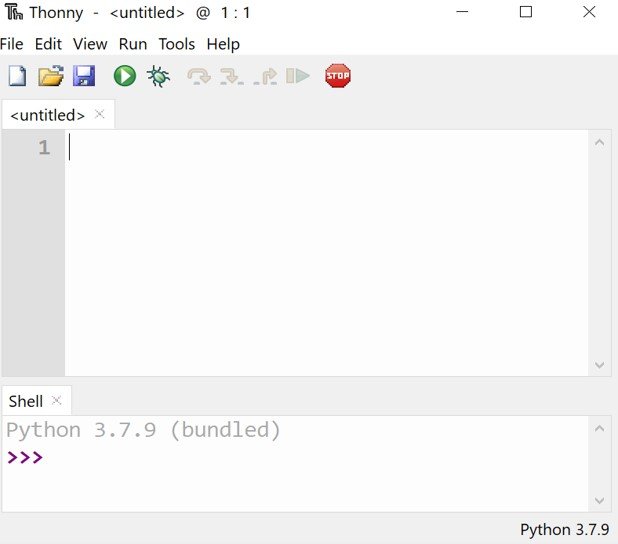
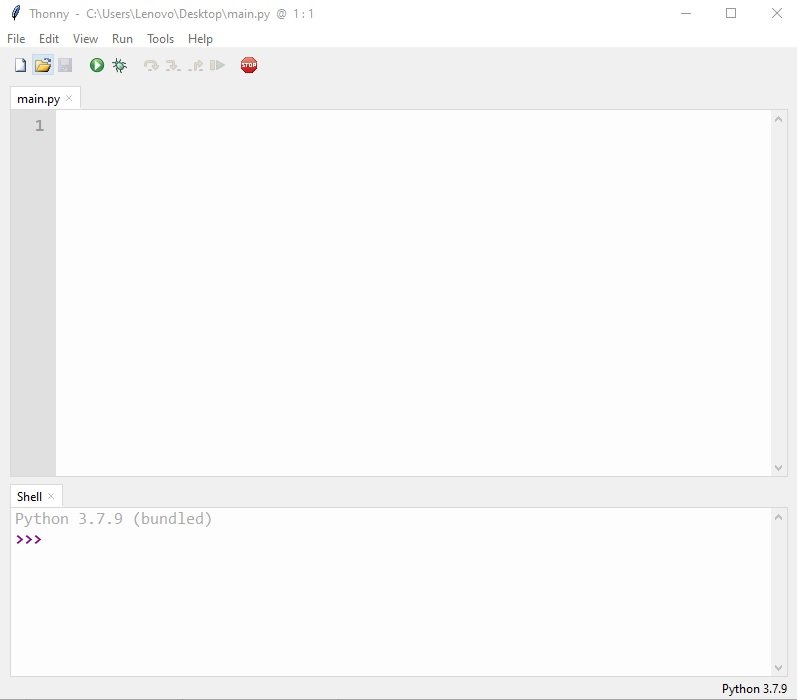
Thonny IDE Overview
Now let us take a detailed look at the Thonny IDE interface. When you open Thonny, the main window consists of two primary sections: the Editor section and the Shell (Terminal) section.
Editor Section
The Editor section occupies the top half of the screen. This is where you create, edit, and manage your .py files. You can open multiple files simultaneously using tabs, making it easy to work on several scripts at once.
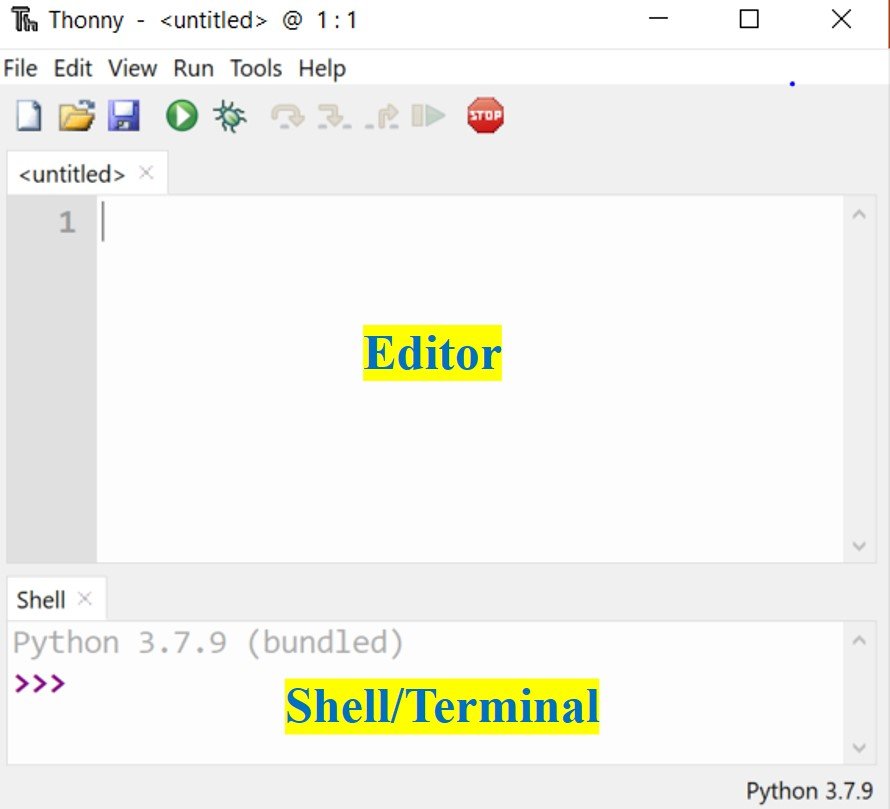
The Shell section is located at the bottom half of the screen. Through this interactive console, you can send commands directly to the Raspberry Pi Pico without writing, saving, and uploading a separate file. This allows for immediate code execution and rapid prototyping. The Shell also displays any errors encountered during code execution and clearly shows the connection status of your board.
Toolbar Section

The toolbar at the top of the IDE contains several useful buttons. Here is a description of each button from left to right:
1. New File: Creates a new empty script file. You can create and work on multiple files simultaneously using tabs.
2. Open: Opens an existing file that was previously saved on your computer or on the Raspberry Pi Pico device.
3. Save: Saves the currently active script to your computer or directly to the connected device.
4. Run: Executes the current script on the connected Raspberry Pi Pico board.
5. Debug: Starts the debugger, which helps you find syntax and logical errors by stepping through the code.
6. Step Over: Used during debugging to execute the current line and move to the next line without
Hi. I can run the initial code typed in to the shell and get make the LED switch on and off and I can run the main.py script from Thonny to switch the LED on and off once per second but when I upload the script to the Pico as main.py nothing happens.
Are you using a pico W? try this
import machine
from time import sleep
led = machine.Pin(“LED”, machine.Pin.OUT)
while True:
led.off()
sleep(1)
led.on()
sleep(1)
Hello,
Thank you for your instruction.
I have a main.py program running and it works fine as long as the Raspberry Pi Pico WH is connected to the computer (iMac). When I plug the Raspberry Pi with an USB cable to the wall-plug the main.py is not running. Do I have to add an additional command in the main.py in order to get it run or do I have to use a boot.py and if so what is the code I have to use and where must I install that file?
Thank you so much for your help.
Kind regards,
Yvonne