⚠️ Affiliate Disclosure: This post contains Amazon affiliate links. If you purchase through our links, we may earn a small commission at no extra cost to you. We only recommend kits we have researched and verified against live Amazon listings. Prices change constantly, so we deliberately don’t print them here. Always tap through and confirm the current price and variant on Amazon before buying.
Ultimate Buying Guide
🛣️ Best Line Follower Robot Kits for Beginners, Students & Makers
8 line following robot kits ranked, from a cheap Arduino IR tracker to a four-sensor PID micro:bit racer, a classroom Scratch robot and a Raspberry Pi car that follows the line with a camera instead of sensors, with real specs, honest verdicts and verified Amazon links.
✅ 8 Kits Reviewed
✅ Verified Amazon ASINs
✅ Arduino · micro:bit · Raspberry Pi
✅ Honest Pros & Cons
The line follower robot is the oldest teaching project in mobile robotics, and it has survived for a good reason. A robot that has to stay on a black line teaches you the entire control loop in miniature: a sensor reads the world, your code turns that reading into an error term, and two motors have to correct for it fast enough that the robot does not oscillate off the track. Get it right and you have implemented closed-loop control, usually a proportional or full PID controller, on real hardware. That single idea carries straight into drone stabilisation, motor speed control and every servo loop you will ever write.
What has changed is how many ways you can now buy into it. A twenty-dollar chassis with three infrared reflectance sensors is still the classic route, and it is still the best way to learn why sensor spacing and sampling rate matter. But a modern kit might instead give you four fused sensors feeding a PID block, encoder motors that hold a straight line on their own, a quad RGB sensor that also reads coloured markers, or a Raspberry Pi with a camera that finds the line in OpenCV rather than with sensors at all. This guide ranks 8 line follower robot kits across Arduino, micro:bit and Raspberry Pi, and tells you which one actually matches how you want to learn.
💡 Reality check before you buy: Almost none of these are sold as “line follower robots”. They are multi-mode robot cars where line following is one mode among obstacle avoidance, app control and IR remote driving, so read the sensor spec, not the marketing. Expect to tune: infrared reflectance sensors are sensitive to ambient light, floor gloss, ride height and tape colour, and most cheap modules need their trimmer potentiometers adjusted before the robot will track reliably. Build your track from matte black electrical tape on a light, non-reflective surface, and avoid tight corners on your first run. Also check what is missing from the box: several kits ship without batteries, and the micro:bit and Raspberry Pi kits usually do not include the board that runs them.
🤖 Quick Comparison: All 8 Line Follower Robot Kits
| Robot Kit | Brain | Line Sensing | Programming | Best For | Buy |
|---|
| 🥇 ELEGOO Smart Robot Car V4 | UNO R3 + ESP32-WROVER | 3-channel IR tracking module | Arduino IDE · blocks | Best Overall | Buy Here → |
| 🏅 ELECFREAKS Cutebot Pro | BBC micro:bit (not included) | 4 sensors fused for PID | MakeCode · Python | Best for Real PID Tracking | Buy Here → |
| 🎓 Makeblock mBot2 | CyberPi (ESP32-class) | Quad RGB line sensor | Scratch · Python (mBlock) | Best for Classrooms | Buy Here → |
| 🍓 SunFounder PiCar-X | Raspberry Pi (not included) | 3-channel grayscale module | Python · Scratch | Best Raspberry Pi Kit | Buy Here → |
| 👁️ Hiwonder TurboPi | Raspberry Pi + OpenCV | HD camera, vision based | Python · ROS2 | Best Vision Line Following | Buy Here → |
| 📚 OSOYOO Robot Car Starter Kit | UNO R3 compatible | 3-way tracking sensor | Arduino IDE | Best Guided Lesson Course | Buy Here → |
| 🔧 Freenove 4WD Car Kit | UNO R3 compatible | IR tracking module (fixed gain) | Arduino IDE | Best 4WD Builder Kit | Buy Here → |
| 🔰 LAFVIN Smart Robot Car Kit | UNO R3 board included | IR line tracking module | Arduino IDE | Best Budget First Build | Buy Here → |
Specs come from the current Amazon listings and manufacturer documentation. Several of these kits sell in multiple bundles (with or without the micro:bit, with or without a Raspberry Pi, with or without a remote), so check exactly which variant a listing is selling. We deliberately do not publish prices because they move constantly. Tap through and check the live price yourself.
🔍 What to Look for in a Line Follower Robot Kit
🎯
Number of Line Sensors
Two sensors give you a crude left or right decision and a robot that wobbles. Three is the classic minimum: left, centre, right. Four or five lets you compute a weighted position error instead of a direction, which is what makes smooth PID tracking and junction detection possible. Sensor spacing matters as much as count, so a wide array handles gentle curves better than a narrow one.
🎚️
Analog Output vs Digital
A digital module gives you a bare 0 or 1 once a comparator has already decided, so all you can build is a bang-bang controller. An analog reflectance reading lets you calibrate against your own track and interpolate the line’s exact position between sensors. If the datasheet only mentions digital pins, expect a jerky robot and plan on hand-tuning the trimmers.
⚙️
Motors and Encoders
Plain gear motors are never perfectly matched, so an open-loop robot drifts even on a straight line. Encoder motors close that loop: the controller knows how far each wheel actually turned, drives straight without correction, and can travel a commanded distance. They also make speed a controllable variable rather than a PWM guess.
🧠
Controller Platform
An Arduino kit gives you the tightest loop and the most transferable C++ skills. micro:bit is the fastest path from blocks to a working PID for a young learner. A Raspberry Pi is what you need only if you want to follow the line with a camera and OpenCV, which is a computer vision project wearing a line follower costume.
📦
What Is Actually in the Box
This is where these kits differ most. Check for the battery (several ship without one, and 18650 cells plus a charger add real cost), the controller board (micro:bit and Raspberry Pi are usually sold separately), a printed manual versus a download link, and whether the source code is published in an editable form rather than a locked app.
🏆 Detailed Reviews: All 8 Line Follower Robot Kits
🥇 BEST OVERALL
ELEGOO Smart Robot Car Kit V4
⭐ 4.5/5 · Arduino Line Tracker with FPV Camera
Buy on Amazon →

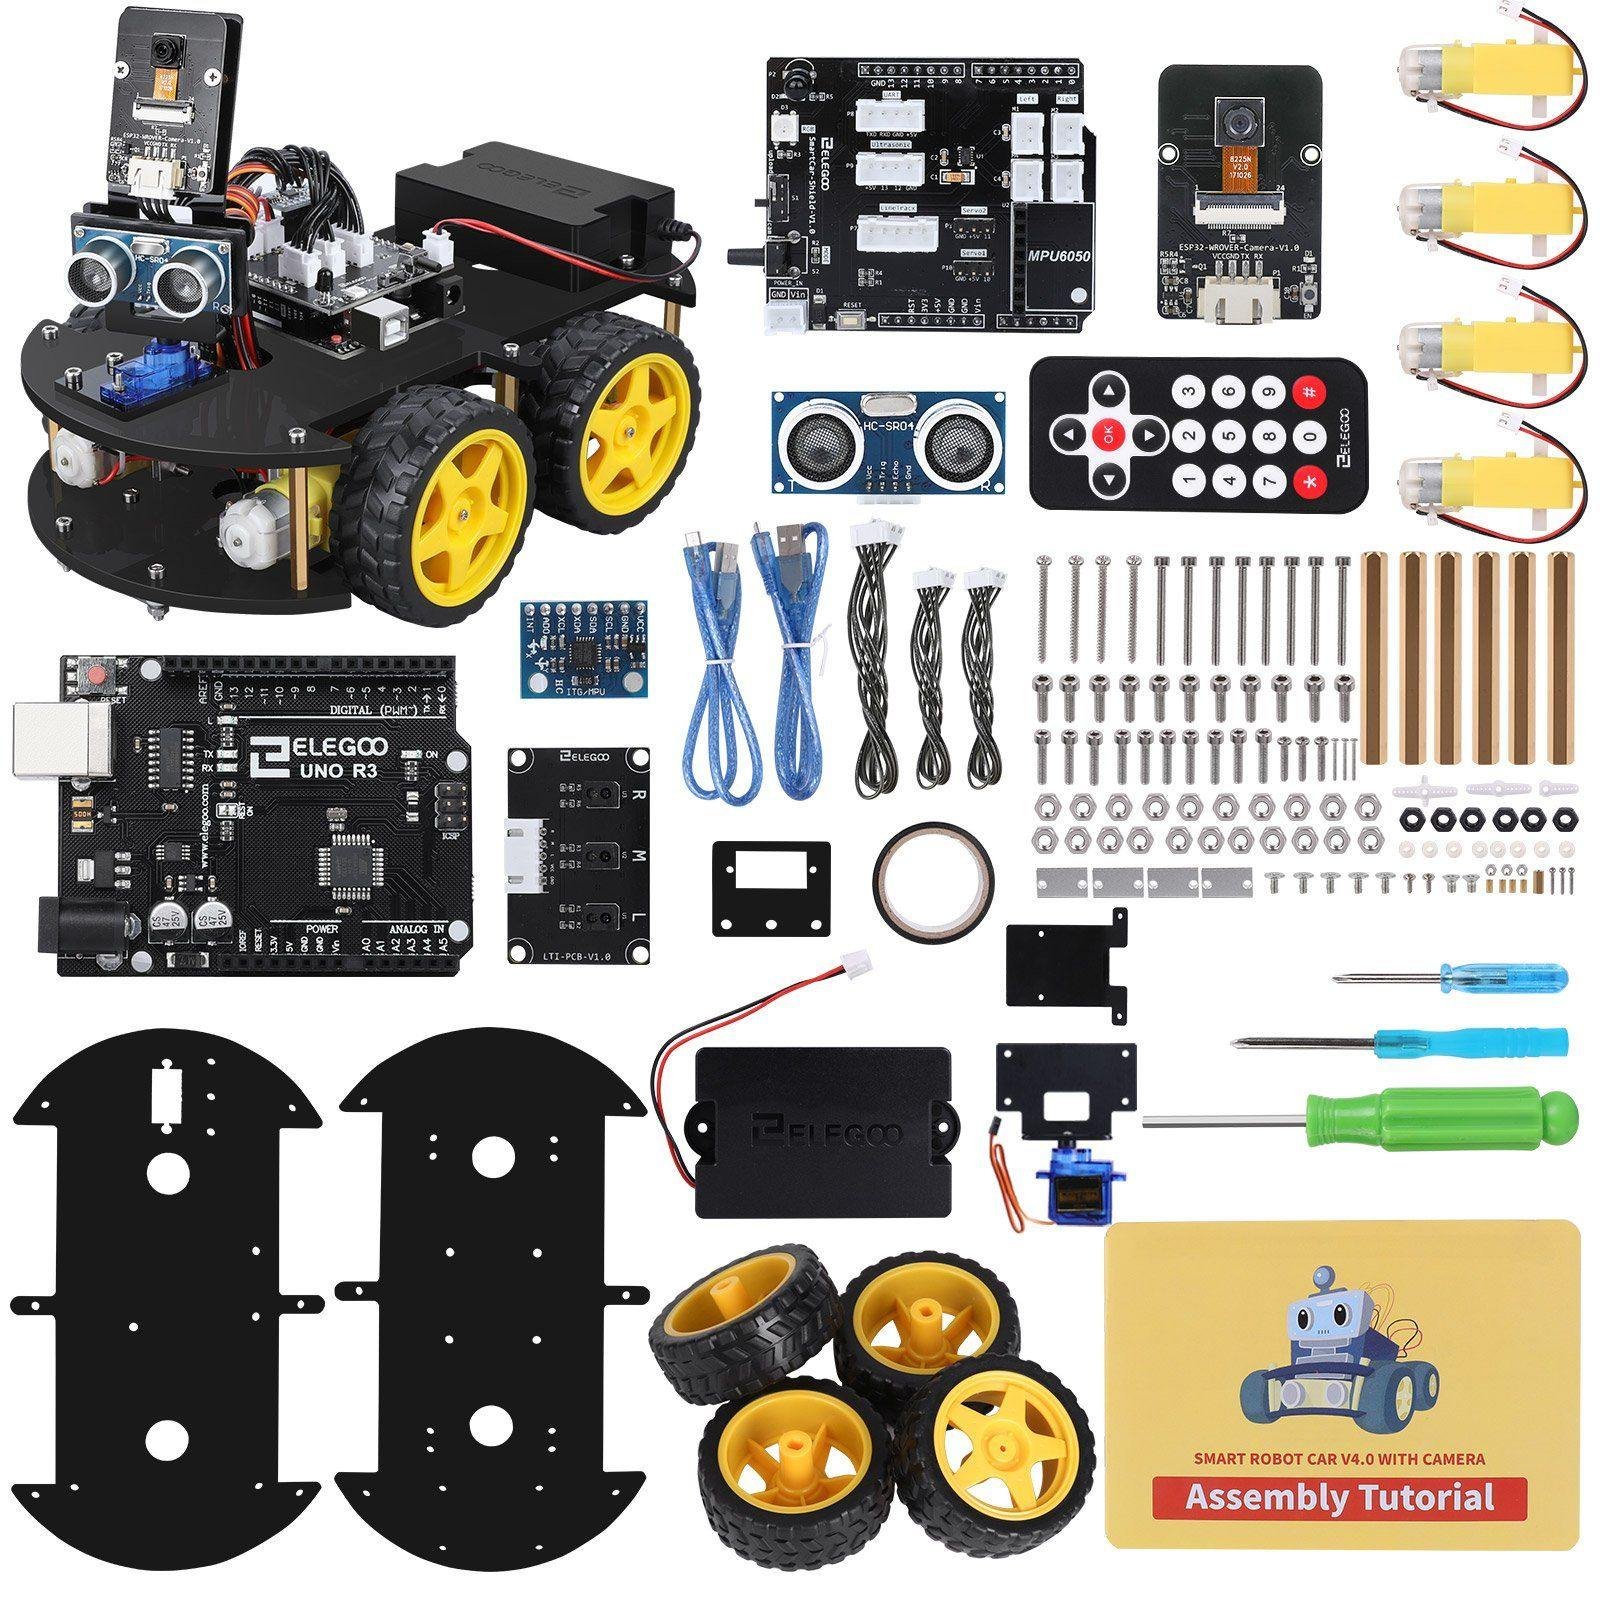
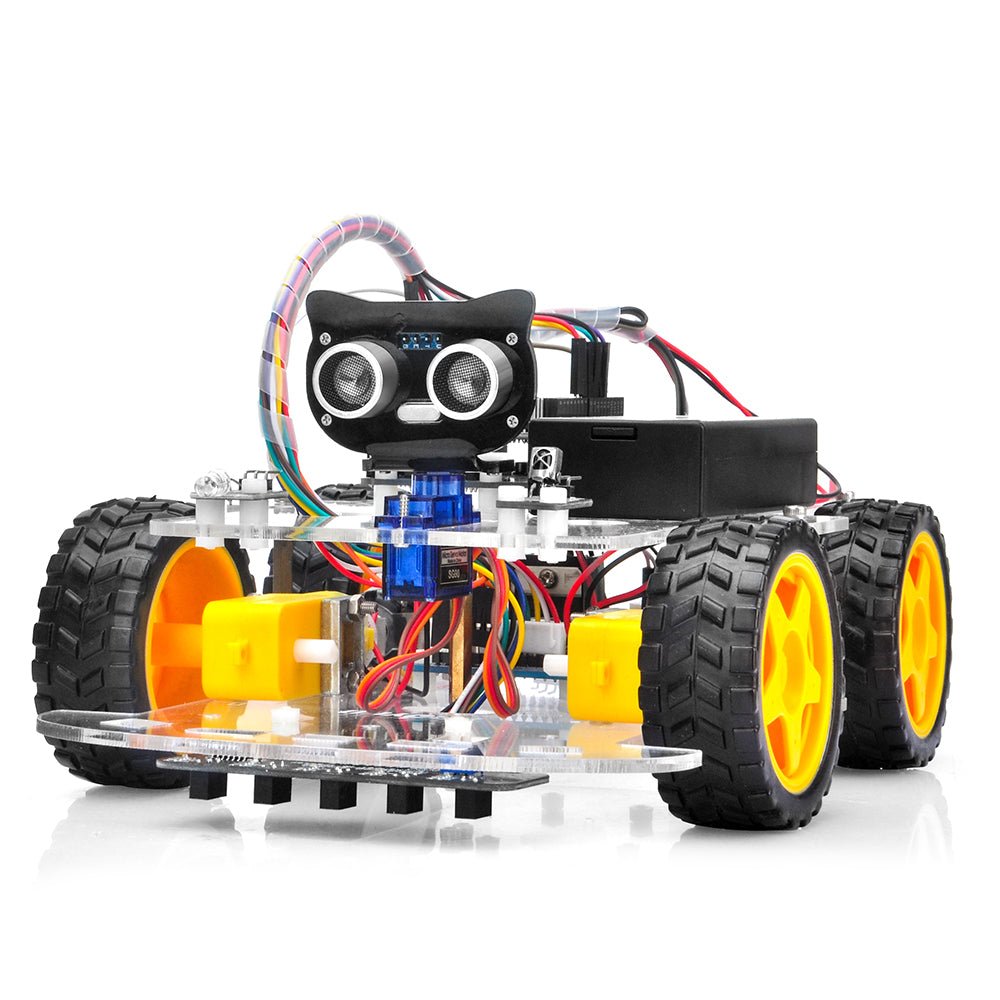
The ELEGOO Smart Robot Car V4 is the kit we would hand to almost anyone who says “I want to build a line follower”. Underneath it is an UNO R3 controller board with a TB6612 dual-channel driver and four 1:48 gear motors, and the line tracking module on the belly is a three-channel infrared array, each channel a transmitter and receiver pair with its own trimmer. That is the classic left, centre, right layout, which means the code you write here is the textbook line following algorithm and ports to any other Arduino chassis you build later. What lifts it above the rest of the field is everything around that: an ESP32-WROVER Wi-Fi and camera module for FPV driving, an ultrasonic sensor on a servo gimbal, a bundled 2000 mAh rechargeable pack that ELEGOO rates at roughly two hours in line-tracking mode, keyed XH2.54 connectors that make miswiring hard, and genuinely good illustrated documentation with staged source code. With over 4,400 ratings it is also the most battle-tested kit here.
✅ Pros- Textbook 3-channel IR array with adjustable trimmers
- Rechargeable battery and charger included
- Keyed connectors and excellent staged tutorials
- Camera and Wi-Fi open up a second project later
- Huge user base, so problems are already answered
❌ Cons- Only one spare expansion connector, less than V3 offered
- Companion app is basic and reviews on it are mixed
- Acrylic body shows every fingerprint
- Line following is one mode among several, not the focus
🎯 Verdict: The best all-round line follower kit. Classic three-sensor tracking done properly, with the build quality, battery and documentation to get a first-timer to a working robot in an afternoon.
👉 Check Price on Amazon →
🏅 BEST FOR REAL PID LINE TRACKING
ELECFREAKS Cutebot Pro
⭐ 4.7/5 · The micro:bit Line Racer
4 Sensors
FUSED TO ONE ANALOG
Encoders
CLOSED-LOOP MOTORS

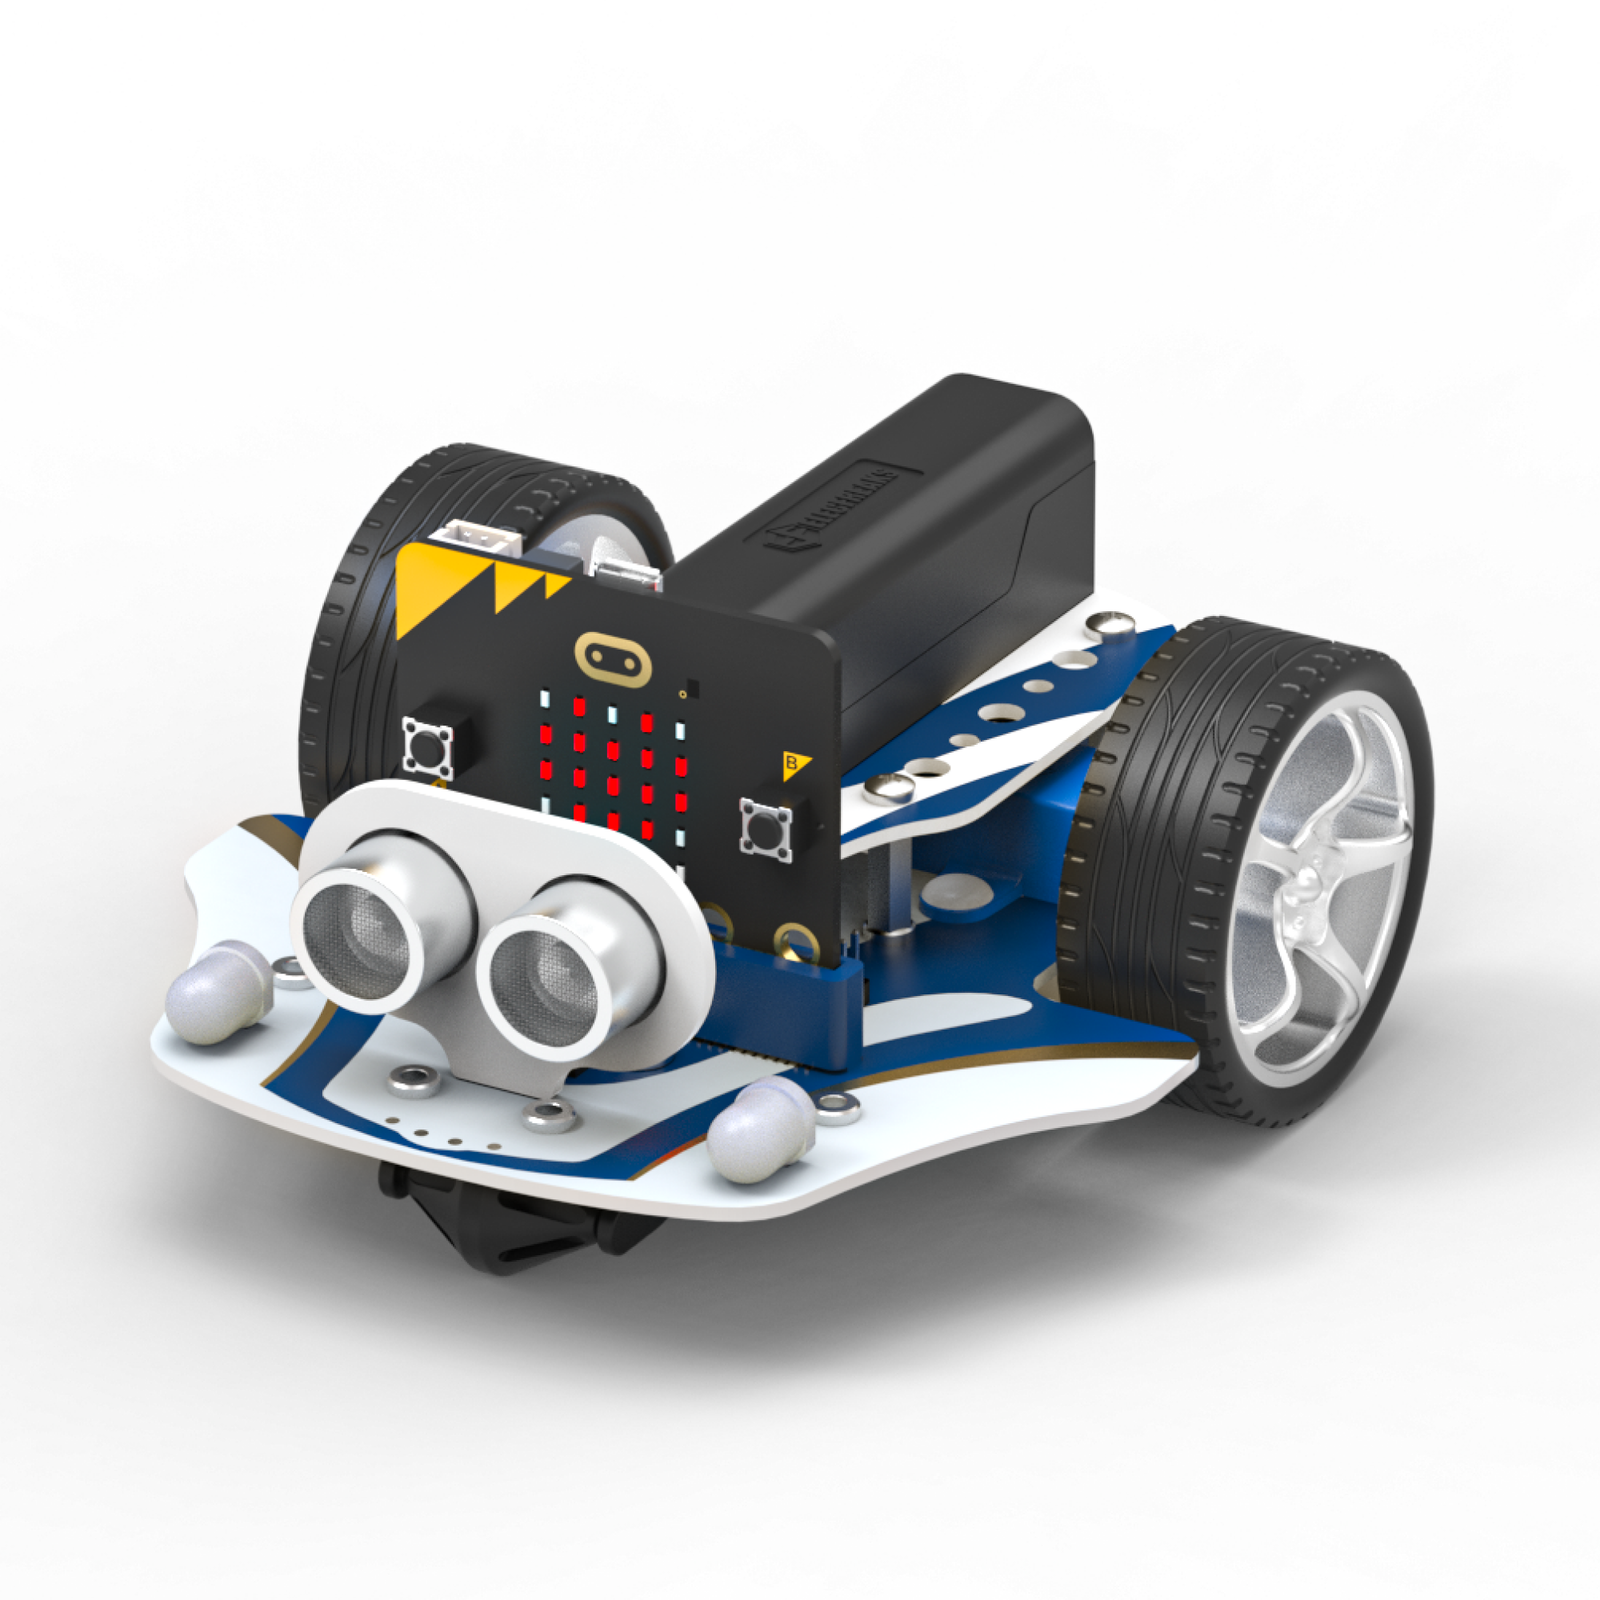
If the point of the exercise is line following itself rather than owning a robot car, the Cutebot Pro is the sharpest tool here. ELECFREAKS upgraded the original Cutebot to four line-tracking sensors, and critically the firmware fuses all four readings into a single analog value so you can feed a genuine PID controller instead of a chain of if-statements. Four sensors also mean the robot can recognise complex track features that three cannot, such as crossroads and T-junctions, which is what maze and grid challenges are built from. The second upgrade matters just as much: closed-loop encoder motors, so it drives a commanded distance and holds a straighter line than any open-loop kit on this list. You program it in MakeCode blocks or Python, there is a 3-pin port for extra sensors, and the chassis takes standard building blocks. It is pre-built, so there is no soldering or assembly, and the micro:bit and batteries are not included.
✅ Pros- Four sensors fused into one analog value for PID
- Detects crossroads and T-junctions, not just a line
- Closed-loop encoder motors drive a set distance
- Highest rated kit in this guide
- Blocks to Python on the same hardware
❌ Cons- micro:bit board and batteries sold separately
- Pre-assembled, so you skip the build experience
- Small review count on the Amazon listing
- Tied to the MakeCode ecosystem rather than C++
🎯 Verdict: The best kit for actually learning PID line following. Buy this if the control loop is the project and you do not want the chassis to be the hard part.
👉 Check Price on Amazon →
🎓 BEST FOR CLASSROOMS · ⭐ 4.4/53. Makeblock mBot2
CyberPi controller · quad RGB line sensor · Scratch and Python in mBlock · Wi-Fi, Bluetooth and USB · about 5 h battery
Buy Here →

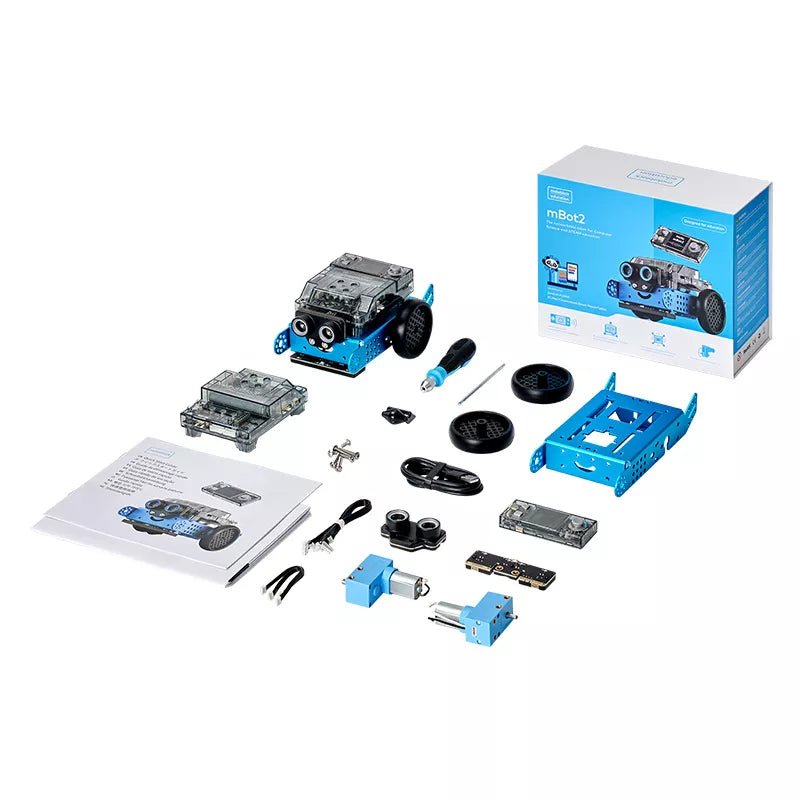
The mBot2 is the kit to buy when the robot has to survive a room full of students. Its quad RGB line-following sensor does more than find a black line: because it reads colour, the same sensor detects coloured markers and background changes, so a lesson can progress from “stay on the line” to “stop at the red square” without new hardware. The CyberPi controller adds a colour screen, speaker, microphone and Wi-Fi, and everything is programmed in mBlock, where the same project switches between Scratch blocks and Python. Battery life is roughly five hours, connection is Bluetooth, USB or Wi-Fi, and the metal beam construction takes a beating. The trade is that this is the most expensive Arduino-alternative here and the ecosystem is closed compared with an UNO you can rewire at will.
✅ Pros: Quad RGB sensor reads colour as well as the line; Scratch and Python side by side in mBlock; about 5 hours per charge; rugged classroom build; big library of lesson plans.
❌ Cons: Priciest kit for what it does; closed Makeblock ecosystem; add-on packs cost extra; not the kit for learning raw Arduino C++.
🎯 Verdict: The best line follower for teaching. One sensor covers line, colour and marker lessons, and mBlock takes a class from blocks to Python without changing robots.
🍓 BEST RASPBERRY PI KIT · ⭐ 4.1/54. SunFounder PiCar-X
3-channel grayscale module · pan-tilt camera · ultrasonic · Ackermann steering · Python and Scratch · Raspberry Pi not included
Buy Here →
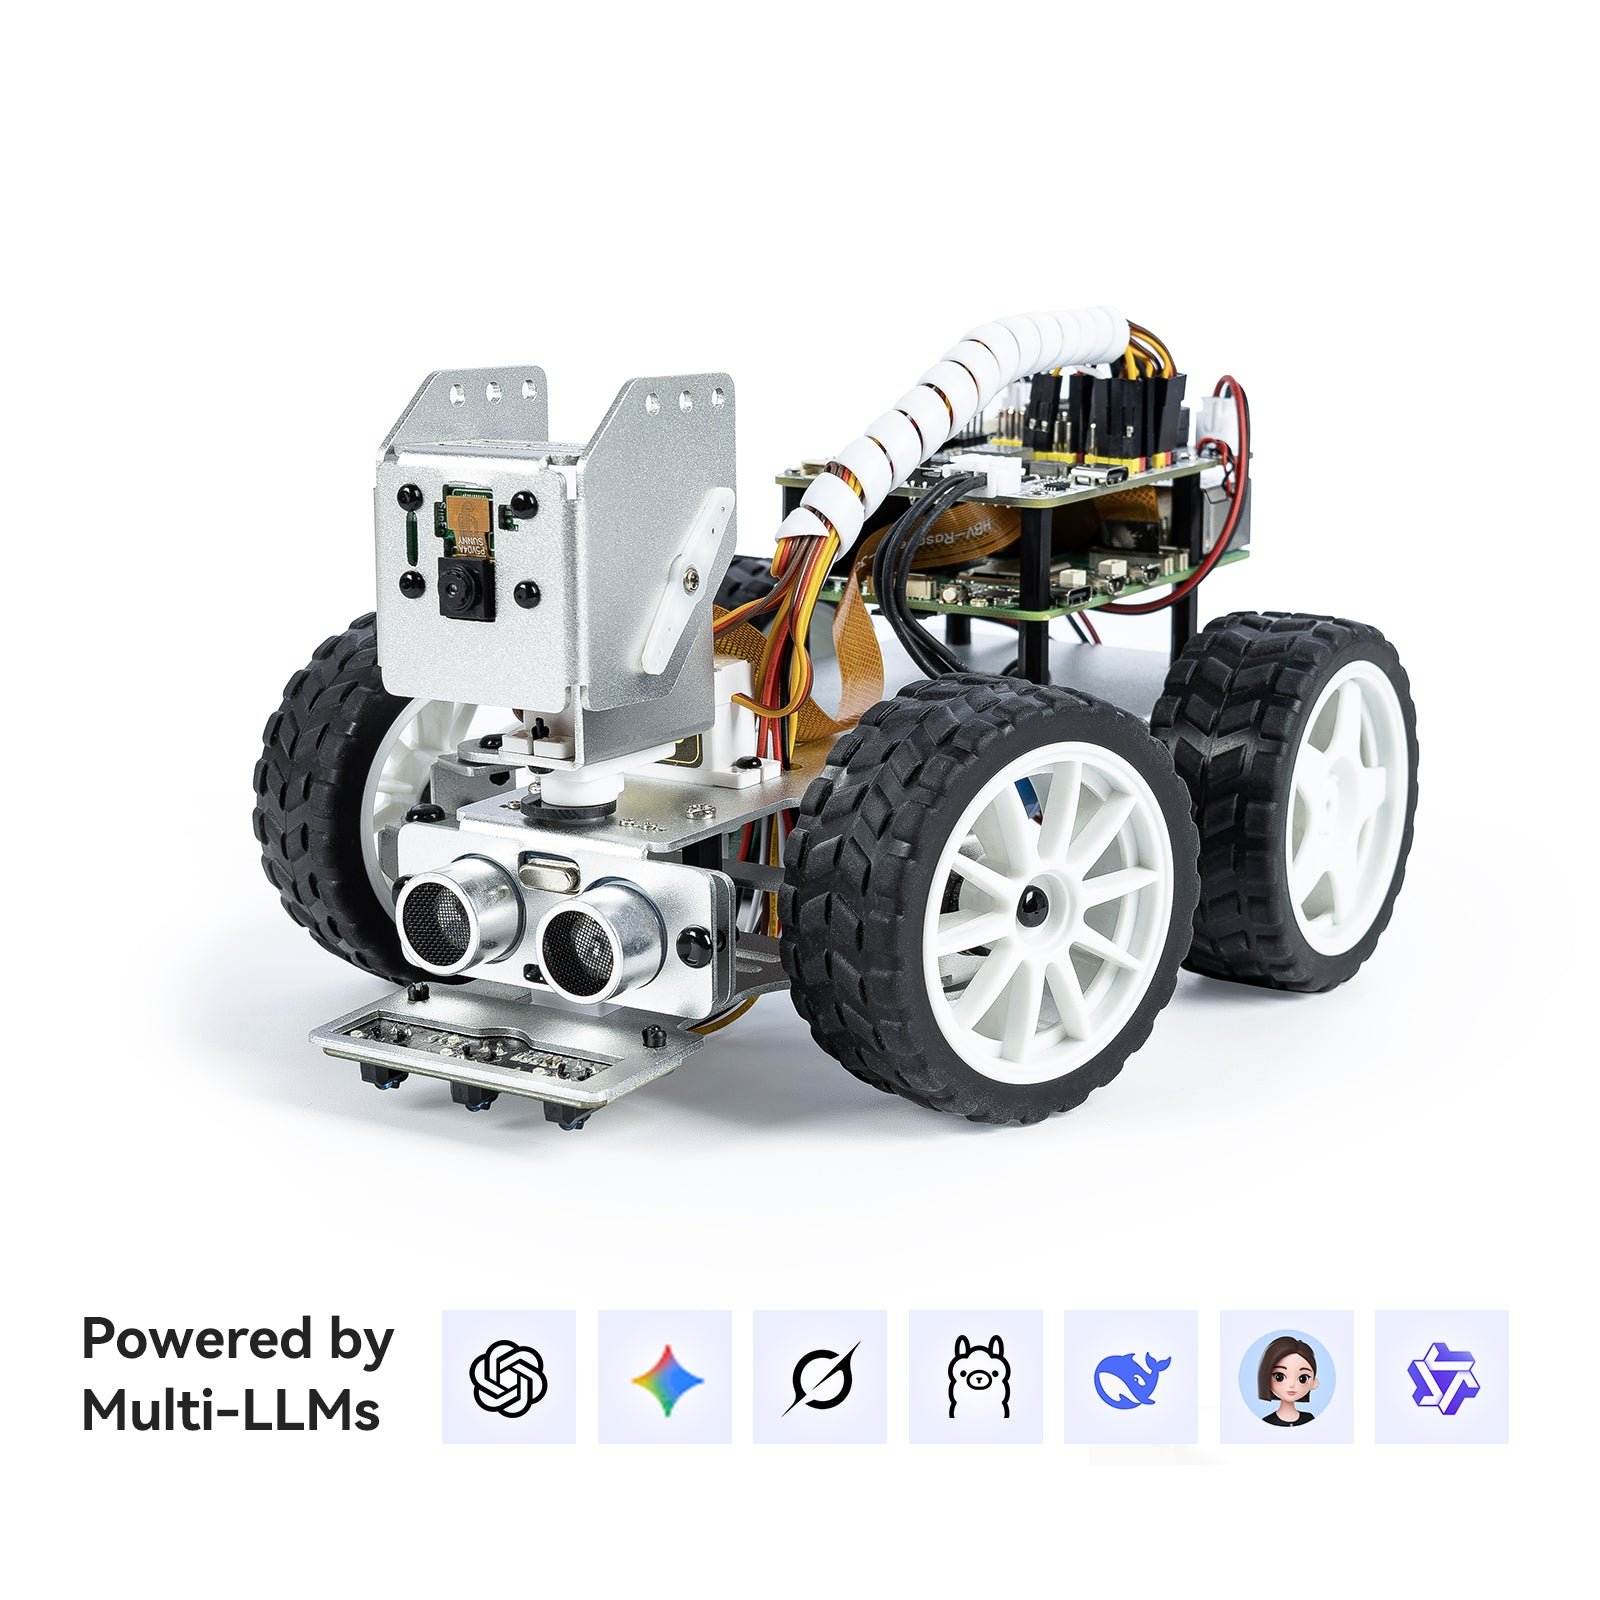
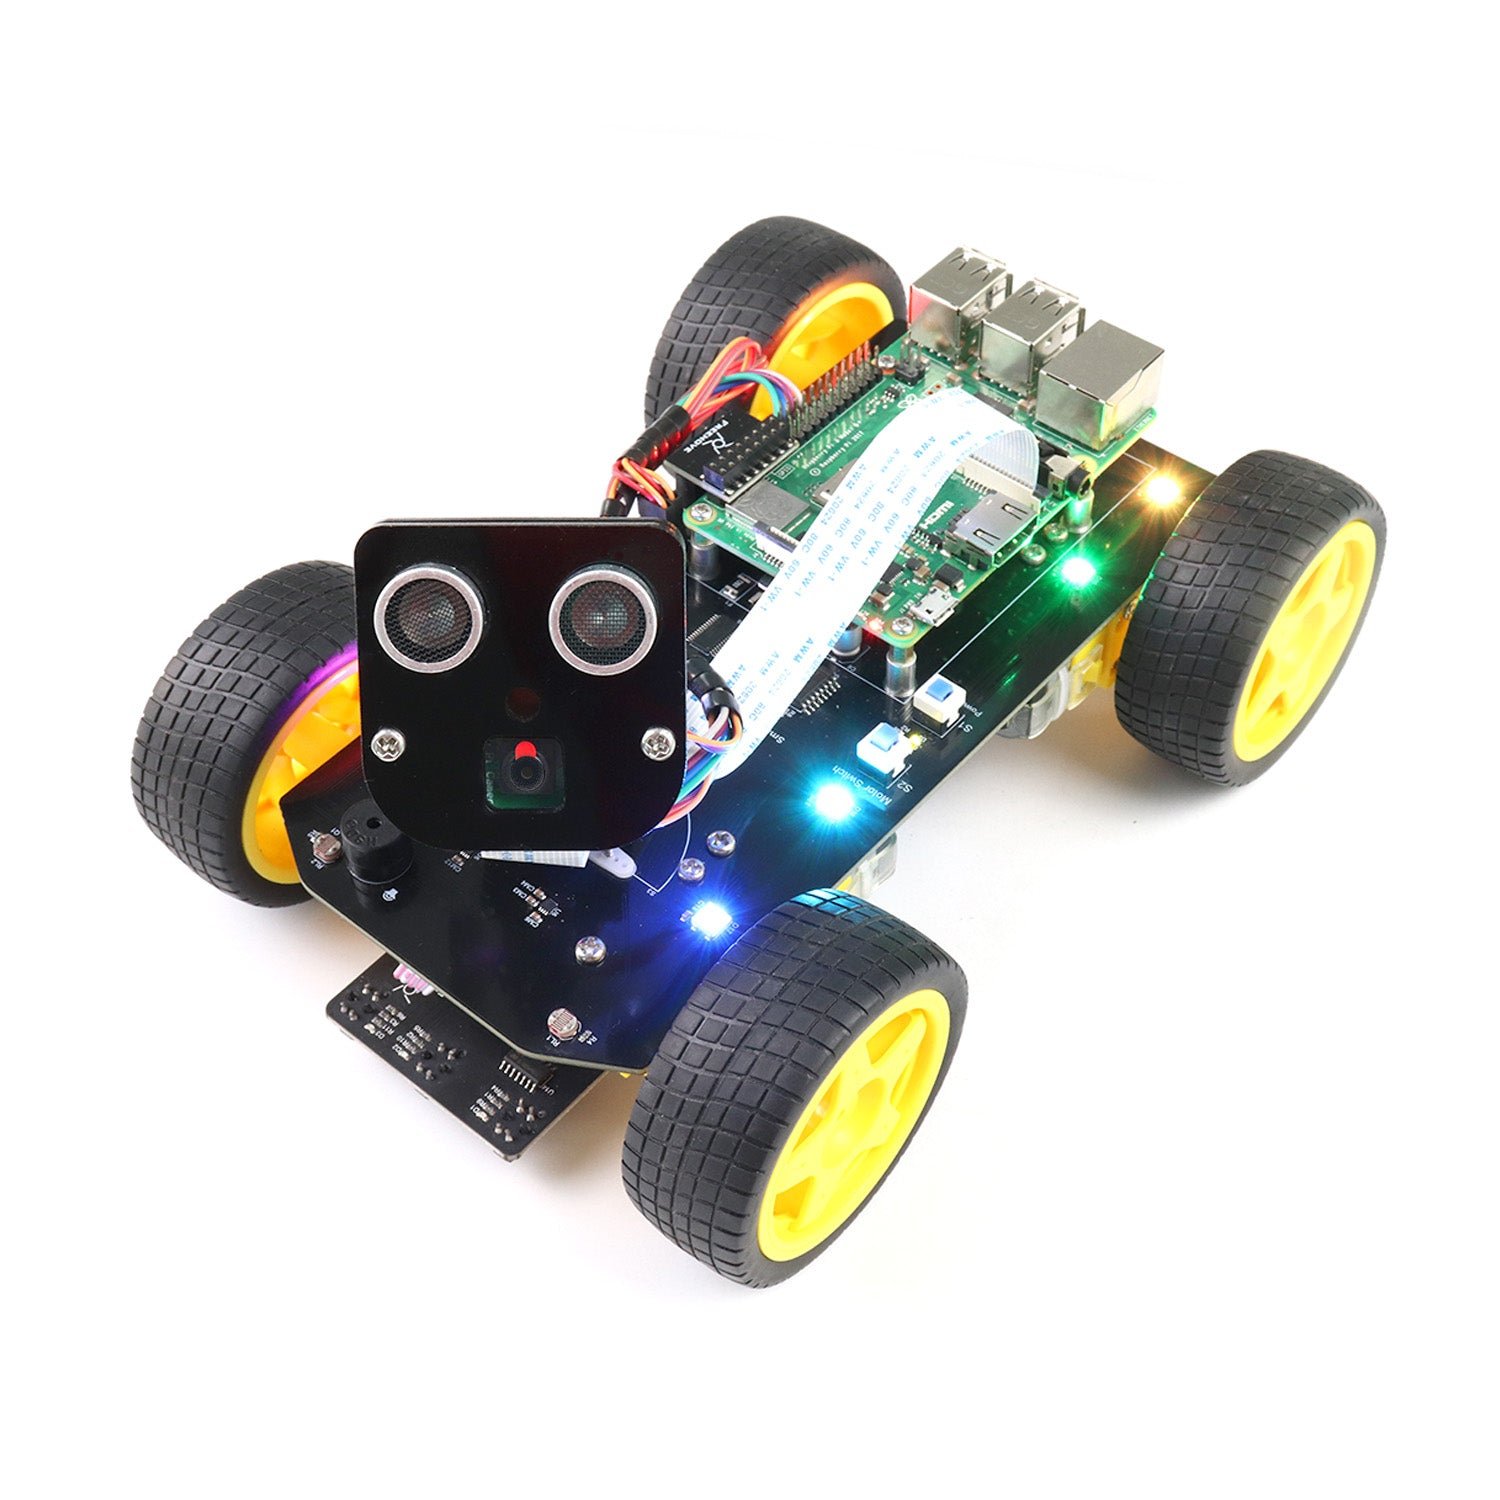
The PiCar-X is the natural pick if you want to write your line following algorithm in Python on Linux. Its three-channel grayscale module mounts under the nose and does double duty as a line sensor and a cliff detector, and because the readings arrive as analog values in Python you can calibrate thresholds properly and log data while the robot runs. The rest of the platform is unusually well thought out: Ackermann steering rather than differential turning, which changes the control problem in an interesting way, a two-axis pan-tilt camera, an ultrasonic sensor and a speaker. SunFounder now bundles Openclaw and large language model integrations for voice interaction, which is a fun extra but not why you buy it. Note that the Raspberry Pi is not included on this listing, and reviews describe assembly as beginner-friendly but long.
✅ Pros: Grayscale module handles line following and cliff detection; real Python API and Scratch option; Ackermann steering is a genuinely different control exercise; camera and speaker included; excellent online docs.
❌ Cons: Raspberry Pi, SD card and batteries sold separately; long assembly; Linux boot time makes iteration slower than an Arduino; overkill if you only want a line follower.
🎯 Verdict: The best Raspberry Pi line follower. Buy it if you want to write the control loop in Python and grow the robot into a vision project later.
👁️ BEST VISION LINE FOLLOWING · ⭐ 3.8/55. Hiwonder TurboPi
2-DOF HD camera · OpenCV line following, colour sorting and target tracking · mecanum wheels · Python and ROS2 · aluminium chassis
Buy Here →

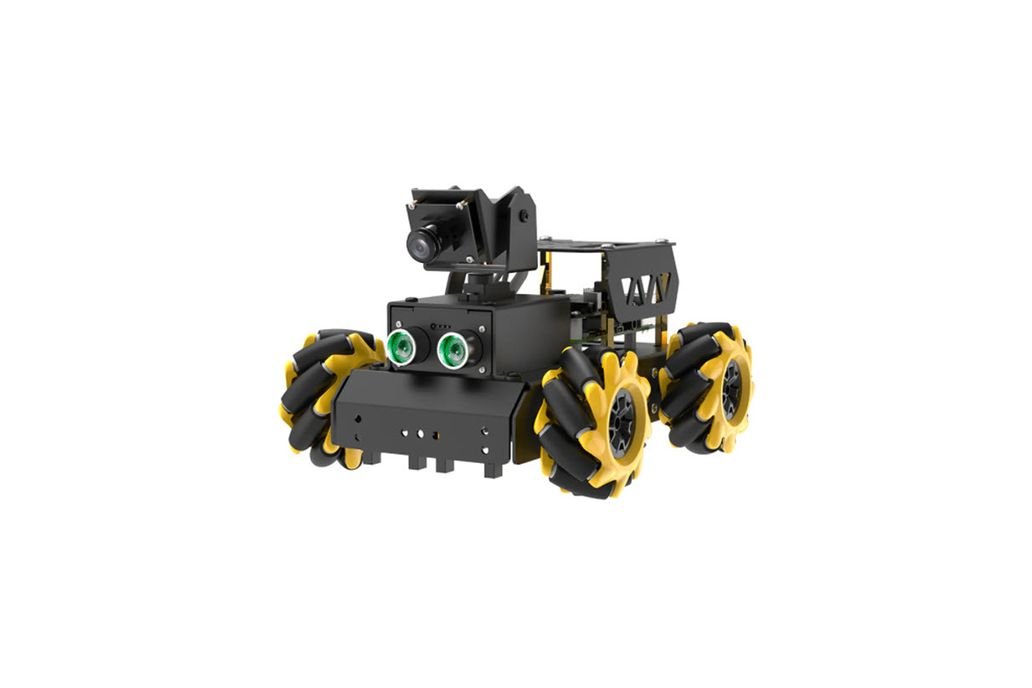
The TurboPi follows lines the way a self-driving car does, with a camera and OpenCV rather than reflectance sensors. A 2-DOF HD camera feeds Python vision pipelines that Hiwonder ships as working demos for line following, colour sorting, target tracking, gesture recognition and face detection, and the newer bundles run on ROS2 with a multimodal AI model for voice interaction. The chassis rides on omnidirectional mecanum wheels over an aluminium frame, so it can strafe sideways to correct rather than only steer. Two honest caveats. First, this sits well above the price of every other kit here and the Raspberry Pi is not included on this listing, so read the variant carefully. Second, its Amazon rating is the lowest in this guide, and vision-based tracking is much fussier about lighting than an IR sensor is.
✅ Pros: Genuine OpenCV vision line following with working example code; mecanum wheels allow omnidirectional correction; ROS2 support; metal chassis; grows into colour sorting and tracking projects.
❌ Cons: Far more expensive than the rest of this list; Raspberry Pi not included in the standard kit; lowest review score here; camera tracking is very sensitive to lighting and glare.
🎯 Verdict: The pick if you want computer vision, not IR sensors. Excellent for an OpenCV course, but it is a premium platform and priced accordingly.
📚 BEST GUIDED LESSON COURSE · ⭐ 4.3/56. OSOYOO Robot Car Starter Kit
UNO R3 compatible board · 3-way tracking sensor · ultrasonic · Bluetooth and Wi-Fi shield · numbered lesson series
Buy Here →

OSOYOO’s strength is not the hardware, it is the curriculum. The kit builds up in numbered lessons published on the OSOYOO site, and the robot gains one capability at a time: basic driving, then obstacle avoidance, then Lesson 4, the line tracking robot car, then IR remote, Bluetooth and Wi-Fi control. For a self-taught beginner that structure is worth more than an extra sensor, because you never face a blank sketch. The bundle itself is generous: an UNO R3 compatible board, OSOYOO’s Model X motor driver, a three-way tracking sensor module, an ultrasonic sensor with holder, a Bluetooth module, a Wi-Fi shield and a full bag of jumper wires. Assembly is a real build with screws and standoffs, and the chassis is plain compared with the ELEGOO, but every step is documented.
✅ Pros: Structured lesson-by-lesson course with a dedicated line tracking lesson; Wi-Fi and Bluetooth included; genuinely complete parts bundle; good value for the module count.
❌ Cons: Plainer chassis and documentation than ELEGOO; batteries not included; several kit revisions exist, so match the lessons to your version; wiring is more manual.
🎯 Verdict: The best kit for someone teaching themselves. The lesson series turns a box of parts into a course, and line tracking arrives right when you are ready for it.
🔧 BEST 4WD BUILDER KIT · ⭐ 4.1/57. Freenove 4WD Car Kit
Four driven wheels · line tracking and obstacle avoidance modes · rotatable ultrasonic head · phone app or RF remote · Arduino IDE
Buy Here →

The Freenove 4WD is the fast one. Four driven wheels and a light chassis make it noticeably quicker than most kits in this class, which is fun on a long, gentle track and unforgiving on a tight one. It runs three modes out of the box, line tracking, obstacle avoidance and manual control, from a phone app or an optional RF joystick remote, and Freenove publishes a complete tutorial and source bundle. Be clear about the compromises, though. There is no printed manual, only a download link on the box; no batteries, and it wants two 18650 cells plus a charger; and one detailed review from a robotics instructor running a class of twenty reported that the tracking module has no sensitivity trimmers, unlike most competitors, so on some floors you have to remount it lower and further forward to get clean readings. Reviews are also more mixed than the field average.
✅ Pros: Genuine 4WD and fast; rotatable ultrasonic head; three working modes and clean example code; both app and RF remote options; responsive support per reviewers.
❌ Cons: Tracking module lacks sensitivity adjustment; no batteries and no printed manual; wheels can work loose on the motor shafts; mixed reviews on assembly tolerances.
🎯 Verdict: A good, quick 4WD platform for a maker who is happy to tinker. Budget for 18650 cells and expect to reposition the tracking module before it tracks cleanly.
🔰 BEST BUDGET FIRST BUILD · ⭐ 4.1/58. LAFVIN Smart Robot Car Kit
UNO R3 board included · IR line tracking module · ultrasonic sensor · Bluetooth and IR remote · Arduino IDE tutorial
Buy Here →

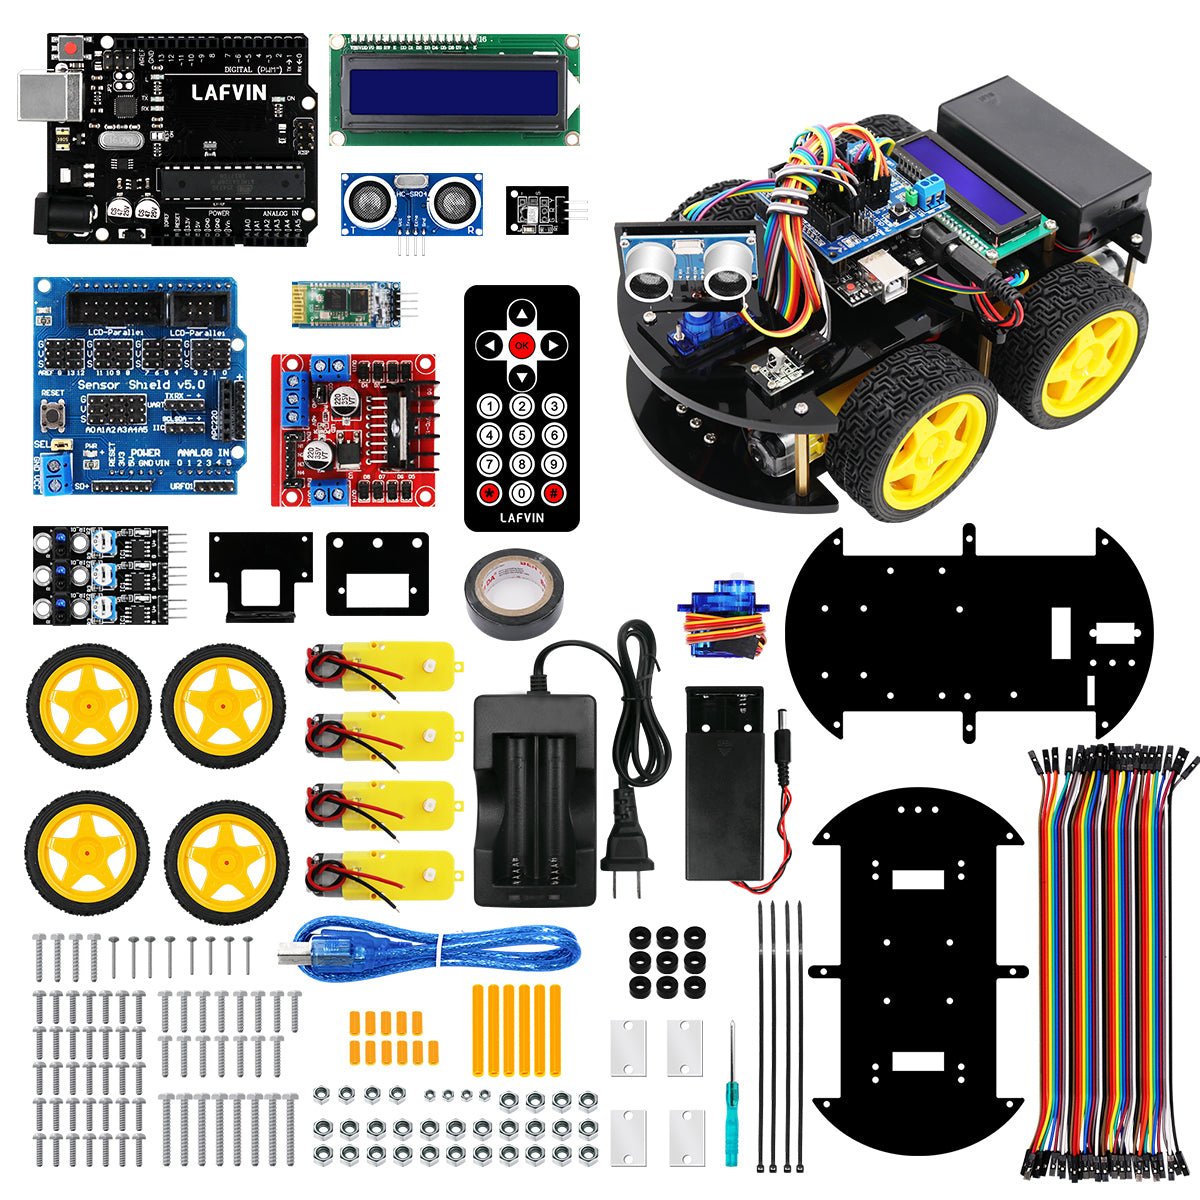
The LAFVIN Smart Robot Car is the cheapest sensible way onto this list, and it does not cut the part that matters. You get an UNO R3 compatible board, a motor driver, an infrared line tracking module, an ultrasonic sensor, a Bluetooth module and an IR remote, with a downloadable tutorial and complete Arduino sketches. Everything is standard, generic hardware, which is exactly the point: the sensors are the same modules you would buy loose, so replacing or upgrading one costs a few dollars and the code is transferable to any chassis. The finish is basic, the documentation is thinner than ELEGOO’s, and batteries are not included, but for a first line follower where you fully expect to rewire things, that is the right compromise. Just be aware that LAFVIN sells several similar robot cars, so check the listing includes the tracking module before ordering.
✅ Pros: Lowest cost of entry with the UNO board included; all-generic modules that are cheap to replace; Bluetooth and IR remote thrown in; code ports to any Arduino chassis.
❌ Cons: Thin documentation; batteries not included; basic build quality; several near-identical LAFVIN listings, so confirm the exact contents.
🎯 Verdict: The best cheap first line follower. Buy it, break it, rewire it, and spend what you saved on a better chassis once you know what you want.
🛒 How to Choose the Right Line Follower Robot Kit
🤖
Want one kit that does everything?
The ELEGOO Smart Robot Car V4 gives you classic three-sensor tracking plus a camera, ultrasonic sensor, battery and the best beginner documentation in the group.
📐
Here to learn PID properly?
The ELECFREAKS Cutebot Pro fuses four sensors into one analog error term and adds encoder motors, which is everything a control loop needs.
🏫
Buying a class set?
The Makeblock mBot2 is rugged, lasts about five hours per charge, and its quad RGB sensor supports line, colour and marker lessons in mBlock.
🐍
Want to write it in Python?
The SunFounder PiCar-X exposes its grayscale sensors through a clean Python API and adds Ackermann steering and a pan-tilt camera.
👁️
Doing computer vision?
The Hiwonder TurboPi follows the line from a camera feed with OpenCV, and the same platform does colour sorting and target tracking.
📚
Teaching yourself from zero?
The OSOYOO Robot Car Starter Kit comes with a numbered lesson series, and line tracking is Lesson 4 rather than a feature you have to reverse engineer.
🏎️
Want speed and four-wheel drive?
The Freenove 4WD is the quickest chassis here, provided you are willing to source 18650 cells and fine-tune the sensor mounting.
💰
On the tightest budget?
The LAFVIN Smart Robot Car Kit includes the UNO board and a line tracking module using generic parts you can replace for pocket change.
⚙️ Key Specs Compared: Side by Side
| Spec | ELEGOO V4 | Cutebot Pro | mBot2 | PiCar-X | TurboPi |
|---|
| Line sensing | 3-channel IR | 4 sensors, fused ⭐ | Quad RGB | 3-channel grayscale | Camera + OpenCV |
| Controller | UNO R3 + ESP32 | micro:bit (separate) | CyberPi | Raspberry Pi (separate) | Raspberry Pi + ROS2 ⭐ |
| Programming | Arduino C++ ⭐ | MakeCode · Python | Scratch · Python | Python · Scratch | Python · ROS2 |
| Encoder motors | No | Yes, closed loop ⭐ | Yes | No | Mecanum, no encoders |
| Battery included | Yes, 2000 mAh ⭐ | No | Yes, about 5 h ⭐ | Varies by bundle | Yes |
| Assembly required | Yes, about 1 to 2 h | Pre-assembled ⭐ | Light assembly | Yes, longer build | Yes |
| Junction detection | Limited | Crossroads and T ⭐ | Colour markers | Limited | Vision dependent |
| Best suited to | Most makers ⭐ | Control theory learners | Schools | Python developers | Vision and ROS work |
Specs come from the current Amazon listings and manufacturer documentation and vary by bundle. ⭐ marks the strongest option in each row for that criterion, not an overall winner. Always confirm the exact variant on the live listing before buying.
❓ Frequently Asked Questions
How many sensors does a line follower robot actually need?
Three is the practical minimum and it is what most kits ship. With a left, centre and right sensor you can tell whether the line has drifted and in which direction, which is enough for a working robot at moderate speed. The jump to four or five sensors changes the maths rather than the hardware: instead of a direction you can compute a weighted position error, feed that into a PID controller, and get smooth proportional steering rather than a series of corrections. Extra sensors also let the robot recognise track features such as crossroads and T-junctions, which is what you need for maze solving and grid navigation. Two sensors will follow a line, but it will visibly zig-zag.
Why does my robot follow the line at home but not at school?
Because infrared reflectance sensors measure reflected light, not colour, and everything about the environment changes that reading. Sunlight through a window adds infrared the sensor cannot distinguish from its own emitter. A glossy floor bounces light unevenly. Ride height matters enormously, since most modules are designed to sit only a few millimetres above the surface. Even the tape matters: shiny electrical tape reflects far more than matte tape. The fix is to calibrate on the surface you will actually run on, adjust the trimmer potentiometers if the module has them, keep the sensor gap consistent, and prefer matte black tape on a light, non-glossy background.
Do I need PID, or is a simple if-else algorithm enough?
A simple if-else, or bang-bang, controller is the right place to start and it will work at low speed. Its limitation is that it only knows three states, so it constantly overcorrects and the robot oscillates around the line. A proportional term alone fixes most of that by making the correction size depend on how far off you are. Adding derivative damps the overshoot on corners, and integral is rarely needed on a line follower and often makes things worse. In practice a well-tuned PD controller with analog sensor readings is the sweet spot. That is exactly why kits with four fused analog sensors, such as the Cutebot Pro, make PID far easier to implement than a three-channel digital module does.
Arduino, micro:bit or Raspberry Pi for a line follower?
Match the board to what you want to learn. Arduino gives you a bare-metal loop with predictable timing and C++ skills that transfer to every other embedded project, which is why it remains the default. micro:bit is the fastest route for a younger learner or a classroom, because MakeCode blocks get a robot moving in minutes and the same project can be rewritten in Python later. A Raspberry Pi is genuinely worth it only if you intend to follow the line with a camera and OpenCV, or you want to log and plot sensor data while the robot runs. For pure sensor-based line following a Pi adds boot time and complexity without adding capability.
What do I need besides the kit to get a robot running?
Check three things on the listing before you buy. First, batteries: the ELEGOO and mBot2 include a rechargeable pack, but the Freenove, LAFVIN and OSOYOO kits generally do not, and 18650 cells plus a charger add real cost. Second, the controller board: micro:bit kits like the Cutebot Pro and most PiCar-X and TurboPi bundles do not include the micro:bit or Raspberry Pi. Third, a track: a roll of matte black electrical tape roughly 18 to 20 mm wide on white poster board is all you need, and it is worth laying out gentle curves first, then adding tighter ones as you improve the tuning.
🏁 Final Verdict: Best Line Follower Robot Kit for Every Builder
The right kit for every level, from a first taped track to an OpenCV vision pipeline:
🥇 Best Overall · ELEGOO Smart Robot Car V4: three-channel IR tracking, camera, battery and the best beginner docs
Buy Here →🏅 Best for Real PID Tracking · ELECFREAKS Cutebot Pro: four fused sensors and closed-loop encoder motors
Buy Here →🎓 Best for Classrooms · Makeblock mBot2: quad RGB sensor, Scratch to Python, about 5 hours per charge
Buy Here →🍓 Best Raspberry Pi Kit · SunFounder PiCar-X: grayscale line module, Python API and Ackermann steering
Buy Here →👁️ Best Vision Line Following · Hiwonder TurboPi: OpenCV camera tracking on mecanum wheels, at a premium price
Buy Here →📚 Best Guided Lesson Course · OSOYOO Robot Car Starter Kit: numbered lessons with line tracking as Lesson 4
Buy Here →🔧 Best 4WD Builder Kit · Freenove 4WD Car Kit: fast four-wheel-drive chassis for makers happy to tinker
Buy Here →🔰 Best Budget First Build · LAFVIN Smart Robot Car Kit: UNO board included and generic parts you can replace cheaply
Buy Here →There is no single best line follower robot kit, only the one that matches how you want to learn. For most people the ELEGOO Smart Robot Car V4 is the right buy: a proper three-channel infrared array, a rechargeable battery in the box, and documentation that gets a first-timer to a moving robot the same day. Go to the Cutebot Pro if the control loop is the point and you want four fused sensors feeding a real PID. Buy the mBot2 for a classroom, the PiCar-X if you would rather write Python than C++, the TurboPi if the project is really computer vision, the OSOYOO kit if you want a structured course, the Freenove 4WD if you want speed and are happy to tinker, and the LAFVIN kit if you just want to start cheaply and rewire everything later. Whichever you pick, pair it with our Arduino, ESP32, STM32 and Raspberry Pi tutorials, lay down some matte black tape, and start tuning.
💬 Not sure which line follower fits your project? Tell us what you are building, whether that is a competition robot, a first Arduino build, a class set or a maze solver, in the comments below, and we will point you to the right kit.
All Amazon links above use our affiliate tag (microlab05-20). Purchasing through them supports microcontrollerslab.com at no extra cost to you. Prices, bundles and availability change frequently, so always confirm the current listing and variant on Amazon before buying.