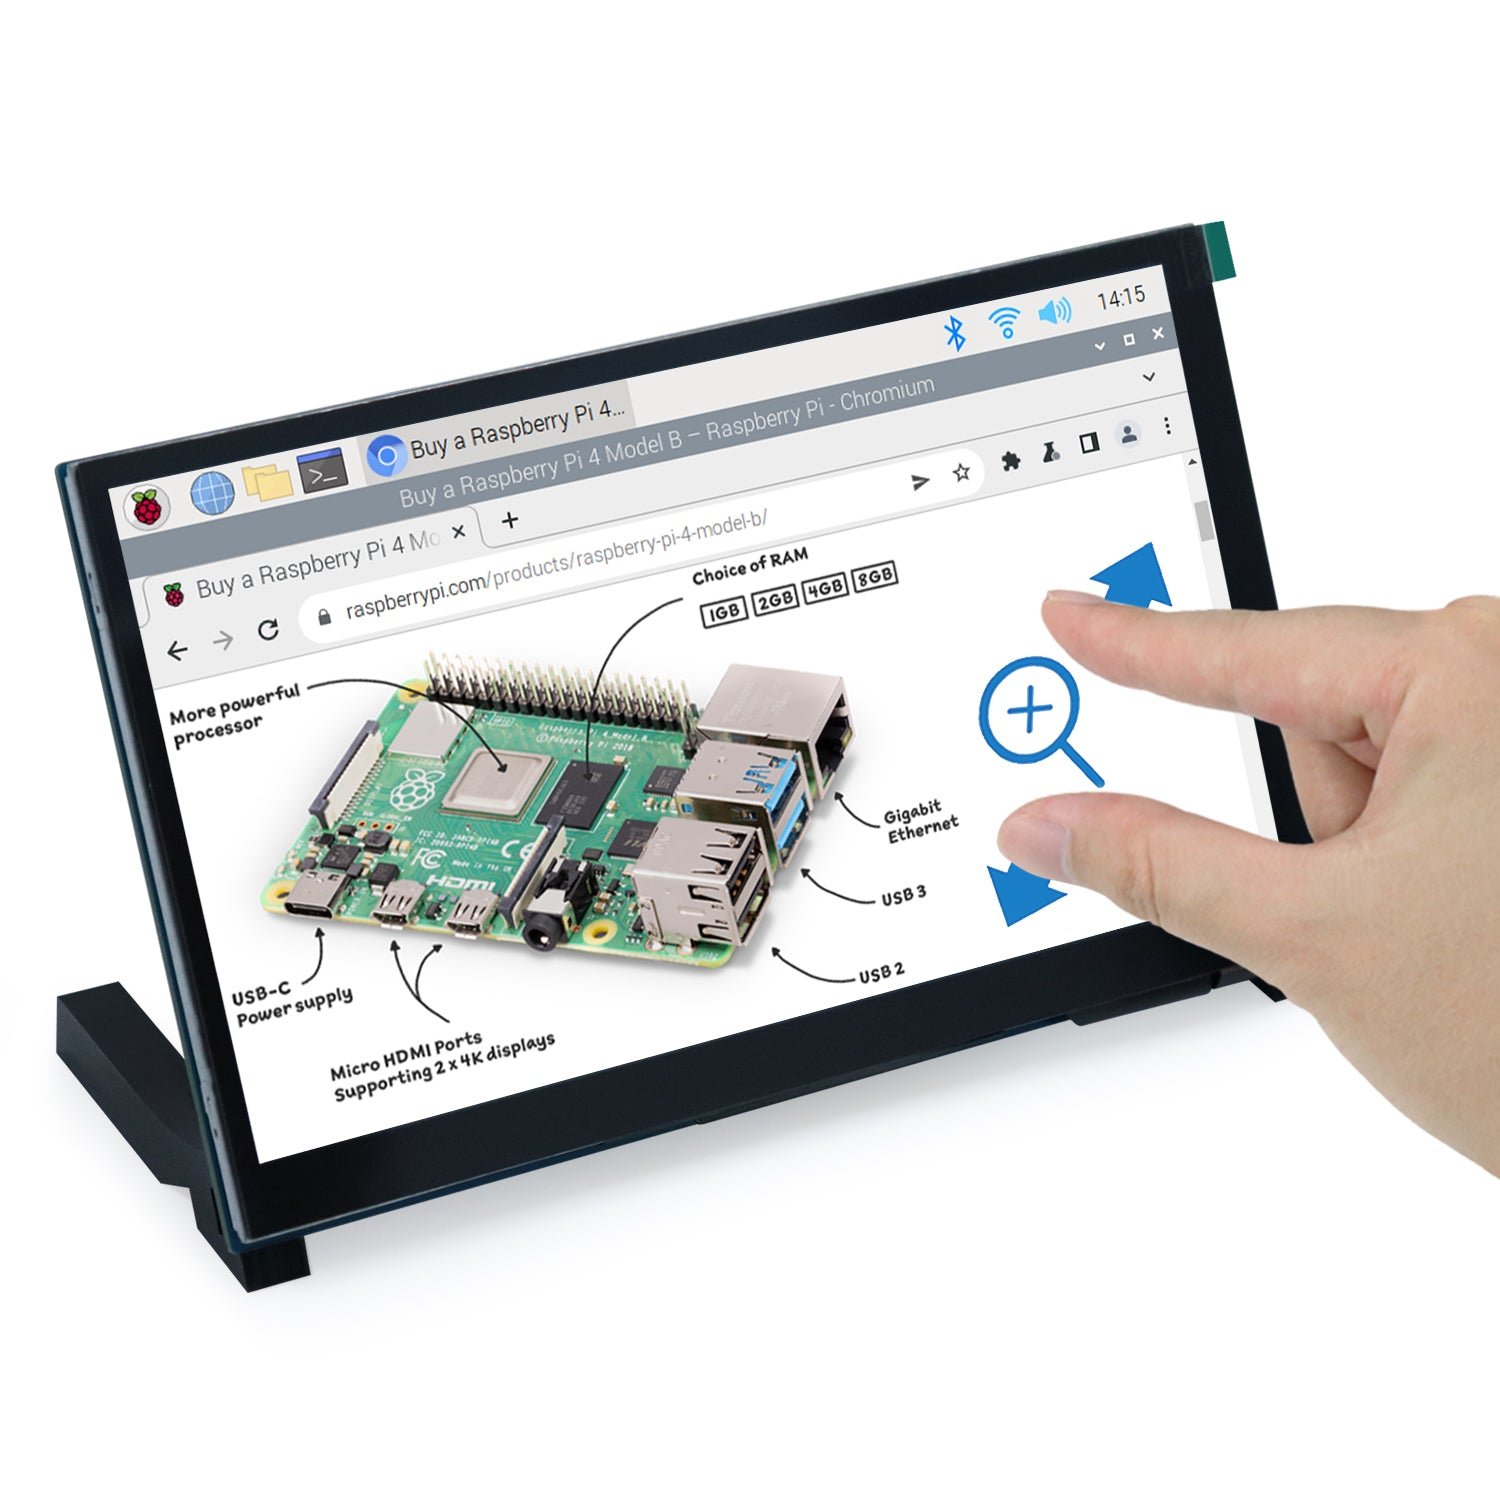
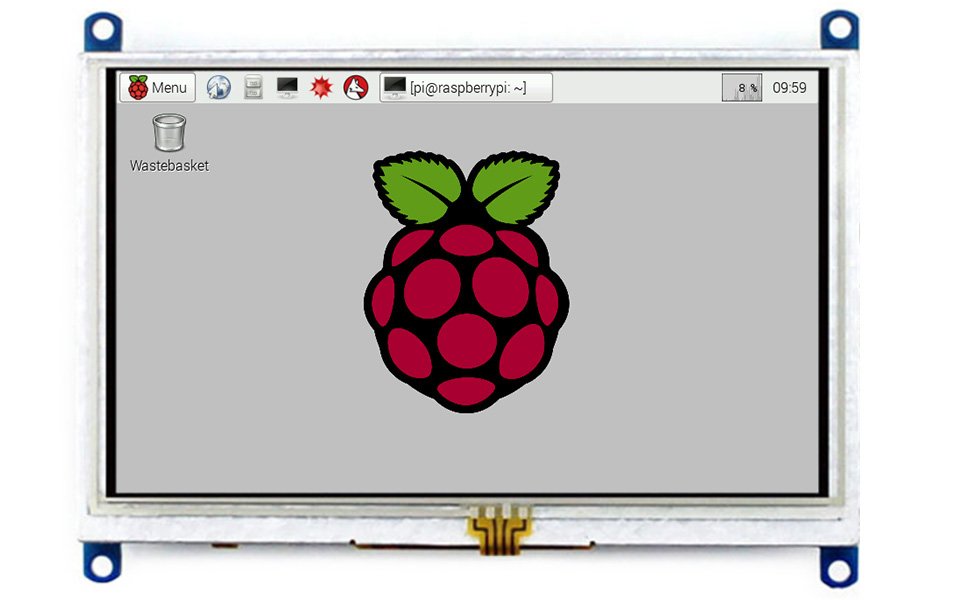
⚠️ Affiliate Disclosure: This post contains Amazon affiliate links. If you purchase through our links, we may earn a small commission at no extra cost to you. We only recommend products we have thoroughly researched and verified. We have intentionally left prices out of this guide because touchscreen prices change frequently — please tap any Buy Here button to check the current live price on Amazon before ordering.
Ultimate Buying Guide 2026
🖥️ Best Touchscreen Displays for Raspberry Pi
10 touchscreens ranked for makers, students and pro builds — from a plug-and-play 3.5″ GPIO panel to a 10.1″ all-in-one with USB-C power and speakers — compared on size, resolution, touch type and interface, with honest verdicts and direct Amazon links.
✅ 10 Displays Reviewed
✅ Verified Amazon ASINs
✅ DSI · HDMI · GPIO
✅ Honest Pros & Cons
Adding a touchscreen display is the single upgrade that turns a bare Raspberry Pi board into a finished product: a smart-home wall panel, a 3D-printer console, a retro-gaming handheld, a car dashboard, a kiosk or a tiny desktop you can drive with your fingers. Instead of dragging out a keyboard, mouse and monitor every time, you tap the screen — and for headless projects that need to show something, a small touch panel is far cheaper and tidier than a full monitor.
The catch is that Raspberry Pi touchscreens connect in three very different ways, and picking the wrong one is the most common mistake buyers make. DSI ribbon displays (the official Touch Display, Freenove) plug into the flat DSI connector and are clean, low-latency and powered from the GPIO — but only work on full-size Pi boards. HDMI displays (Waveshare, Elecrow, SunFounder) work with almost anything — any Pi, a Jetson, a mini-PC, even a PS4 — but need an HDMI cable plus a USB lead for touch. And GPIO/SPI panels (the classic 3.5″) sit right on the header for the most compact build, but run at a lower resolution and slower refresh. This guide ranks 10 touchscreens across every size and interface so you can match the screen to your actual project.
💡 Reality check before you buy: A “5-inch” or “7-inch” number tells you nothing about sharpness — a 7″ panel at 1024×600 looks crisp, while some cheap 5″ panels stretch just 800×480. Small GPIO/SPI screens (3.5″) look great in photos but refresh slowly and are cramped for a real desktop. Most budget HDMI panels do not auto-rotate cleanly and capacitive touch only works on Raspberry Pi and Windows (game consoles get picture but no touch). Finally, confirm the interface your Pi actually has: a DSI-only display will not work on a Pi Zero or Pico, and an official Touch Display 2 needs the DSI/FPC cable that matches your board.
🖥️ Quick Comparison — All 10 Raspberry Pi Touchscreens
| Display | Size / Type | Resolution | Touch | Interface | Best For | Buy |
|---|
| 🥇 Raspberry Pi Touch Display 2 | 7″ IPS | 720×1280 | 5-pt capacitive | DSI | Best Overall | Buy Here → |
| 🏅 SunFounder TS-10 10.1″ | 10.1″ IPS | 1280×800 | 10-pt capacitive | HDMI + USB-C | Best 10″ All-in-One | Buy Here → |
| 💵 Waveshare 7″ HDMI | 7″ IPS | 1024×600 | 5-pt capacitive | HDMI | Best Universal 7″ | Buy Here → |
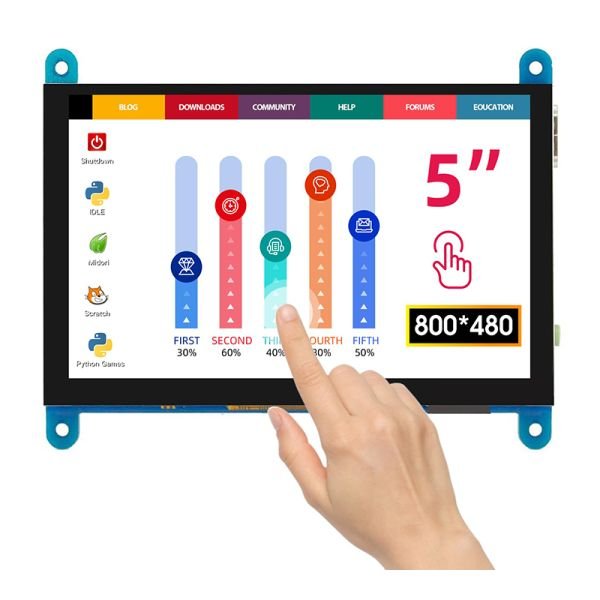
| 🧩 Freenove 5″ DSI | 5″ IPS | 800×480 | 5-pt capacitive | DSI | Best Compact DSI | Buy Here → |
| 🎮 Elecrow RC050 5″ | 5″ TN | 800×480 | 5-pt capacitive | HDMI | Best for Retro / Consoles | Buy Here → |
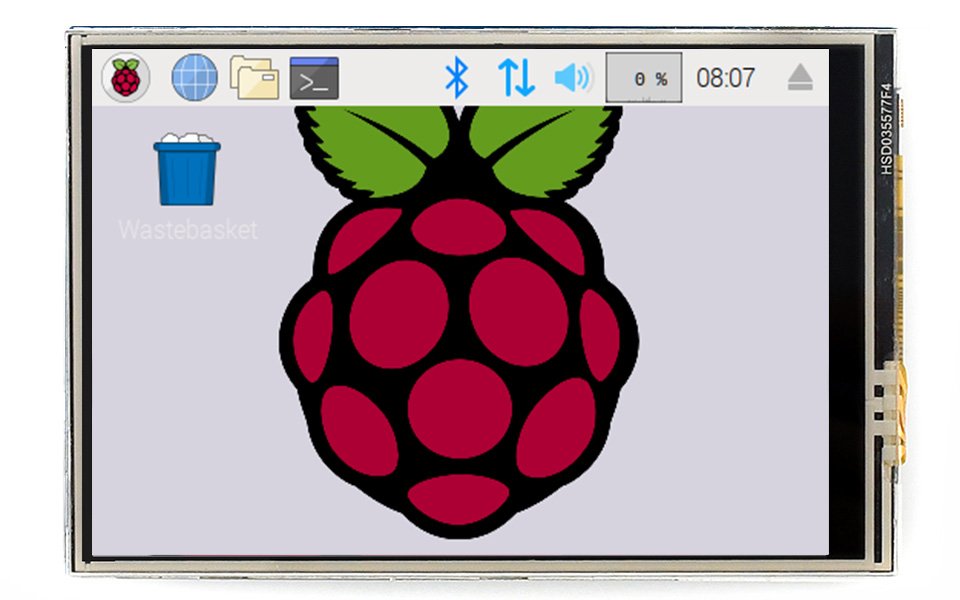
| 🔌 Waveshare 3.5″ GPIO | 3.5″ IPS | 480×320 | Resistive | GPIO / SPI | Best Ultra-Budget | Buy Here → |
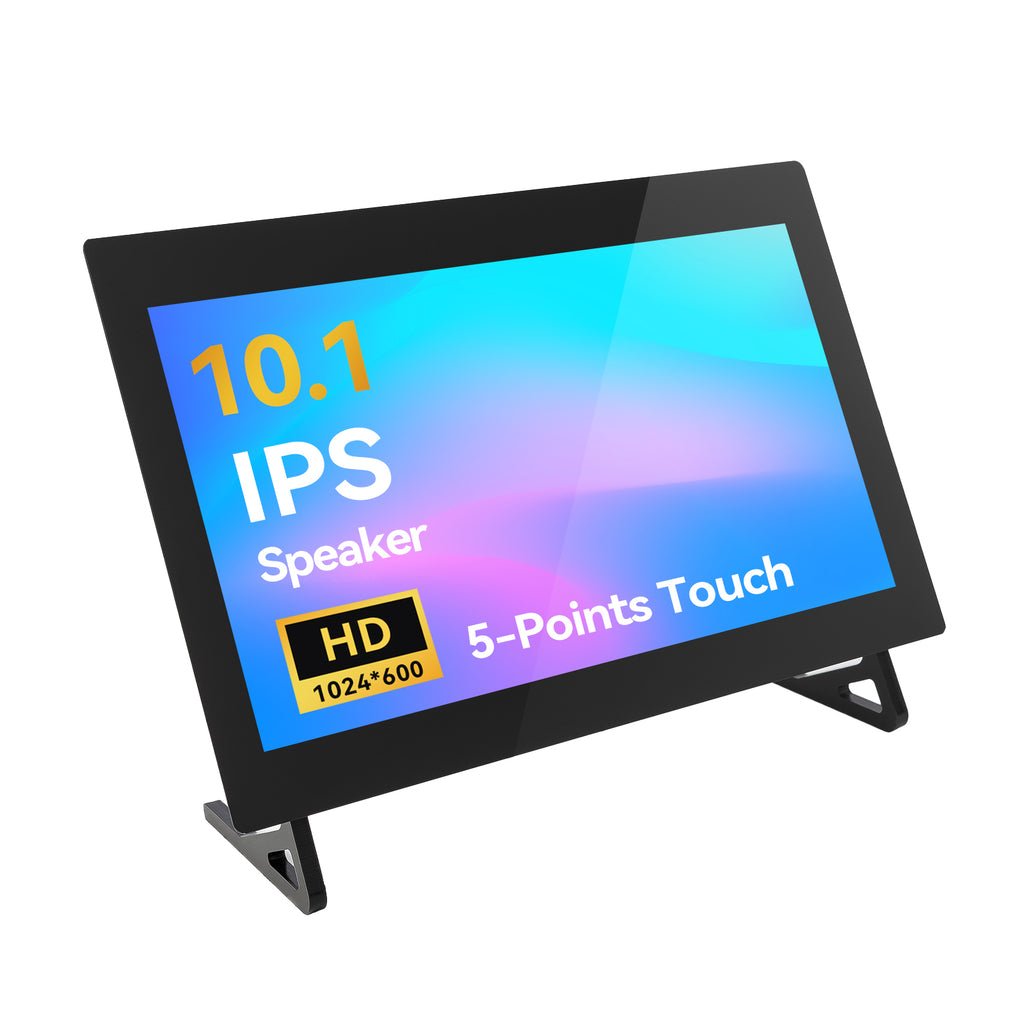
| 📺 SunFounder 10.1″ 1024×600 | 10.1″ IPS | 1024×600 | 5-pt capacitive | HDMI | Best Big-Screen Value | Buy Here → |
| 🔊 Elecrow 7″ HDMI | 7″ IPS | 1024×600 | Capacitive | HDMI | Best 7″ with Speakers | Buy Here → |
| 🖐️ Freenove 7″ DSI | 7″ IPS | 800×480 | 5-pt capacitive | DSI | Best 7″ DSI | Buy Here → |
| ✍️ Waveshare 5″ HDMI (Resistive) | 5″ | 800×480 | Resistive | HDMI | Best for Stylus / Industrial | Buy Here → |
🔍 What to Look for in a Raspberry Pi Touchscreen
🔗
Interface (DSI / HDMI / GPIO)
DSI is cleanest but full-size-Pi only; HDMI works with almost any board or PC; GPIO/SPI is most compact but slow. Match this to your board first — it decides everything else.
👆
Touch Type
Capacitive is smooth, multi-touch and finger-friendly — ideal for GUIs and kiosks. Resistive needs a firmer press or stylus but works with gloves and is great for precise industrial input.
🔎
Size & Resolution
More pixels beat more inches. 1024×600 (7″) or 1280×800 (10″) give a usable desktop; 800×480 suits dashboards; 480×320 (3.5″) is for status screens, not daily driving.
⚡
Power & Cabling
DSI panels sip power from the GPIO. HDMI panels need a separate 5V feed — the best ones (SunFounder TS-10) even power the Pi back over USB-C, so one brick runs the whole thing.
🛠️
Driver-Free & Mounting
“Driver-free / plug-and-play” panels save hours of config file edits. Also check for VESA-style rear slots, stands and a case so the finished build actually stands up on your desk.
🏆 Detailed Reviews — All 10 Raspberry Pi Touchscreens
🥇 Best Overall
Raspberry Pi Touch Display 2
⭐ 4.8/5 · The official screen, done right
Buy Here on Amazon →

The Raspberry Pi Touch Display 2 is the screen we hand to anyone who just wants it to work. It connects with two links — power from the GPIO and a DSI ribbon — and Raspberry Pi OS ships the drivers built-in, complete with five-finger touch and an on-screen keyboard. The tall 720×1280 IPS panel is noticeably sharper than the old 800×480 official display, the anti-glare surface is easy on the eyes, and it comes in both 5″ and 7″ sizes. For tablets, dashboards and any polished portrait project, nothing beats first-party integration.
✅ Pros- Official, driver-free on Pi OS
- Sharp 720×1280 IPS, anti-glare
- Clean DSI + GPIO — no HDMI clutter
- 5″ and 7″ options, in production to 2030
❌ Cons- No HDMI — full-size Pi only (no Zero/Pico)
- Portrait native; rotate for landscape
- No built-in speakers
🎯 Verdict: The best all-round Raspberry Pi touchscreen. If you have a Pi 3/4/5 and want the least fuss and the cleanest result, buy this one.
👉 Check Price on Amazon → 🏅 Best 10″ All-in-One
SunFounder TS-10 10.1″
⭐ 4.7/5 · One brick powers the whole build
Buy Here on Amazon →

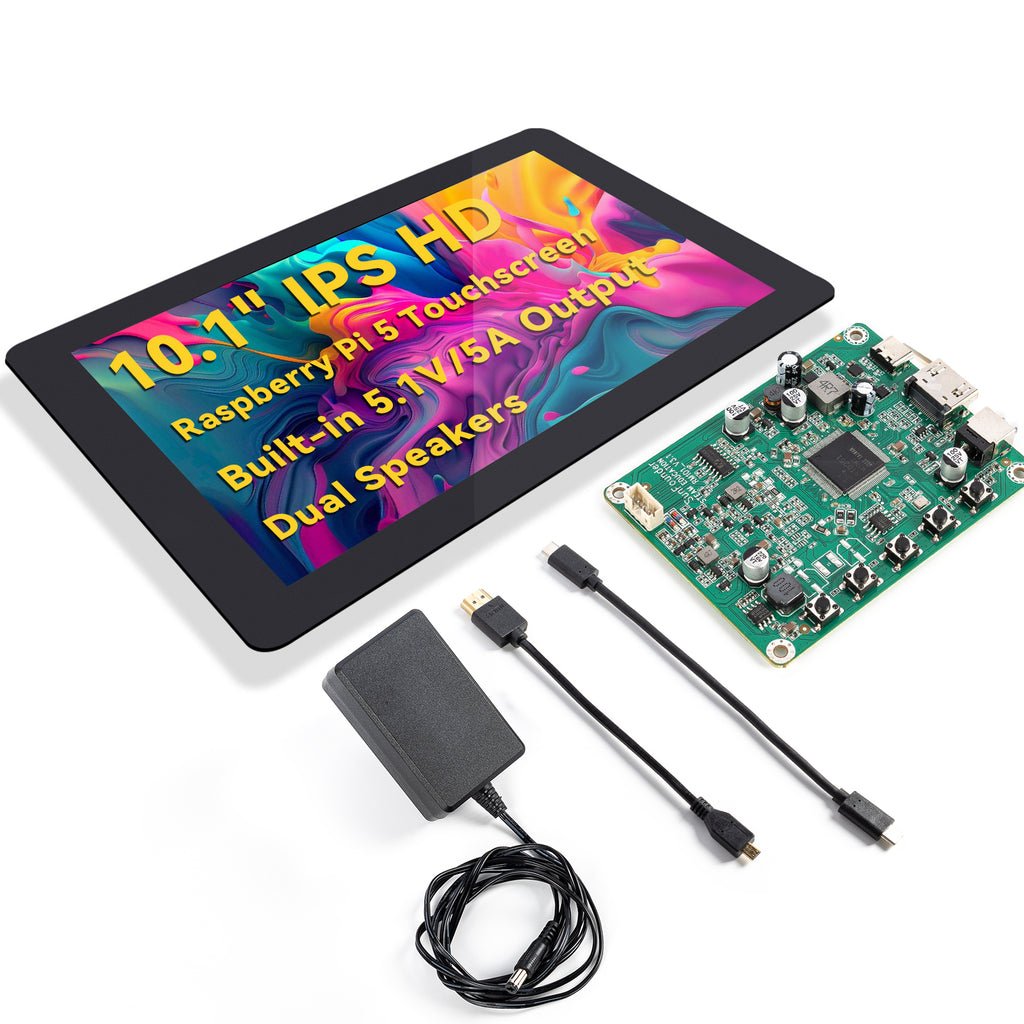
The SunFounder TS-10 is the closest thing to an all-in-one Raspberry Pi monitor. The 10.1″ 1280×800 IPS panel gives you a genuinely usable desktop, and 10-point capacitive touch with a 178° viewing angle feels like a tablet. The clever part is power: a single 12V brick drives the screen and feeds the Pi back over a built-in USB-C PD 5.1V/5A output, so you don’t need a second power supply. It’s driver-free on the latest Pi OS, ships with the mini-HDMI, USB-C and DC cables, has dual speakers, and its adjustable rear slots fit Banana Pi, Orange Pi and Libre boards too.
✅ Pros- Big, sharp 1280×800 IPS + 10-pt touch
- USB-C PD output powers the Pi 5
- Dual speakers, stands & all cables included
- Driver-free; fits many SBCs
❌ Cons- Biggest & priciest here
- Needs the bundled 12V adapter
- Overkill for a tiny panel project
🎯 Verdict: The best large touchscreen for a desktop-class Pi build. If you want a self-contained “Pi computer,” the TS-10 is the one to beat.
👉 Check Price on Amazon → 💵 Best Universal 7″ · ⭐ 4.6/53. Waveshare 7″ HDMI Capacitive
7″ · 1024×600 IPS · 5-pt capacitive · HDMI · toughened glass
Buy Here →

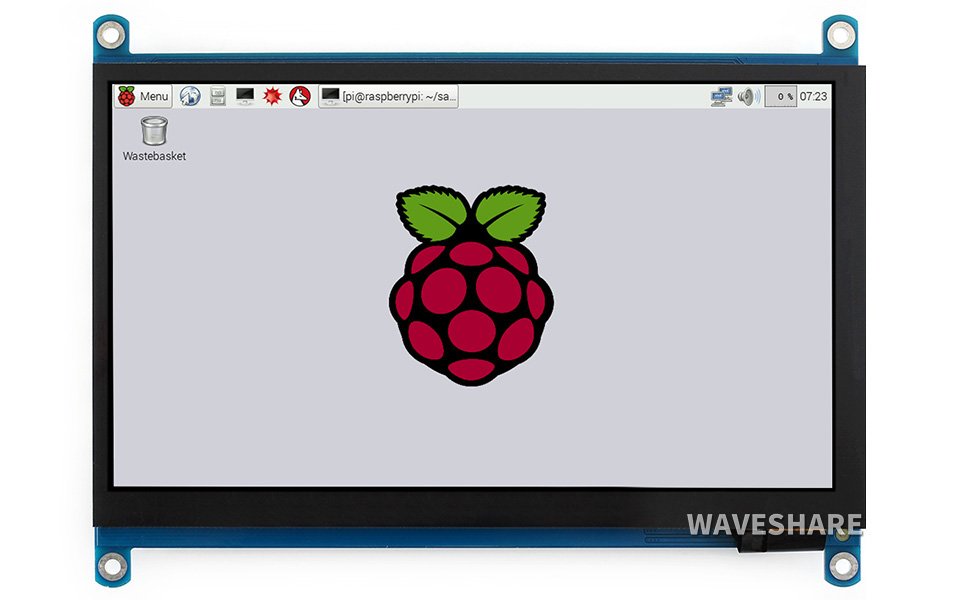
If you want a screen that works with everything, the Waveshare 7″ HDMI is the safe bet. Because it’s HDMI plus a USB touch lead, it runs on any Raspberry Pi (including the Zero and Pico with an adapter), a Jetson Nano, a mini-PC, or Windows — with five-point capacitive touch that’s driver-free on Pi OS and Windows. The 1024×600 IPS panel sits behind a 6H toughened-glass front, and a 3.5mm jack plus HDMI audio handles sound. It’s the versatile workhorse of this list.
✅ Pros- HDMI — works with almost any device
- Sharp 1024×600 IPS + toughened glass
- Driver-free on Pi & Windows
❌ Cons- Needs HDMI + USB cables (more clutter)
- No built-in speakers
- Touch only on Pi/Windows, not consoles
🎯 Verdict: The most versatile 7″ pick — buy it if your screen may move between a Pi, a Jetson and a PC.
🧩 Best Compact DSI · ⭐ 4.5/54. Freenove 5″ DSI Touchscreen
5″ · 800×480 IPS · 5-pt capacitive · MIPI DSI · driver-free
Buy Here →

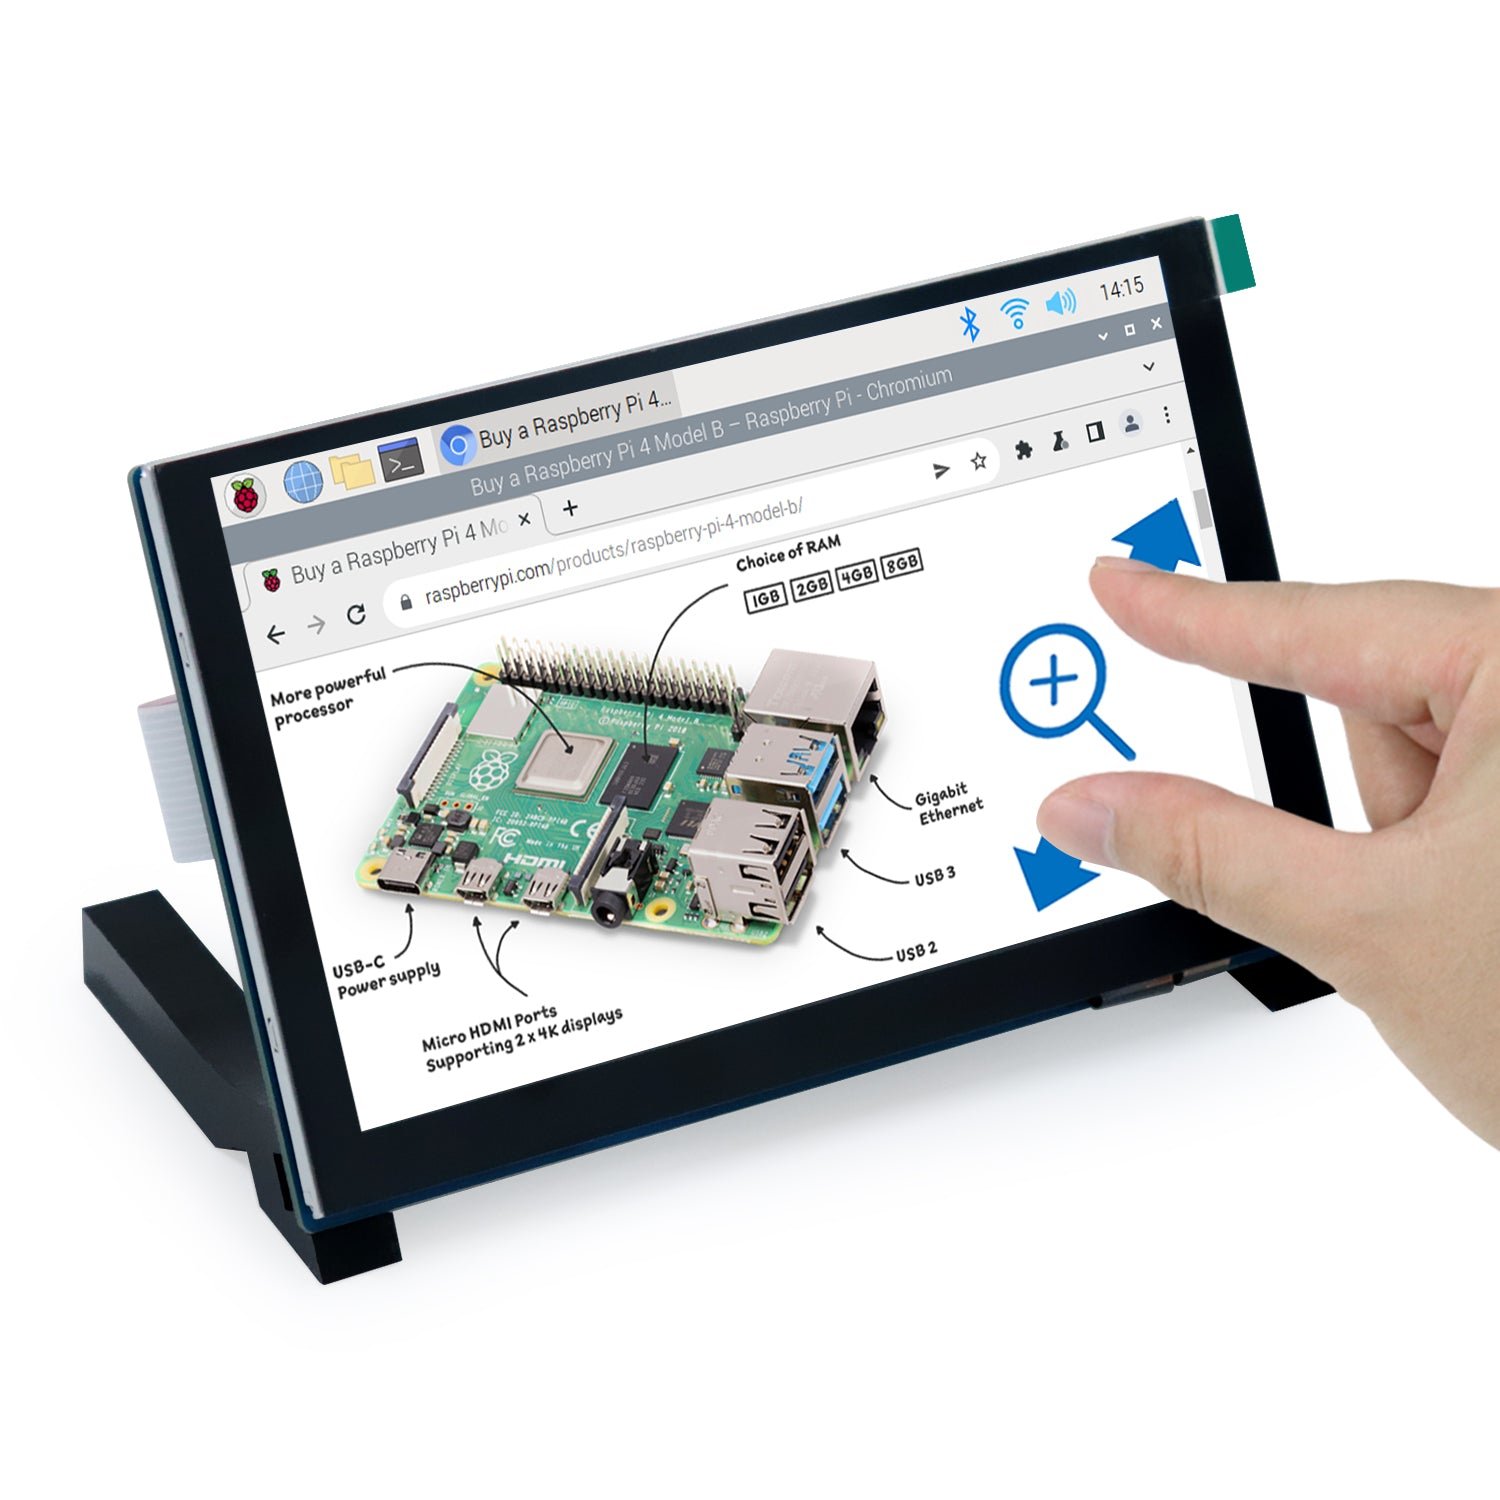
The Freenove 5″ gives you the clean DSI experience of the official display in a smaller, cheaper package. A single ribbon into the DSI/DISPLAY port drives both picture and five-point capacitive touch — no HDMI cable, no USB lead, no drivers on a stock Pi OS install. The 800×480 IPS panel is bright with wide viewing angles, and the kit includes multiple ribbon lengths, standoffs and stands. It’s the tidiest way to bolt a small touchscreen straight onto a Pi 5, 4 or 3.
✅ Pros- Single-cable DSI — very tidy
- Driver-free, IPS, 5-pt capacitive
- Ribbons, standoffs & stands included
❌ Cons- No HDMI — full-size Pi only
- 800×480 is modest for a desktop
- Ubuntu is single-touch only
🎯 Verdict: The best small DSI screen — perfect for a compact, cable-free Pi 4/5 handheld or panel.
🎮 Best for Retro / Consoles · ⭐ 4.4/55. Elecrow RC050 5″ HDMI
5″ · 800×480 · 5-pt capacitive · HDMI + USB · OSD menu
Buy Here →

The Elecrow RC050 is a pocket-sized 5″ HDMI panel that plays nicely with more than just a Pi. Because it’s HDMI for video and USB for power + touch, it works with Raspberry Pi 3/4/5, Jetson Nano, Banana Pi — and doubles as a mini display for a PS4, a Switch or a Windows PC (picture only on consoles, touch on Pi/Windows). A rear OSD menu lets you tweak brightness and contrast, custom Pi connectors keep cabling tidy, and setup takes about five seconds with no drivers. It’s a fun, cheap screen for retro-gaming rigs and portable builds.
✅ Pros- Works with Pi, consoles & PCs
- OSD menu, driver-free, 5-second setup
- Compact with tidy custom connectors
❌ Cons- TN panel — narrower viewing angles
- No touch on game consoles
- Pi 4 needs a config tweak on Bullseye
🎯 Verdict: The best cheap 5″ for gaming and portable rigs where console/PC compatibility matters.
🔌 Best Ultra-Budget · ⭐ 4.3/56. Waveshare 3.5″ GPIO (Resistive)
3.5″ · 480×320 IPS · resistive · GPIO/SPI · 125 MHz high-speed
Buy Here →
The classic Waveshare 3.5″ is the cheapest way to give a Pi a face. It plugs straight onto the 40-pin GPIO header — no cables at all — and this high-speed (C) version drives the SPI bus at 125 MHz for a much smoother refresh than the old 3.5″ boards. The 480×320 IPS panel and resistive touch are perfect for status pages, a Pi-hole dashboard, a menu-driven controller or a retro-handheld faceplate. It’s tiny and cramped for a full desktop, but for a bolt-on readout it’s unbeatable value.
✅ Pros- Cheapest option; no cables (GPIO)
- 125 MHz SPI — smoother than older 3.5″
- Resistive touch works with a stylus/gloves
❌ Cons- Small 480×320 — not a real desktop
- Needs FBCP/driver setup for HDMI mirroring
- Occupies the full GPIO header
🎯 Verdict: The best ultra-budget status screen — ideal for dashboards, controllers and GPIO-hat projects.
📺 Best Big-Screen Value · ⭐ 4.5/57. SunFounder 10.1″ 1024×600
10.1″ · 1024×600 IPS · 5-pt capacitive · HDMI · dual speakers
Buy Here →
Want a big screen without the flagship price? The SunFounder 10.1″ (TS10L) delivers a 1024×600 IPS panel with a 178° viewing angle, five-point capacitive touch, two built-in speakers and adjustable rear slots that fit Raspberry Pi plus Banana Pi, Rock Pi and more. It’s driver-free across Pi OS, Windows, Ubuntu, RetroPie, LibreELEC, Volumio and Home Assistant, making it a favorite for smart-home panels, 3D-printer control and retro-gaming cabinets. You give up the TS-10’s higher resolution and USB-C power trick, but you keep the roomy 10″ real estate for less.
✅ Pros- Roomy 10″ IPS for less money
- Dual speakers + stands included
- Driver-free on tons of OSes/SBCs
❌ Cons- 1024×600 is softer than the TS-10
- No USB-C power output
- Separate 5V feed required
🎯 Verdict: The best value 10″ — big, capable and driver-free for smart-home and media builds.
🔊 Best 7″ with Speakers · ⭐ 4.4/58. Elecrow 7″ HDMI Touchscreen
7″ · 1024×600 IPS · capacitive · HDMI · speakers + stand
Buy Here →

The Elecrow 7″ takes the versatile HDMI-7″ formula and adds the extras that make a build feel finished: built-in speakers and an included acrylic stand. The 1024×600 IPS panel with capacitive touch is driver-free and plug-and-play on Raspberry Pi 5/4/3, and works as a secondary monitor for Windows, a Jetson Nano or a mini-PC. If you’re building a media player, a desktop assistant or a demo unit that needs sound and a stand out of the box, this saves you buying accessories separately.
✅ Pros- Built-in speakers + stand included
- 1024×600 IPS, driver-free HDMI
- Wide device compatibility
❌ Cons- HDMI + USB cabling needed
- Speakers are small/tinny
- Slightly bulkier than bare panels
🎯 Verdict: The best 7″ if you want sound and a stand in the box — great for media and demo builds.
🖐️ Best 7″ DSI · ⭐ 4.4/59. Freenove 7″ DSI Touchscreen
7″ · 800×480 IPS · 5-pt capacitive · MIPI DSI · driver-free
Buy Here →
If you like the single-cable DSI approach but want a bigger canvas than the 5″, the Freenove 7″ is the answer. One ribbon into the DSI/DISPLAY port carries video and five-point capacitive touch, with drivers already in Raspberry Pi OS — no HDMI, no USB, no config editing. The 800×480 IPS panel is bright and wide-angle, and the kit bundles several ribbon lengths, standoffs and two stands. It’s a cleaner, lower-clutter alternative to a 7″ HDMI panel for anyone staying on a full-size Pi.
✅ Pros- Clean single-cable DSI, driver-free
- Bigger 7″ IPS, 5-pt capacitive
- Ribbons, standoffs & stands included
❌ Cons- No HDMI — full-size Pi only
- 800×480 lower than HDMI 7″ rivals
- No speakers
🎯 Verdict: The best 7″ DSI — pick it for a tidy, cable-free 7″ build on a Pi 4 or 5.
✍️ Best for Stylus / Industrial · ⭐ 4.2/510. Waveshare 5″ HDMI (Resistive)
5″ · 800×480 · resistive touch · HDMI · low power
Buy Here →
Not every project wants a glossy finger-friendly panel. The Waveshare 5″ HDMI (B) uses resistive touch, which means it responds to a stylus, a gloved finger or a firm fingernail — exactly what you want for industrial controls, workshops or precise stylus input. It’s a proven, low-power HDMI panel at 800×480 that runs driver-free on Pi OS and works with a range of Pi models. It’s the most utilitarian screen here, but for tap-accurate, glove-friendly control it’s a deliberate, sensible choice.
✅ Pros- Resistive — stylus & glove friendly
- Low power draw, proven design
- HDMI, driver-free on Pi OS
❌ Cons- Single-touch resistive only
- Older, less vivid panel
- No multi-touch gestures
🎯 Verdict: The best pick when you need stylus precision or glove-friendly input over slick multi-touch.
🛒 How to Choose the Right Raspberry Pi Touchscreen
🥇
Want the cleanest official build?
Get the Raspberry Pi Touch Display 2 — DSI, driver-free, sharp 720×1280, and supported until 2030.
🖥️
Building a desktop-class Pi?
The SunFounder TS-10 10.1″ gives 1280×800, 10-pt touch, speakers and USB-C power for the Pi in one unit.
🔀
Screen used across devices?
Go HDMI: the Waveshare 7″ or Elecrow 7″ run on any Pi, a Jetson, a PC — even a console.
🧩
Compact, cable-free handheld?
The DSI Freenove 5″ or 7″ bolt straight on with one ribbon and no drivers.
🔌
Just need a status screen?
The Waveshare 3.5″ GPIO is the cheapest, most compact way to add a readout — no cables at all.
✍️
Industrial or stylus input?
Pick the resistive Waveshare 5″ HDMI for glove-friendly, tap-accurate control.
⚙️ Key Specs Compared — Side by Side
| Spec | RPi Display 2 | SunFounder TS-10 | Waveshare 7″ | Freenove 5″ | Waveshare 3.5″ |
|---|
| Size | 7″ | 10.1″ ⭐ | 7″ | 5″ | 3.5″ |
| Resolution | 720×1280 | 1280×800 ⭐ | 1024×600 | 800×480 | 480×320 |
| Touch | 5-pt cap. | 10-pt cap. ⭐ | 5-pt cap. | 5-pt cap. | Resistive |
| Interface | DSI | HDMI + USB-C | HDMI ⭐ | DSI | GPIO/SPI |
| Speakers | No | Yes ⭐ | No | No | No |
| Powers the Pi | No | Yes (USB-C PD) ⭐ | No | No | No |
| Best For | Overall ⭐ | Desktop build | Universal | Compact DSI | Status screen |
❓ Frequently Asked Questions
What’s the difference between DSI, HDMI and GPIO touchscreens?
DSI screens plug into the Pi’s flat display connector with one ribbon and are powered from the GPIO — clean and low-latency, but only on full-size Pi boards (not Zero/Pico). HDMI screens take an HDMI cable for video and a USB cable for touch, so they work with almost any device including PCs and consoles, but add cabling. GPIO/SPI screens (the 3.5″) sit directly on the 40-pin header for the most compact build, at the cost of resolution and refresh speed. Choose based on which connector your board has and how tidy you need the wiring.
Will these touchscreens work with the Raspberry Pi 5 and Pi Zero?
Every HDMI display here works with the Pi 5, Pi 4, Pi 3 and, with a mini/micro-HDMI adapter, the Pi Zero and even Pico-based projects. DSI displays (official Touch Display 2, Freenove) work on the Pi 5, 4, 3 and other full-size boards but not the Zero or Pico, which lack a usable DSI connector. On the Pi 5, note the display/camera port was renamed and uses a narrower FPC cable — the official display and most kits include or sell the correct one, so double-check the cable for your exact board.
Capacitive vs resistive touch — which should I pick?
Capacitive touch (most picks here) is smooth, supports multi-touch gestures and responds to a light finger tap — the best experience for GUIs, kiosks and tablet-style projects. Resistive touch (the 3.5″ GPIO panel and the Waveshare 5″) needs a firmer press and is single-touch, but it works with a stylus, a fingernail or gloved hands, which makes it ideal for workshops, industrial controls and precise input. For a modern touch UI, choose capacitive; for glove/stylus reliability, choose resistive.
Do I need a separate power supply for the screen?
DSI and GPIO panels draw their power from the Pi itself, so one supply runs everything — just make sure your Pi’s power adapter has enough headroom. HDMI panels usually need their own 5V feed over USB in addition to the Pi’s supply. The standout exception is the SunFounder TS-10: its 12V brick powers the screen and feeds the Pi back over USB-C PD, so a single adapter runs the whole system. Always size your power supply for the Pi plus the display, especially with a hungry Pi 5.
Are these displays really driver-free?
The official display, the DSI Freenove panels and the modern HDMI capacitive screens (Waveshare, Elecrow, SunFounder) are plug-and-play on a current Raspberry Pi OS — no driver install needed, though HDMI panels sometimes need a one-line resolution setting in config.txt. The 3.5″ GPIO/SPI screen is the exception: it needs a small driver or FBCP setup to mirror the HDMI framebuffer. If you want zero configuration, stick with a DSI or a driver-free HDMI capacitive model.
🏁 Final Verdict — Best Pick for Every Project
The right Raspberry Pi touchscreen for every build and budget:
🥇 Best Overall — Raspberry Pi Touch Display 2: official, DSI, sharp 720×1280, driver-free
Buy Here →🏅 Best 10″ All-in-One — SunFounder TS-10: 1280×800, 10-pt touch, USB-C power, speakers
Buy Here →💵 Best Universal 7″ — Waveshare 7″ HDMI: works with any Pi, Jetson or PC
Buy Here →🧩 Best Compact DSI — Freenove 5″: single-cable, driver-free, cable-tidy
Buy Here →🔌 Best Ultra-Budget — Waveshare 3.5″ GPIO: cheapest, no cables, great status screen
Buy Here →✍️ Best for Stylus / Industrial — Waveshare 5″ HDMI (Resistive): glove & stylus friendly
Buy Here →No single touchscreen is perfect for every Raspberry Pi project, but every pick here will turn a bare board into something you can actually tap and use. For most builders the Raspberry Pi Touch Display 2 is the one to buy — official, sharp and effortlessly driver-free. If you want a desktop-class experience, the SunFounder TS-10 is unbeatable; if your screen needs to roam between devices, go HDMI with the Waveshare or Elecrow 7″; and for the tiniest, cheapest readout, the Waveshare 3.5″ GPIO can’t be beaten on price. Pair your new touchscreen with our Raspberry Pi, ESP32, STM32 and Arduino tutorials and start building your interface today.
💬 Not sure which display fits your build? Tell us what you’re making — a smart-home panel, a retro handheld, a 3D-printer console or a car dashboard — in the comments below, and we’ll point you to the right screen.
All Amazon links above use our affiliate tag (microlab05-20). Purchasing through them supports microcontrollerslab.com at no extra cost to you. We’ve deliberately left prices out because touchscreen pricing changes often — always confirm the current price on Amazon before buying.
| Arduino Components | Amazon Links |
|---|
| Arduino Starter Kit | Buy Now |
| Arduino Development Kit | Buy Now |
| Arduino Smart Robot Car Kit V4 | Buy Now |
| Arduino Sensors Kit | Buy Now |