⚠️ Affiliate Disclosure: This post contains Amazon affiliate links. If you purchase through our links, we may earn a small commission at no extra cost to you. We only recommend modules we have researched and whose listings we checked live on Amazon. Prices change constantly, so we deliberately don’t print them here. Tap through and confirm the current price on Amazon before buying.
Ultimate Buying Guide
🧭 Best Magnetometer Modules (Compass Sensors) for Arduino, ESP32 & Raspberry Pi
8 magnetometer and e-compass modules ranked for makers, drone builders and robotics engineers: from the cheap GY-271 QMC5883L to an 18-bit MMC5983MA, a sensor-fusion BNO055 and an industrial RM3100, with real specs, honest verdicts and direct Amazon links.
✅ 8 Modules Reviewed
✅ Verified Amazon ASINs
✅ Datasheet-Based Specs
✅ Honest Pros & Cons
A magnetometer measures the strength and direction of the magnetic field around it on three axes. Point it at the Earth’s field and a little trigonometry turns those X, Y and Z readings into a compass heading. That makes it the missing piece in almost every navigation project: autonomous rovers that need to know which way they face while stationary, drone flight controllers, GPS trackers, robotic lawn mowers, antenna and solar trackers, and digital compasses on a small OLED. Pair one with an accelerometer and gyroscope and you get full orientation (yaw, pitch and roll) for IMUs and AHRS systems.
The trouble is that the market is a mess. The famous HMC5883L was discontinued years ago, most “HMC5883L” boards now ship with the incompatible QMC5883L, and modern parts like the LIS3MDL, MMC5983MA, BMM150 and RM3100 differ wildly in noise, range, data rate and supply voltage. This guide ranks 8 magnetometer modules across every use case, from a two-dollar beginner board to a survey-grade sensor, on the specs that actually matter for embedded work.
💡 Reality check before you buy: No magnetometer gives an accurate heading straight out of the box. Every one needs hard-iron and soft-iron calibration once it is mounted in your project, because nearby motors, batteries, steel screws, speakers and current-carrying wires distort the field far more than the sensor’s own noise. A flat 2D compass also goes wrong as soon as the board tilts, so robots and drones need tilt compensation from an accelerometer (or a fusion chip like the BNO055). Expect 1 to 3 degrees of real-world heading accuracy from a well-calibrated budget module, and check whether your board is 5V tolerant: several of the best sensors here are 3.3V only.
🧭 Quick Comparison: All 8 Magnetometer Modules
| Module | Sensor Type | Range | Interface / Supply | Best For | Buy |
|---|
| 🥇 SparkFun MMC5983MA | AMR · 18-bit | ±8 G | I2C/SPI · 3.3V Qwiic | Best Overall | Buy Here → |
| 🏅 HiLetgo GY-271 QMC5883L | AMR · 16-bit | ±2 / ±8 G | I2C · 3-5V | Best Value / Beginners | Buy Here → |
| 🔴 Adafruit BNO055 | 9-DOF + fusion | ±13 G (mag) | I2C/UART · 3-5V | Best Tilt-Compensated Heading | Buy Here → |
| 🎯 RM3100 Module | Magneto-inductive | ±800 µT | SPI · 3.3V | Best Precision | Buy Here → |
| ⚡ CJMCU LIS3MDL | ST · 16-bit | ±4 to ±16 G | I2C/SPI · 3.3V | Best Wide-Range / Fast | Buy Here → |
| 🔋 Waveshare BMM150 | Bosch · low power | ±1300 µT (XY) | I2C/SPI · 3.3-5V | Best Low-Power | Buy Here → |
| 🌀 ICM-20948 Module | 9-axis IMU (AK09916) | ±4900 µT | I2C/SPI · 3.3V logic | Best 9-Axis IMU | Buy Here → |
| 📚 Comimark GY-273 HMC5883L | AMR · 12-bit | ±0.88 to ±8.1 G | I2C · 3-5V | Best for Legacy Tutorials | Buy Here → |
1 gauss (G) = 100 µT; the Earth’s field is roughly 0.25 to 0.65 G depending on where you live. Specs are taken from the sensor datasheets and the Amazon listings. Several budget modules are sold in multi-packs, so check the listing before you order.
🔍 What to Look for in a Magnetometer Module
📉
Noise & Resolution
Noise sets how steady your heading is. The Earth’s field is weak (around 0.5 G), so a sensor with 0.4 mG noise holds a sub-degree heading while a 2 to 4 mG part will wander a little. More ADC bits only help if the noise floor is low enough to use them.
📏
Full-Scale Range
A pure compass only needs about ±1 to ±2 G. Wider ranges (±8 G, ±16 G or more) stop the sensor saturating next to motors, magnets or speakers, and let you measure nearby magnets for position sensing. Selectable ranges give you both.
🧲
Set/Reset & Offset Stability
AMR sensors can be magnetised by a strong field and drift. Parts with a built-in SET/RESET strap (MMC5983MA, QMC5883L, HMC5883L) can degauss themselves and cancel offset and temperature drift, which keeps calibration valid for longer.
🔌
Interface & Voltage
I2C is easiest; SPI is faster and avoids address clashes. Check the board, not just the chip: GY-271/GY-273 and Waveshare boards accept 3.3V or 5V, while bare LIS3MDL, MMC5983MA and RM3100 boards are 3.3V only and need a level shifter on a 5V Arduino.
📐
Standalone vs IMU / Fusion
A standalone magnetometer gives raw field data. A 9-axis IMU adds accelerometer and gyro for tilt compensation, and a fusion chip like the BNO055 does the maths for you and outputs heading directly. Pick based on how much firmware you want to write.
🏆 Detailed Reviews: All 8 Magnetometer Modules
🥇 BEST OVERALL
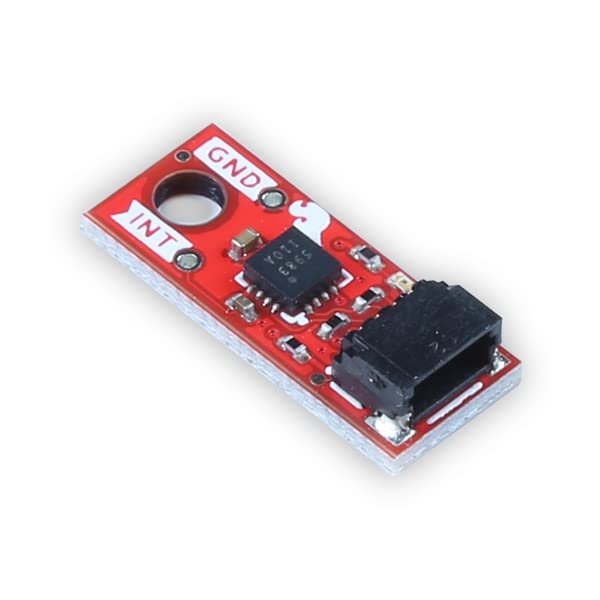
SparkFun Micro Magnetometer MMC5983MA (Qwiic)
⭐ 4.8/5 · Precision Compass for Serious Builds
Buy Here on Amazon →

The SparkFun MMC5983MA is the magnetometer we recommend when you want a compass that actually holds its heading. MEMSIC’s MMC5983MA delivers 18-bit resolution with just 0.4 mG of RMS noise, which is low enough for a rated heading accuracy of about ±0.5 degrees, an order of magnitude steadier than a GY-271. It covers ±8 G, runs up to 1000 Hz, has on-chip temperature sensing and sensitivity compensation, and its SET/RESET function cancels offset drift so your calibration stays valid. SparkFun’s tiny 0.75 x 0.30 inch Qwiic board plugs straight into any Qwiic or STEMMA QT port, and their Arduino library supports both I2C and SPI. The only catch: it is a 3.3V part, so 5V Arduinos need a Qwiic shield or level shifter.
✅ Pros- Very low 0.4 mG noise, 18-bit output
- SET/RESET cancels offset drift
- Up to 1 kHz, I2C or SPI
- Solderless Qwiic, solid library
❌ Cons- 3.3V only, not 5V tolerant
- Micro board is fiddly to mount
- Costs more than GY-271 clones
🎯 Verdict: The best all-round magnetometer for makers. Low noise, fast, drift-resistant and properly documented, without stepping into industrial pricing.
👉 Check Price on Amazon →
🏅 BEST VALUE · BEST FOR BEGINNERS

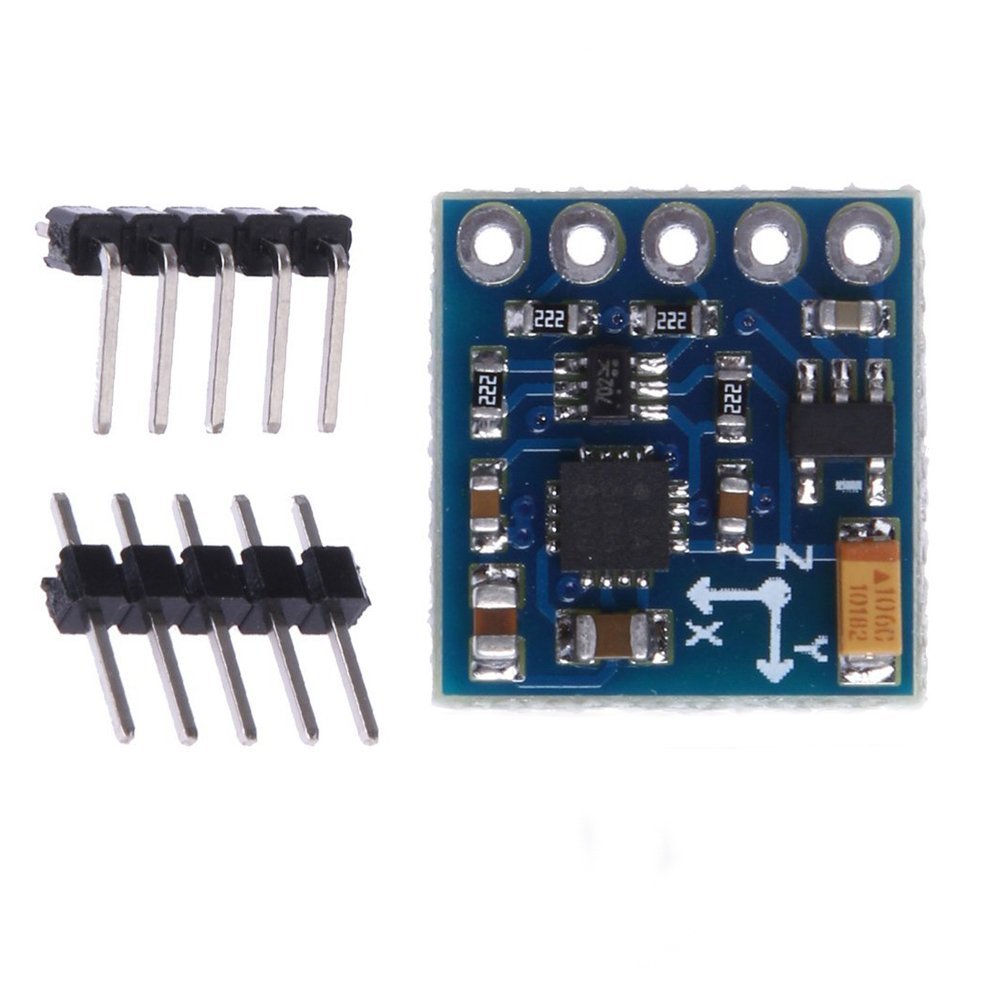
The GY-271 QMC5883L is the compass module most people start with, and HiLetgo’s version is a well-reviewed, in-stock listing that clearly states the real chip. The QMC5883L from QST is the drop-in successor to the HMC5883L footprint, with a 16-bit ADC, selectable ±2 or ±8 G range, output rates up to 200 Hz and a set/reset driver, giving roughly 1 to 2 degrees of heading accuracy once calibrated. The board has an onboard regulator and pull-ups, so it runs from 3.3V or 5V and wires straight to an Arduino Uno, ESP32 or Raspberry Pi Pico over I2C. Important: it is not register-compatible with the HMC5883L. It lives at I2C address 0x0D, so use a QMC5883L library (such as MechaQMC5883 or QMC5883LCompass), not the Adafruit HMC5883 one.
✅ Pros- Very cheap and widely stocked
- 3.3V and 5V friendly
- 16-bit, ±8 G range
- Huge tutorial and library base
❌ Cons- Not compatible with HMC5883L code
- Noisier than the MMC5983MA
- No tilt compensation on its own
🎯 Verdict: The best value compass for learning and everyday robot heading. Just make sure your code targets the QMC5883L, not the old HMC5883L.
👉 Check Price on Amazon →
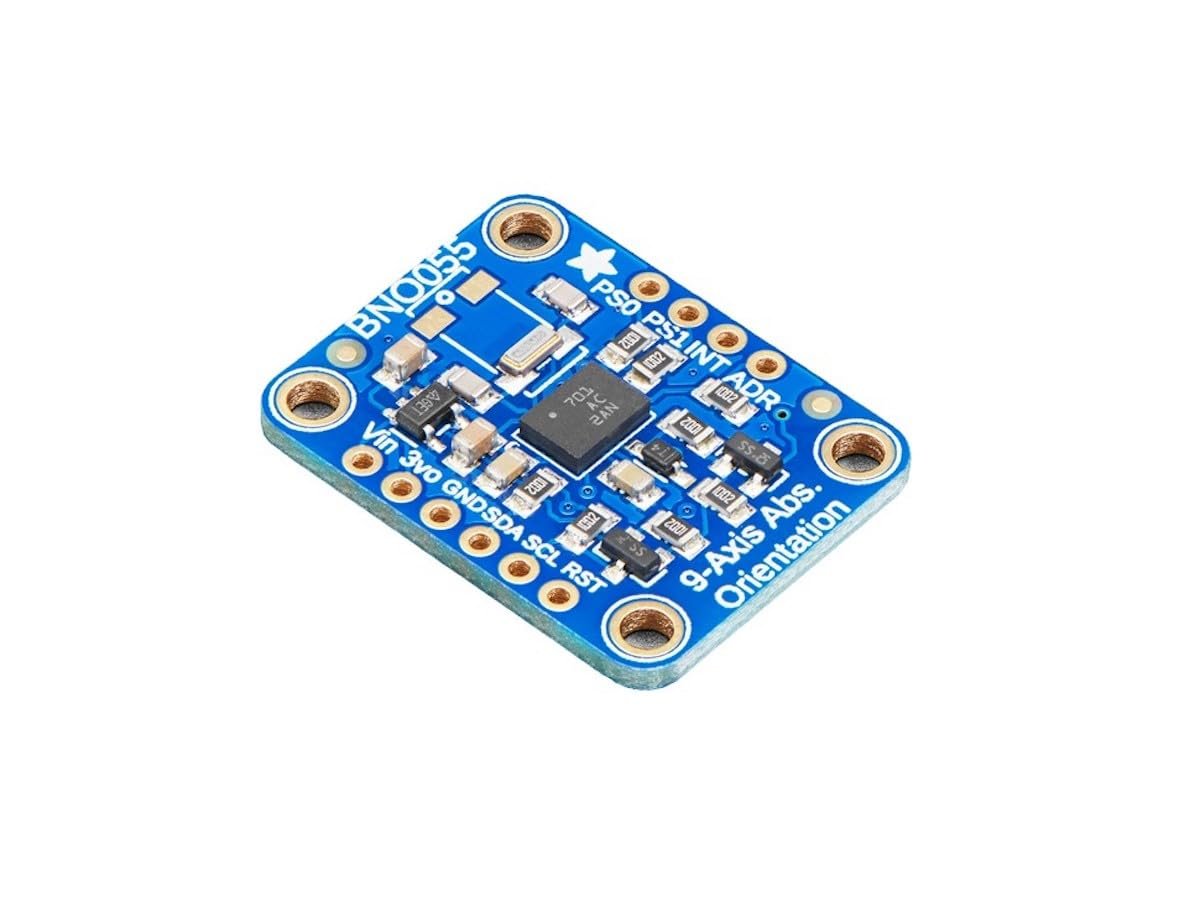
🔴 BEST TILT-COMPENSATED HEADING · ⭐ 4.7/53. Adafruit BNO055 9-DOF Absolute Orientation
Accel + gyro + mag · onboard sensor fusion · heading, Euler & quaternion at 100 Hz · I2C/UART · 3-5V
Buy Here →

A bare magnetometer only gives a correct heading while it sits flat. The Bosch BNO055 fixes that by combining a magnetometer, accelerometer and gyroscope with an onboard ARM Cortex-M0 that runs Bosch’s sensor-fusion firmware. Instead of raw field values, it hands you a tilt-compensated compass heading, Euler angles and quaternions over I2C or UART, and it calibrates itself in the background as you move it. Adafruit’s breakout adds a regulator and level shifting for 3V or 5V boards and has one of the best-maintained Arduino and CircuitPython libraries around. It is the fastest path from “wires on a breadboard” to “my rover knows which way it is pointing” on a moving, tilting platform.
✅ Pros: Outputs heading directly; automatic background calibration; tilt compensated; excellent library.
❌ Cons: Fusion is a black box; I2C clock stretching upsets some MCUs; pricier than a bare mag.
🎯 Verdict: The best choice when you need a reliable heading on a robot, drone or handheld that tilts, and you don’t want to write your own fusion filter.
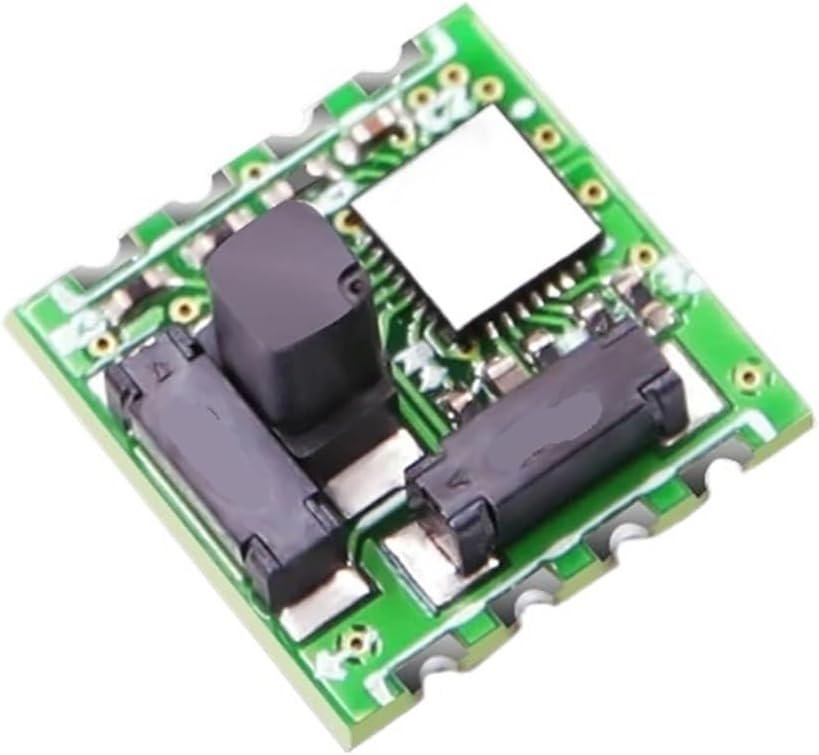
🎯 BEST PRECISION · ⭐ 4.5/54. RM3100 Industrial Magnetometer Module
PNI magneto-inductive · ±800 µT · ~13 nT resolution · very low noise · SPI · 3.3V
Buy Here →

The RM3100 uses PNI Sensor’s magneto-inductive coils (the 13101/13104 sensor set plus the 13156 controller ASIC, as listed) rather than AMR or Hall elements. The result is a sensor with roughly 13 nT resolution, very low noise, no hysteresis and excellent temperature stability, which is why you find it in survey equipment, high-end drone GPS/compass units and magnetic anomaly projects. You trade off sample rate against resolution by setting the cycle count, so it can go from ultra-precise to a few hundred hertz. It is an SPI, 3.3V-only module with no regulator, the library ecosystem is thinner than the others, and this listing is a generic-brand board, so plan on reading the datasheet. For lab-grade field measurements, nothing else here comes close.
✅ Pros: Survey-grade resolution; no hysteresis; stable over temperature; tunable speed vs precision.
❌ Cons: 3.3V SPI only; fewer libraries; generic seller; overkill for a basic compass.
🎯 Verdict: The best precision magnetometer you can buy as a hobby module. Pick it for science, mapping and premium drone compasses, not for a first project.
⚡ BEST WIDE-RANGE / FAST · ⭐ 4.4/55. CJMCU LIS3MDL 3-Axis Magnetometer
ST LIS3MDL · ±4/±8/±12/±16 G · 16-bit · up to 1000 Hz · I2C/SPI · 1.9-3.6V
Buy Here →

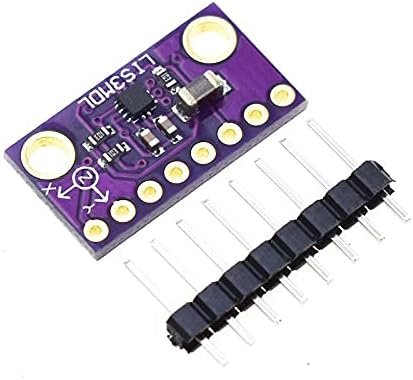
ST’s LIS3MDL is the magnetometer inside many commercial IMU boards, and the CJMCU breakout gives you the bare chip cheaply. Its standout feature is a selectable range up to ±16 G, so it will not saturate when mounted close to motors or when you deliberately track a nearby magnet, plus a fast mode that pushes output data up to about 1 kHz. Both I2C and SPI are broken out, and the Adafruit LIS3MDL library works with it unchanged. Be careful with power: the listing confirms a 1.9 to 3.6V supply, so feed it from 3.3V and level-shift the I2C lines on a 5V Uno. Its noise is higher than the MMC5983MA, so it is better at robust, wide-range sensing than at a rock-steady sub-degree compass.
✅ Pros: Wide ±16 G range; up to 1 kHz; I2C and SPI; works with Adafruit library.
❌ Cons: 3.3V only; few reviews on this listing; noisier than MMC5983MA.
🎯 Verdict: The best pick when your sensor lives near motors or magnets, or when you need fast field sampling rather than the steadiest heading.
🔋 BEST LOW-POWER · ⭐ 4.4/56. Waveshare BMM150 Digital Compass Sensor
Bosch BMM150 · ±1300 µT (XY) / ±2500 µT (Z) · 0.3 µT resolution · I2C/SPI · 3.3-5V
Buy Here →

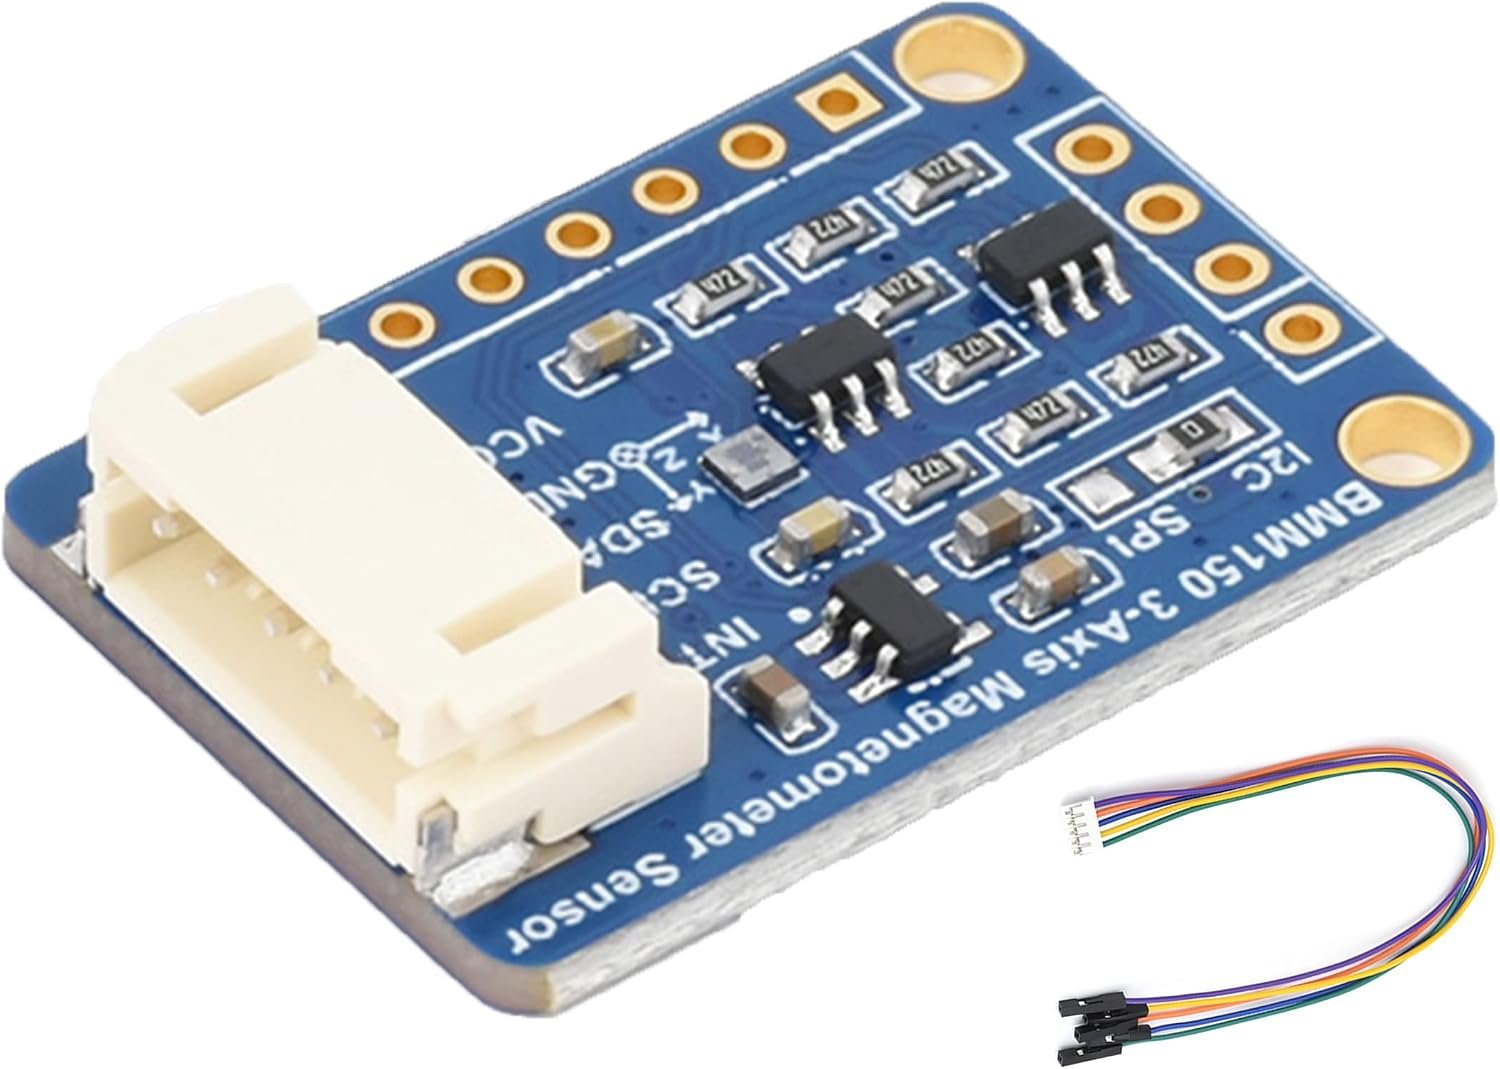
The Bosch BMM150 is the geomagnetic sensor Bosch designed for phones and wearables, and it is the same magnetometer core used inside the BNO055. That heritage shows in its very low current draw and its preset power modes, which makes it the natural choice for battery-powered compasses, BLE beacons and ESP32 projects that spend most of their time asleep. Waveshare’s board is a proper branded module with an onboard voltage translator, so it is safe on both 3.3V and 5V boards, and it ships with I2C by default and SPI selectable via a resistor. Waveshare also provides Arduino, Raspberry Pi and STM32 demo code, which saves real time.
✅ Pros: Very low power; 3.3V and 5V safe; I2C or SPI; branded board with demo code.
❌ Cons: 0.3 µT resolution is coarser than MMC5983MA; needs Bosch trim compensation in code.
🎯 Verdict: The best magnetometer for battery-powered and wearable projects, from a brand that actually documents its boards.
🌀 BEST 9-AXIS IMU · ⭐ 4.4/57. ICM-20948 9-Axis Motion Sensor Module
TDK ICM-20948 · AK09916 mag ±4900 µT · gyro ±2000 dps · accel ±16 g · DMP · I2C/SPI
Buy Here →

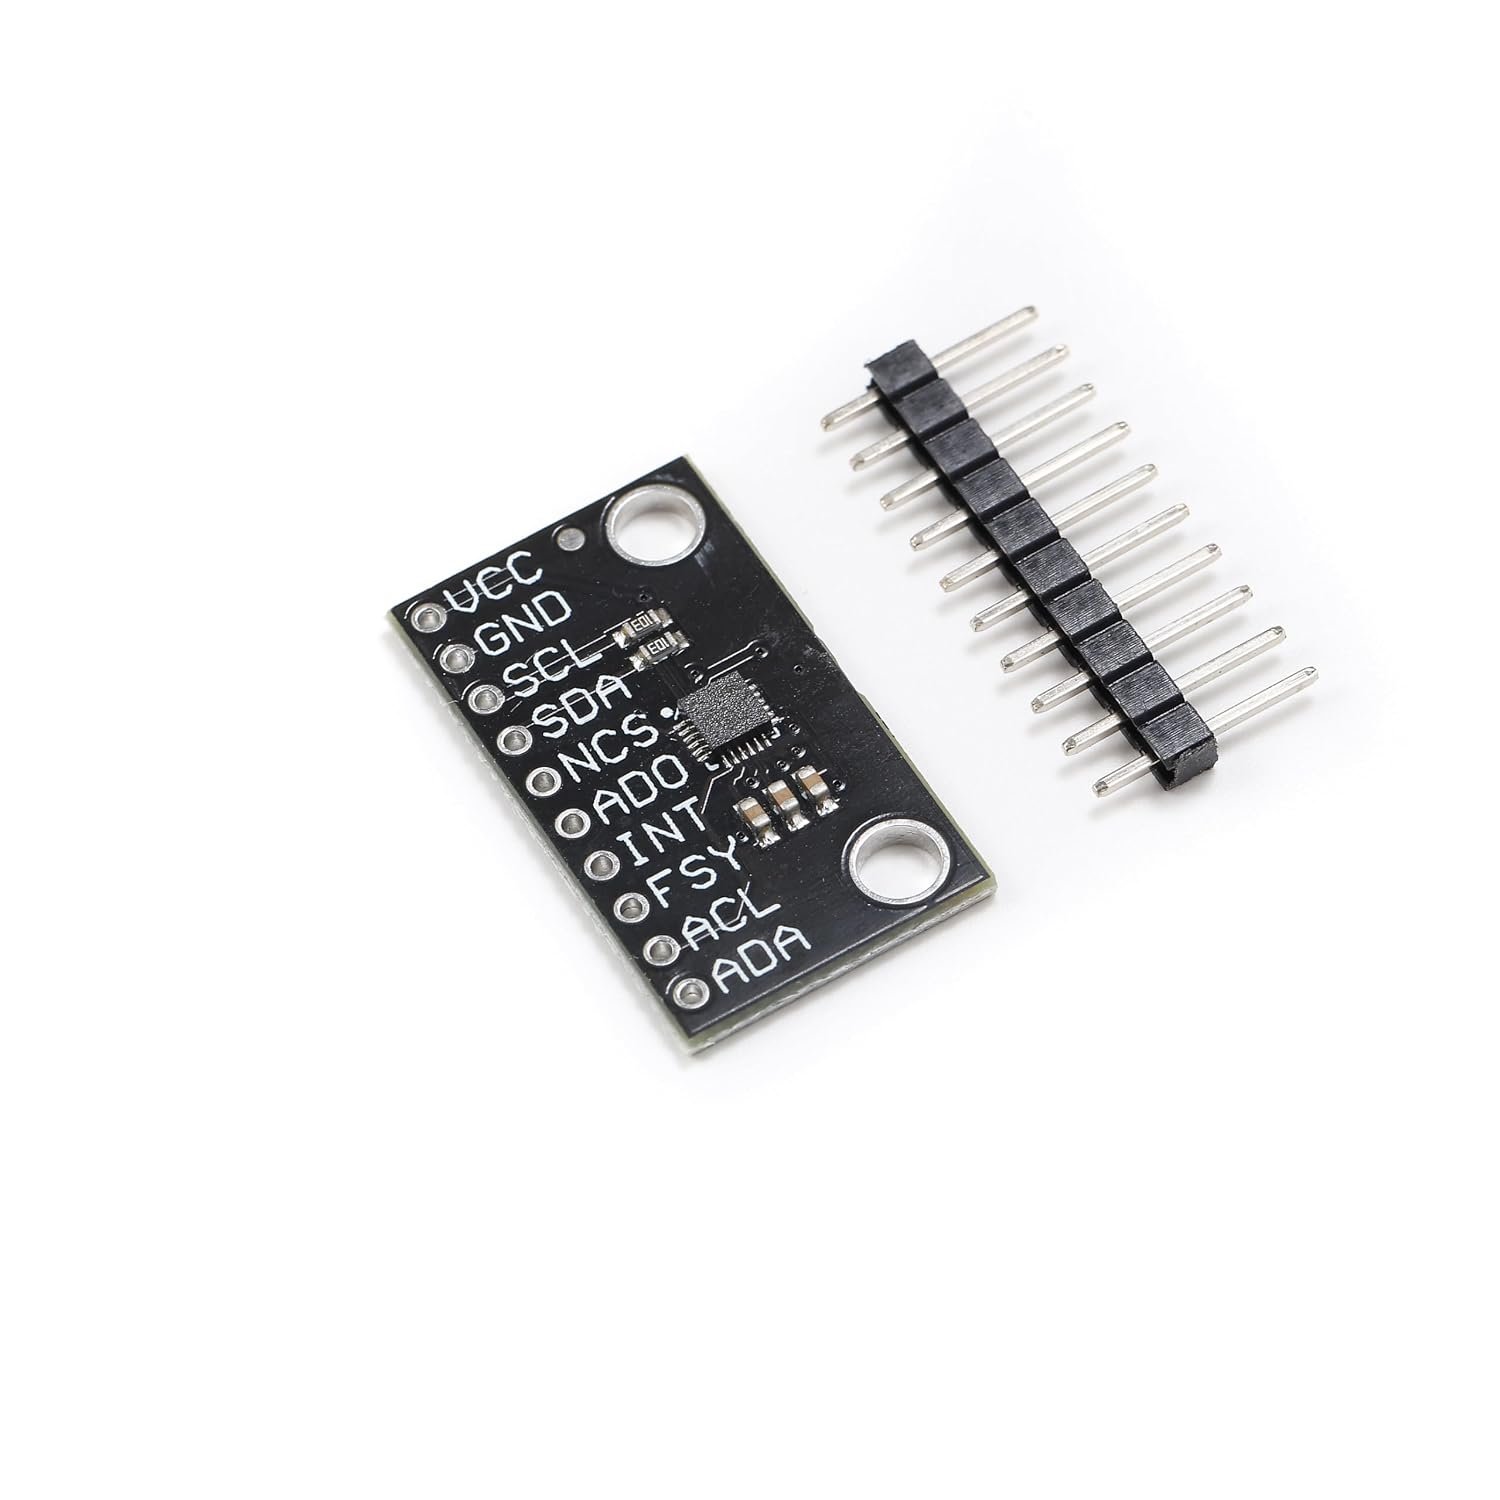
If you were going to buy an MPU-9250, buy the ICM-20948 instead. TDK InvenSense’s replacement for the discontinued MPU-9250 packs a 3-axis gyro, 3-axis accelerometer and an AK09916 magnetometer with ±4900 µT range into one low-power package, rated at about 2.5 mW for all nine axes. One board gives you everything needed for tilt-compensated heading or a full Madgwick/Mahony AHRS filter, and the onboard Digital Motion Processor can offload fusion if you use the SparkFun library. The magnetometer sits behind the IMU’s auxiliary I2C bus, so reading it takes a little more setup than a standalone chip, and its resolution (0.15 µT per LSB) is modest. Treat it as an IMU first and a compass second.
✅ Pros: Full 9-axis in one chip; MPU-9250 successor; low power; DMP fusion option.
❌ Cons: Mag access via aux bus; coarser mag than standalone parts; check board voltage.
🎯 Verdict: The best single-chip 9-axis option for drones, balancing robots and AHRS builds where heading is one output among many.
📚 BEST FOR LEGACY TUTORIALS · ⭐ 4.1/58. Comimark GY-273 HMC5883L (2-Pack)
HMC5883L footprint · ±0.88 to ±8.1 G · 12-bit · up to 75 Hz · I2C 0x1E · 3-5V
Buy Here →

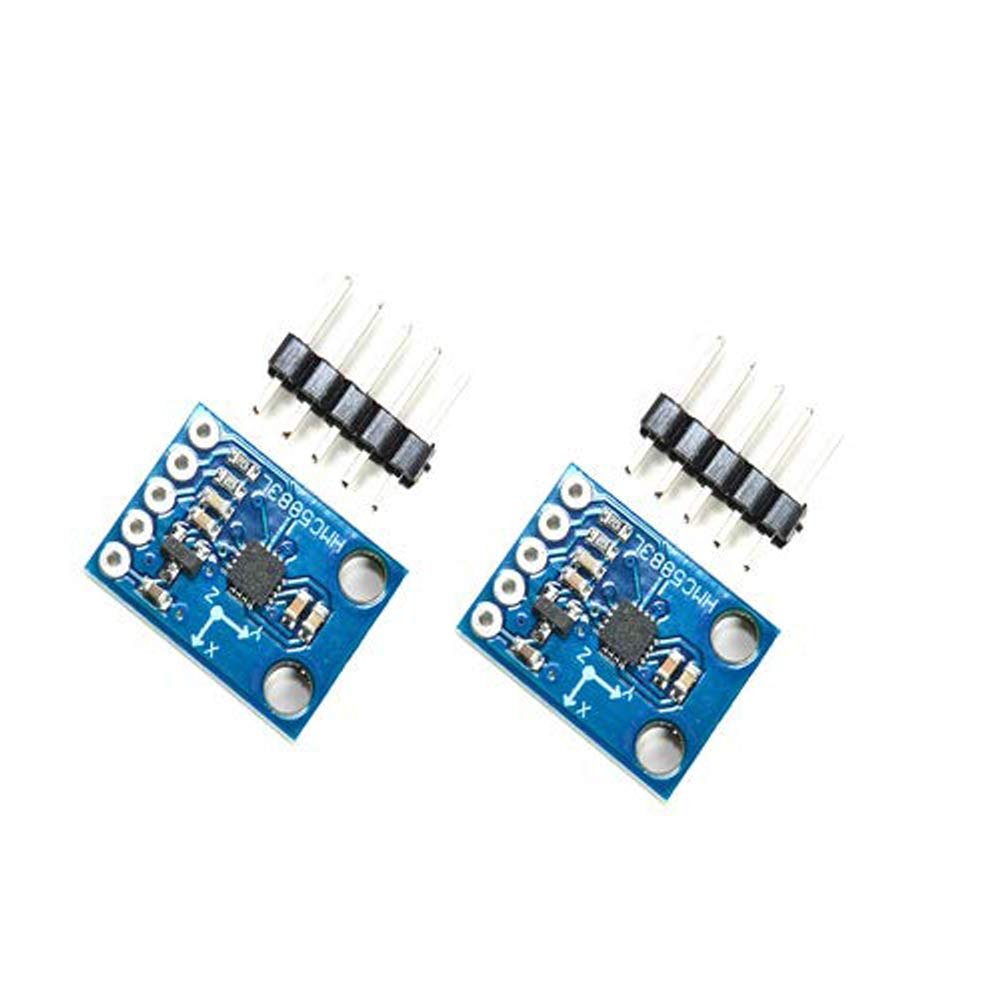
The Honeywell HMC5883L is the sensor behind thousands of older Arduino compass tutorials, including our own HMC5883L with Arduino guide. It offers eight selectable ranges from ±0.88 to ±8.1 G, a 12-bit ADC and 1 to 2 degree heading accuracy, and it answers at I2C address 0x1E. Honeywell discontinued it, so this Comimark 2-pack is listed as GY-273 HMC5883L, but be realistic: across the market many boards sold under this name now carry the QMC5883L. Run an I2C scanner as soon as it arrives. If it shows 0x1E, the classic Adafruit HMC5883 library and old tutorials work as-is; if it shows 0x0D, switch to a QMC5883L library. For new designs, the GY-271 QMC5883L above is the safer buy.
✅ Pros: Matches older tutorials and libraries; 3.3V and 5V; cheap 2-pack.
❌ Cons: Discontinued chip; QMC substitution risk; only 12-bit and 75 Hz.
🎯 Verdict: Buy it to follow an existing HMC5883L tutorial or repair an older project. Verify the I2C address on arrival.
🛒 How to Choose the Right Magnetometer
🧭
Want the steadiest compass heading?
Get the SparkFun MMC5983MA: 0.4 mG noise and SET/RESET drift cancellation for sub-degree heading.
🔰
Learning on a budget?
The GY-271 QMC5883L works on 3.3V or 5V and costs almost nothing. Use a QMC5883L library.
🚗
Rover, boat or drone that tilts?
The Adafruit BNO055 outputs a fused, tilt-compensated heading with no filter code to write.
🔬
Science or field mapping?
The RM3100 gives nanotesla-level resolution with no hysteresis. Expect 3.3V SPI and datasheet work.
🔋
Running on a coin cell or LiPo?
The Waveshare BMM150 has Bosch’s low-power modes and a level-shifted 3.3V/5V board.
🌀
Building a full AHRS / IMU?
The ICM-20948 puts gyro, accel and mag in one chip. For noisy, motor-heavy enclosures, the LIS3MDL‘s ±16 G range resists saturation.
⚙️ Key Specs Compared Side by Side
| Spec | MMC5983MA | QMC5883L | LIS3MDL | BMM150 | ICM-20948 | RM3100 |
|---|
| Max Range | ±8 G | ±8 G | ±16 G | ±13 G (XY) | ±49 G ⭐ | ±8 G |
| Output Resolution | 18-bit | 16-bit | 16-bit | 0.3 µT | 0.15 µT/LSB | ~13 nT ⭐ |
| Noise (approx.) | 0.4 mG RMS | ~2 mG | ~3-4 mG | ~3 mG | ~6 mG | ~0.15 mG ⭐ |
| Max Data Rate | 1000 Hz ⭐ | 200 Hz | ~1000 Hz ⭐ | ~300 Hz | 100 Hz | ~600 Hz |
| Interface | I2C / SPI ⭐ | I2C | I2C / SPI ⭐ | I2C / SPI ⭐ | I2C / SPI ⭐ | SPI (board) |
| Board Supply | 3.3V | 3-5V ⭐ | 3.3V | 3.3-5V ⭐ | 3.3V logic | 3.3V |
| Drift Handling | SET/RESET ⭐ | Set/reset | Offset regs | Factory trim | Factory adj. | No hysteresis ⭐ |
Noise and data-rate figures are approximate datasheet values and depend on range, averaging and output-rate settings. RM3100 resolution and speed trade off against the configured cycle count. Always confirm board details on the live Amazon listing.
❓ Frequently Asked Questions
What is the difference between the HMC5883L and the QMC5883L?
They share the same board footprint (GY-271 / GY-273) but are different chips. The Honeywell HMC5883L uses I2C address 0x1E and a 12-bit ADC; it is discontinued. The QST QMC5883L uses address 0x0D, a 16-bit ADC and a completely different register map, so HMC5883L code returns zeros or garbage on it. Run an I2C scanner sketch: 0x1E means HMC5883L, 0x0D means QMC5883L. Then pick the matching library. Nearly every budget board sold today is a QMC5883L.
Why is my compass heading wrong, and how do I calibrate it?
Almost always it is hard-iron and soft-iron distortion from things mounted near the sensor: motors, batteries, steel screws, speakers and wires carrying current. Calibrate with the sensor installed in its final position. Slowly rotate the whole device through every orientation (a figure-eight motion works) while logging min and max values on each axis. Subtract the midpoint of each axis to remove hard-iron offsets and scale the axes so they match to correct simple soft-iron effects. Tools like MotionCal or Magneto compute a full ellipsoid fit if you need more accuracy. Re-calibrate whenever you change the hardware around the sensor.
Do I need tilt compensation?
Only if the sensor does not stay level. The simple atan2(Y, X) heading assumes the board is flat; tilt it by 10 or 15 degrees and the heading can be off by tens of degrees, because the Earth’s field points steeply downward at most latitudes. For anything handheld, flying, floating or driving over rough ground, add an accelerometer to measure pitch and roll and rotate the magnetometer vector back into the horizontal plane, or use a fusion device like the BNO055 or ICM-20948 that does it for you.
Does a magnetometer point to true north?
No, it points to magnetic north. The angle between magnetic north and true (geographic) north is the magnetic declination, which ranges from near zero to more than 20 degrees depending on where you are, and it changes slowly over the years. Look up your local value from the NOAA or BGS magnetic-field calculator and add it to your heading in code. If your project has GPS, you can compute declination automatically from your coordinates with a world magnetic model library.
Can I connect these modules to a 5V Arduino Uno?
Some, yes. The GY-271 QMC5883L, GY-273 HMC5883L, Waveshare BMM150 and Adafruit BNO055 boards include regulators or level translators and accept 5V. The CJMCU LIS3MDL, SparkFun MMC5983MA and RM3100 boards are 3.3V only: power them from 3.3V and put a bidirectional level shifter (or a Qwiic shield for the SparkFun board) on the I2C or SPI lines. On ESP32, Raspberry Pi Pico and Raspberry Pi, which are 3.3V natively, every module here connects directly.
🏁 Final Verdict: Best Magnetometer for Every Build
The right compass module for every project and budget:
🥇 Best Overall: SparkFun MMC5983MA, 18-bit, 0.4 mG noise, ±0.5° heading, Qwiic
Buy Here →🏅 Best Value: HiLetgo GY-271 QMC5883L, cheap, 3.3V/5V, perfect for learning
Buy Here →🔴 Best Tilt-Compensated: Adafruit BNO055, fused heading straight out of the chip
Buy Here →🎯 Best Precision: RM3100, magneto-inductive, nanotesla resolution, no hysteresis
Buy Here →⚡ Best Wide-Range: CJMCU LIS3MDL, ±16 G and up to 1 kHz near motors and magnets
Buy Here →🔋 Best Low-Power: Waveshare BMM150, Bosch low-power modes, 3.3V/5V safe
Buy Here →🌀 Best 9-Axis IMU: ICM-20948, gyro + accel + AK09916 mag, MPU-9250 successor
Buy Here →📚 Best for Legacy Tutorials: Comimark GY-273 HMC5883L, verify 0x1E on arrival
Buy Here →Every module here earns its place, but most makers should start with one of two. If you want a compass that holds a steady sub-degree heading, buy the SparkFun MMC5983MA. If you are learning or need a dozen cheap sensors, the GY-271 QMC5883L is the obvious pick. Moving platforms that tilt are best served by the BNO055, science projects by the RM3100, battery builds by the BMM150, full AHRS designs by the ICM-20948, and noisy motor-heavy enclosures by the wide-range LIS3MDL. Whichever you choose, calibrate it in place and add your local declination. To go further, see our HMC5883L compass tutorial, the ESP32 MPU9250 9-axis guide, our GPS module buying guide for navigation projects, the Hall effect sensor buying guide for magnet-position sensing, and the full library of Arduino, ESP32, STM32 and Raspberry Pi tutorials on microcontrollerslab.com.
💬 Not sure which magnetometer fits your project? Tell us what you’re building in the comments below, whether it’s a rover, a drone, a handheld compass or a magnetic survey logger, and we’ll point you to the right module.
All Amazon links above use our affiliate tag (microlab05-20). Purchasing through them supports microcontrollerslab.com at no extra cost to you. Prices and availability change frequently, so always confirm the current price on Amazon before buying.