In this tutorial, we will learn to install Mosquitto MQTT broker on Windows machine as well as Linux Ubuntu operating system. An MQTT broker is the main component of an MQTT protocol. It receives MQTT messages from all MQTT clients and forwards them to all clients which subscribed to those topics.
In this tutorial, we will focus on installing Mosquitto broker on Windows and Linux only. However, it is recommended to install Mosquito MQTT broker on Raspberry Pi if you want to use it for your projects. This is because if you have installed the broker on Windows/Linux, you need to keep your machine up and running all the time in order for IoT devices to remain connected with the broker.
Refer to the following guide, if you want to install the Mosquitto Broker on Raspberry Pi instead:
What is MQTT
MQTT is a lightweight messaging protocol for IoT device communication.
- MQTT is known as Message Queuing Telemetry Transport protocol.
- It is a lightweight messaging protocol and helps resource-constrained network clients with a simple communication mechanism.
- Unlike, most messaging systems, we don’t have to assign addresses to MQTT clients.
- MQTT uses simple publish/subscribe communication-based on a topic.
- This protocol runs on top of TCP / IP in order to provide reliable data delivery.
In order to understand MQTT protocol, you should grasp these four main components components
MQTT Publisher/Subscriber
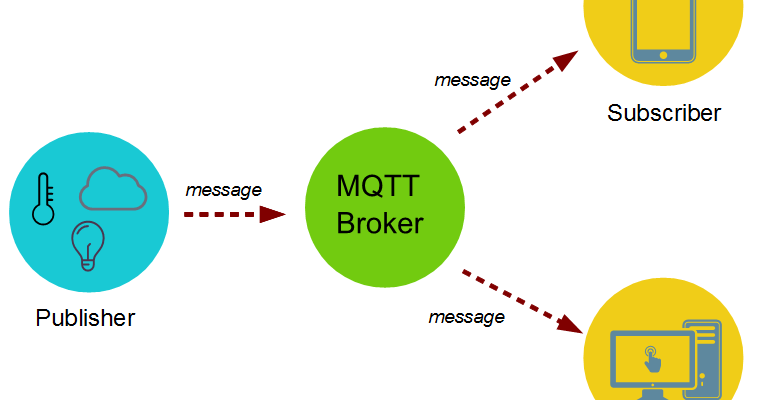
The first main concept in MQTT is a Publisher/ Subscriber system. A publisher device publishes a message on a specific topic and a Subscriber device subscribes to the topic which will be sent by a publisher. On top of that, more than one device can subscribe to the topic.
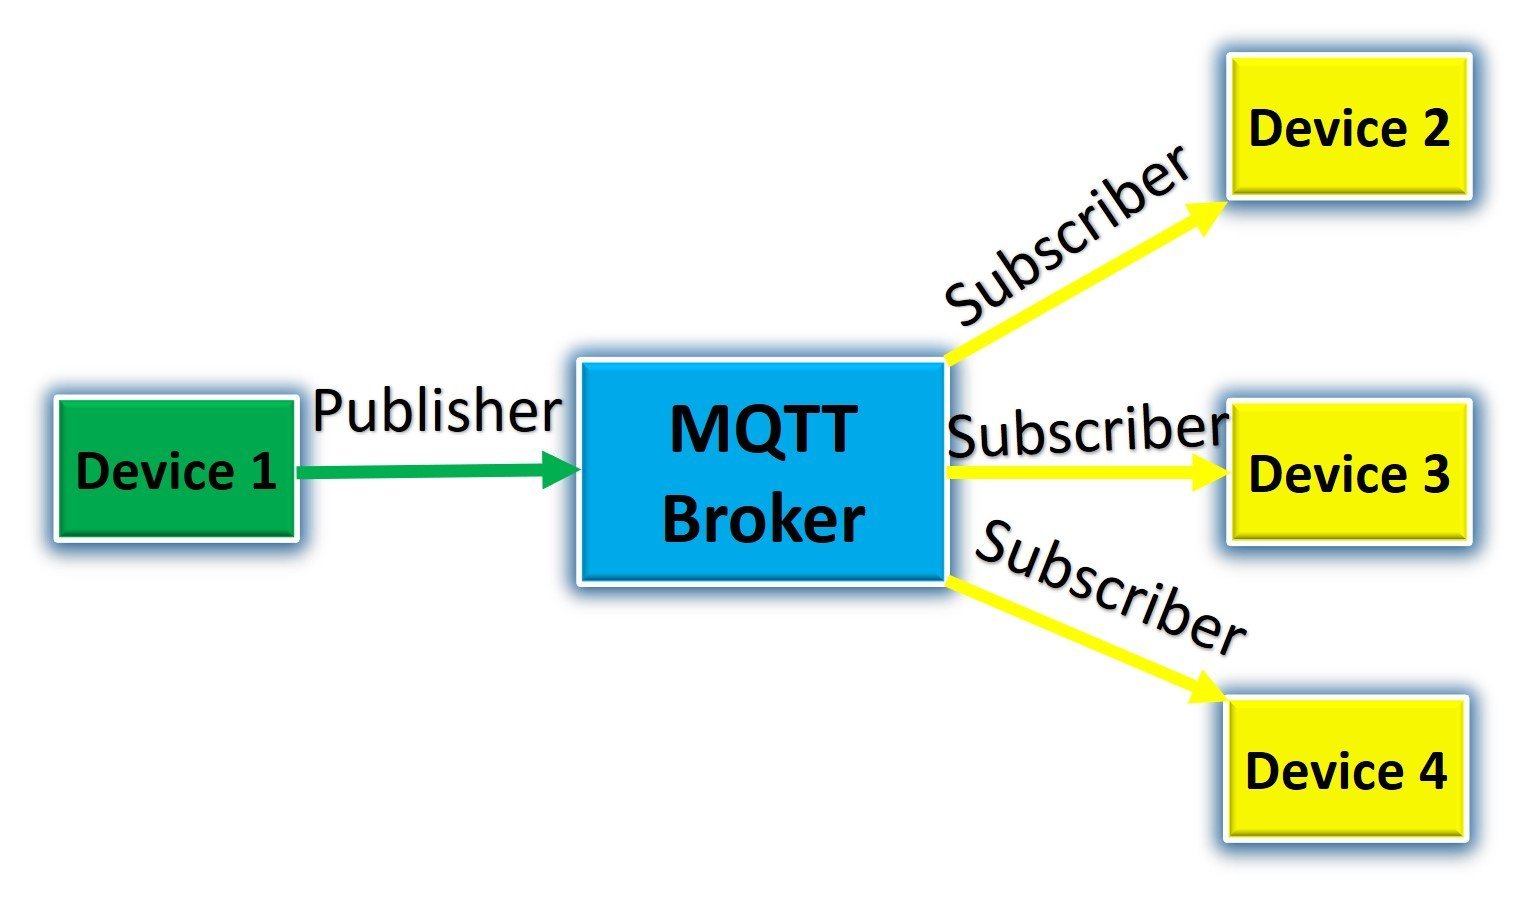
For example, according to above figure:
- Device1 is a publisher and Devices(2-3) are subscribers.
- Let’s suppose, device1 publishes on a topic “ESP32/Temperature” and Devices(2-3) subscribe to the same topic.
- Hence, Devices(2-3) are receivers and Device1 is a sender.
Installing Mosquitto Broker on Windows
Lets start with installing Mosquitto broker on our Windows machine. Follow the guide step by step for a successful installation.
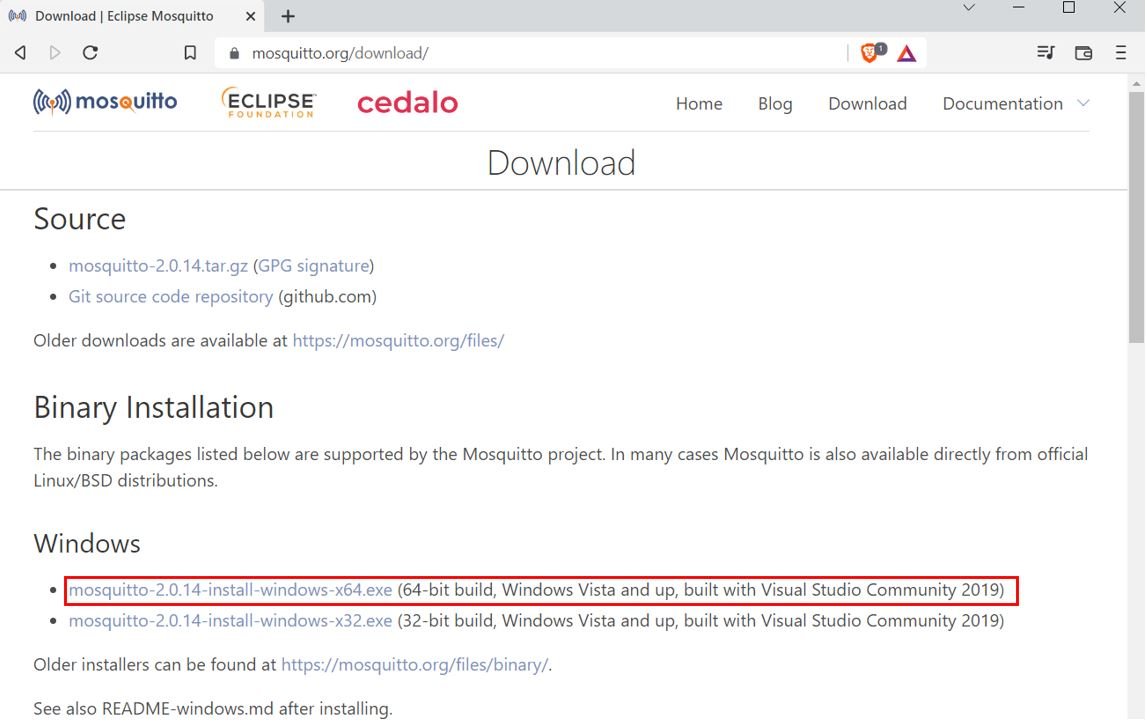
We will start by downloading the Mosquitto Broker for MQTT protocol by Eclipse. After that we will install that in our Windows machine. First of all open a new webpage, type Mosquitto and open the download page of the official website. The following link: https://mosquitto.org/download/ also takes you to the download page.
Head over to the Windows section, and click the .exe file according to your Windows system type to download. Our Windows machine has an operating system of 64 bit hence we will download the .exe file according to that.
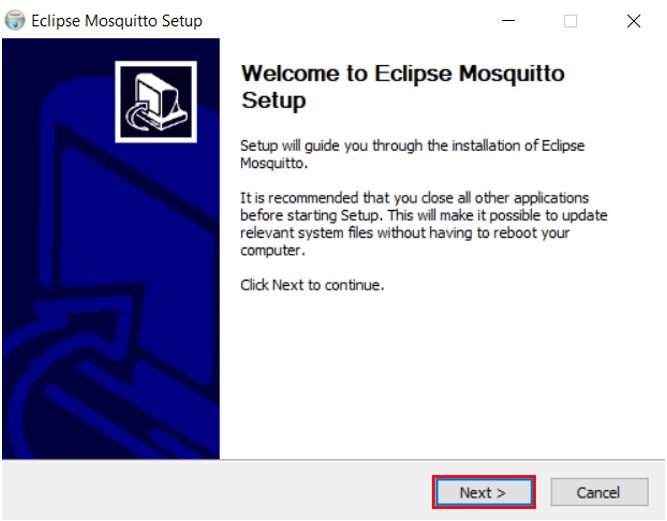
The application file will start downloading. After the download is finished, click the file to open it and begin the installation process. Click ‘Next’ to begin the process.
Next we will be asked to choose the features of the Mosquitto Broker. By default, both ‘Visual Studio Runtime’ and ‘Service’ were ticked so we leave it as default and click ‘Next’ to move ahead.

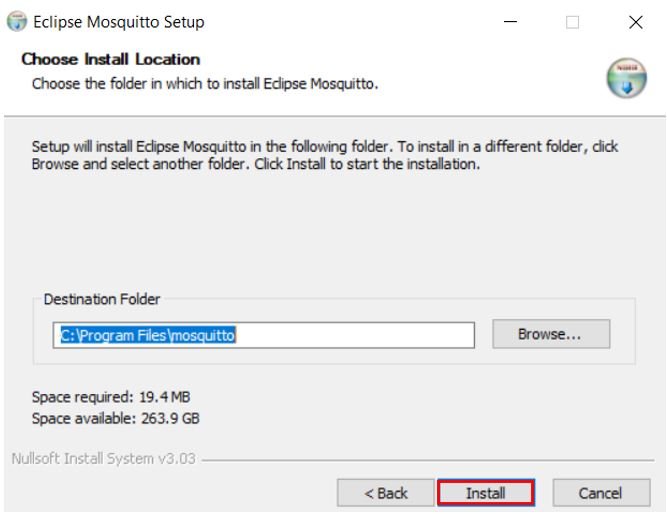
The next step is to choose the installation location. You can specify your own preferred destination folder. We are going with the default path already set.
Now click the ‘Install’ button and the installation will start.
After a few moments, the installation will successfully complete. Click the Finish button to close the setup.
Start, Stop and Restart Mosquitto Broker Service
Now let us test our Mosquitto Broker service. Open the Task Manager on your system and head over to the Services tab. Here find the mosquitto service and check its status. Here, we can view that it is Running.
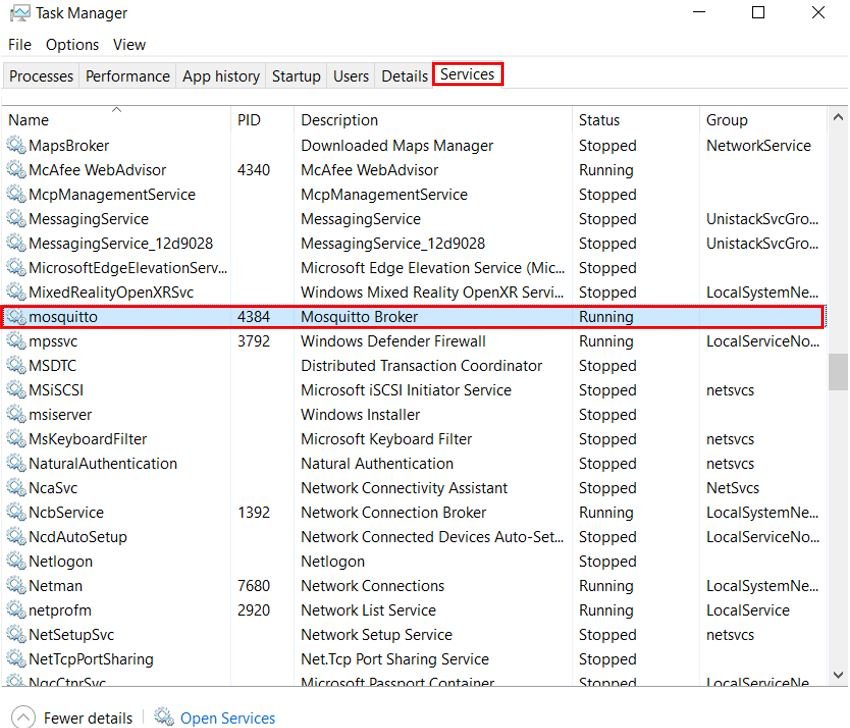
Right click on the Mosquitto service, and you will have various options which you can select. You can stop the service by clicking ‘Stop’ and even restart it by clicking ‘Restart.’ Other options are also available which allow you to open more details.

Alternative Method to Start, Stop and Set Port
We can even use command prompt in Administrative mode to run the Mosquitto Broker service. First of all, open command window as an administrator.

Then navigate to the path where you installed the Mosquitto Broker application. In our case, we set the default path which was “C:\Program Files\mosquitto“

To start the Mosquitto service, type the command: “net start mosquitto“

If you want to stop the service, then type the command: “net stop mosquitto“

In order to change the port for the Mosquitto broker, type the following command: “mosquitto -p 1883”
This command will set the default port as 1883.

Testing Mosquitto Server on Windows
To test or Mosquitto server, open two command prompts as an administrator and navigate to the directory where we installed the mosquitto application.
One command prompt will act as a publisher, that will publish an MQTT message to the test/topic. The other command prompt will act as a subscriber, that will subscribe to the test/topic and display the message received in the command shell.
To start the command line subscriber, we use the following command.
mosquitto_sub -v -t 'NAME_OF_TOPIC'Here the name of our topic is test/topic. This command line will therefore subscribe to the topic: test/topic.
Type the following command in the first command prompt:

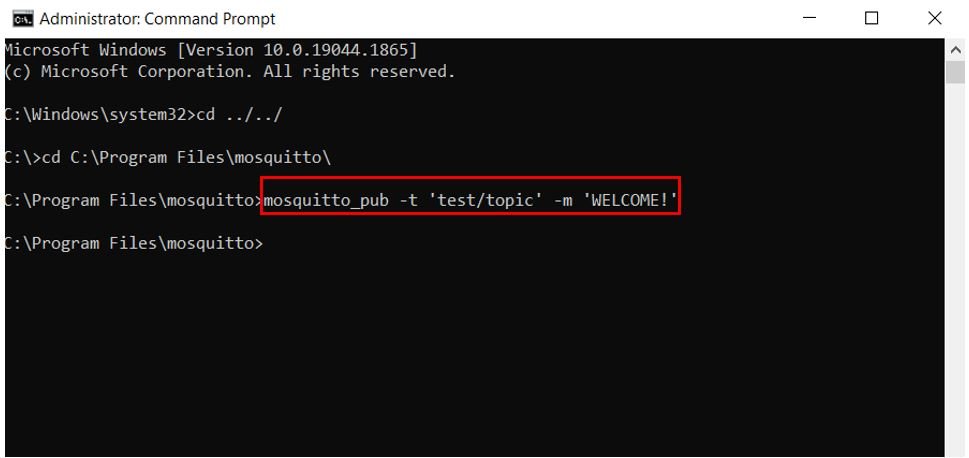
To publish an MQTT message with the command line publisher, we use the following command.
mosquitto_pub -t 'NAME_OF_TOPIC' -m 'MESSAGE_TO_BE_PUBLISHED'Here the MQTT message that we want to publish is WELCOME!. This command line will therefore publish ‘WELCOME!’ to the topic: test/topic.
Type the following command in the second command prompt:
Now the subscriber terminal will display the message it received from the test/topic.

Hence, the Mosquitto Broker is working fine as one client was able to publish a message to a topic and another client was able to subscribe to that topic and receive the message.
Installing Mosquitto Broker on Ubuntu Linux
In this section, we will install Mosquitto broker on Ubuntu machine and test it as well. As with the installation of any other package, Mosquitto is also available in the Ubuntu repositories.
To install Mosquitto Broker, open the Terminal in your Ubuntu machine and type the following command:
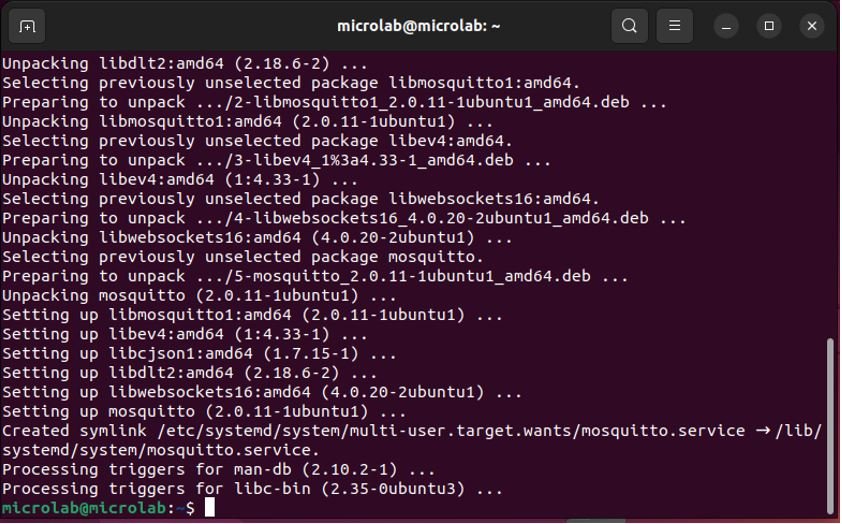
sudo apt-get install mosquitto
After typing the correct password for the user, the installation process starts.

Type ‘Y’ to continue and the installation completes shortly.
After the installation is complete, the Mosquitto Broker will automatically start. To view the current processes running within our system we will type the following command in the shell:
ps -eAs a result, you may notice that mosquitto is part of the processes currently running on the system.

Testing Mosquitto Broker on Ubuntu
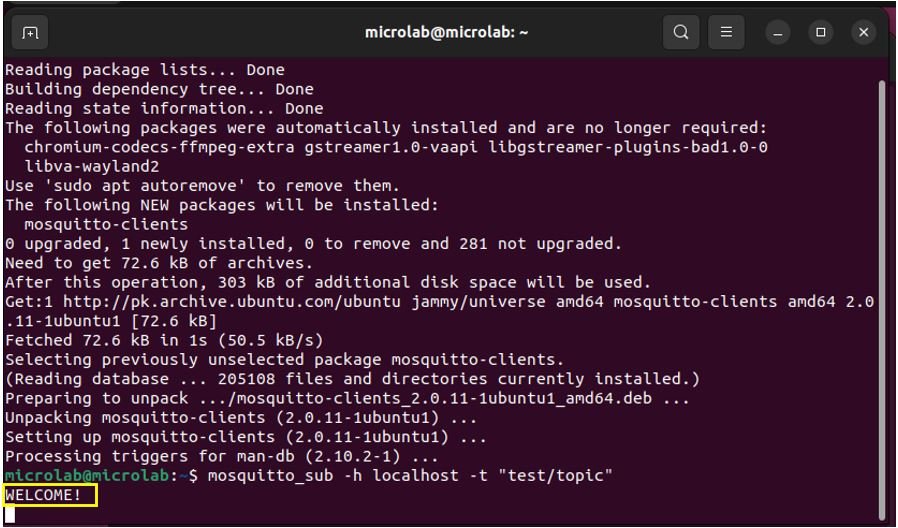
Let us show you how to subscribe and publish messages to a topic. Before that we will have to install a Mosquitto client. To do that, type the following command in the terminal:
sudo apt-get install mosquitto-clients
This will install the Mosquitto client on our machine.
Next, to subscribe to topic for e.g. ‘test/topic’ type the following command:
mosquitto_sub -h localhost -t "test/topic"
Open another terminal and publish the message ‘WELCOME!’ on the topic: test/topic. For that, type the following command in the second terminal:
mosquitto_pub -h localhost -t "test/topic" -m "WELCOME!"
Right after we publish the message to the topic test/topic, the subscriber receives it and displays it in its terminal.
Likewise, we publish another message ‘Hello World’ on the topic and the subscriber receives it accordingly.

Now if you want to create MQTT based projects with Mosquitto broker and ESP32, you can read these projects:
- ESP8266 NodeMCU MQTT Communication with ESP32 and Node-RED
- ESP32 MicroPython MQTT Publish Subscribe – Control Outputs
- ESP32 MQTT Publish Subscribe with Arduino IDE – Control Outputs
- ESP32 MQTT Publish Subscribe DS18B20 Readings with Arduino IDE
- ESP32 MQTT Publish Subscribe BME280 Readings with Arduino IDE
- ESP32 MQTT Publish Subscribe DHT22 Readings with Arduino IDE
Thank you for this article, but i tried doing an MQTT project with ESP32, since i had no Raspberry pi for now i decide to use my windows to run the broker, but it was not working
Please first check if MQTT is installed properly on your Windows by using any MQTT client Desktop application and also check if MQTT can be access outside localhost or not. If not, enable it.