Are you a student looking to enhance your electronic circuit design skills? Look no further than PSPICE – the Simulation Program for Integrated Circuits Emphasis. In this tutorial, we will explore the fundamental uses and benefits of PSPICE, guiding you through the process of downloading and installing the student version. PSPICE provides a comprehensive platform for simulating, analyzing, and testing circuits, enabling students to gain invaluable hands-on experience before moving on to hardware implementation. Join us on this journey as we delve into the world of PSPICE and unlock the power of circuit design.
In this tutorial, we will explain the basic uses of PSPICE, where SPICE stands for Simulation Program for Integrated Circuits Emphasis. After a brief introduction to the working and uses of the software, we will guide you on successfully downloading and installing the student version of PSPICE online.
Introduction to PSpicesoftware
PSPICE is a general-purpose analog simulator used to design and test circuits before moving to the hardware implementation phase. It allows users to analyze and simulate circuits to obtain voltage and current results. The inputs and outputs of a circuit can be viewed on a virtual schematic built-in PSPICE.
PSPICE provides system-level simulation of circuit solutions. Users can obtain accurate analog and mixed-signal results supported by a large number of board-level models. It is commonly used for designing and testing virtual prototypes of circuits, helping to identify and correct any errors before moving to the hardware implementation phase. This ensures maximum reliability of the circuit.
Downloading the setup of PSPICE
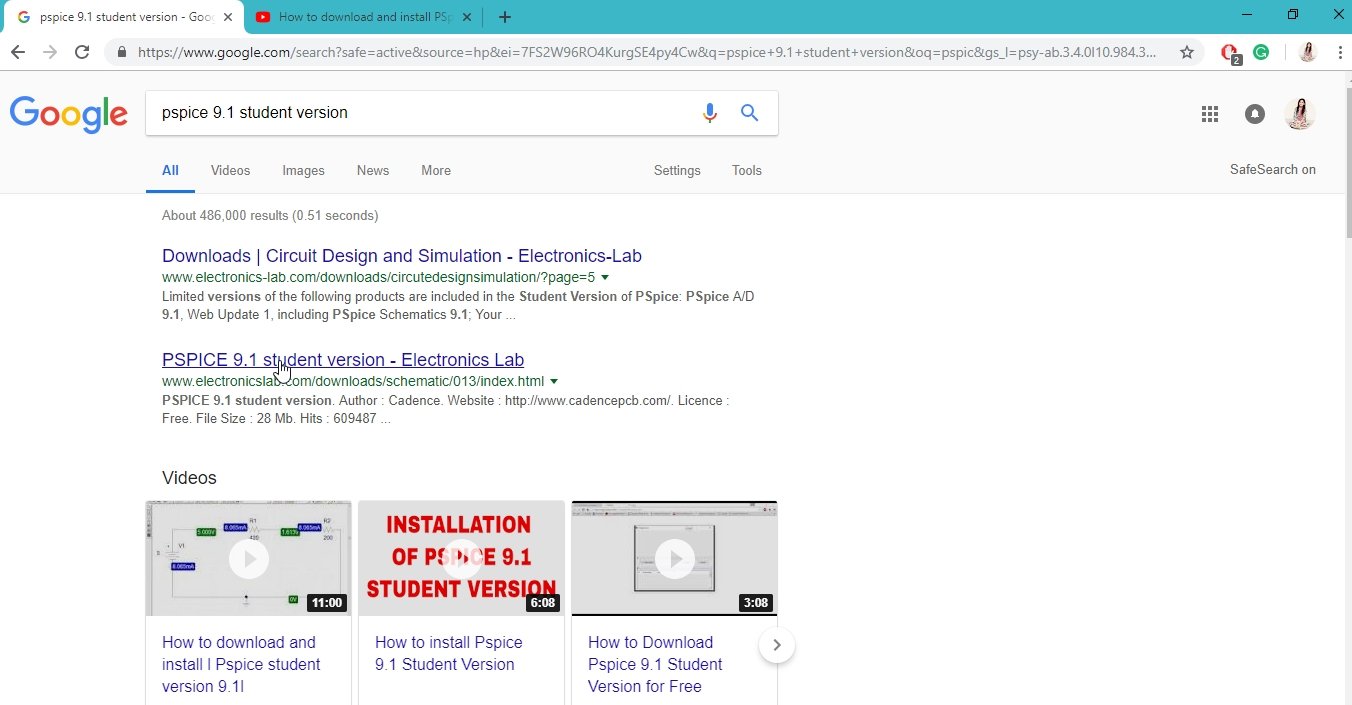
The latest version of PSPICE for students, version 9.1, is freely available online. To download it, open your web browser and search for “PSPICE student version 9.1”.

From the search results, click on the link provided by Electronic Lab Providers, a well-known server for providing electronics software.
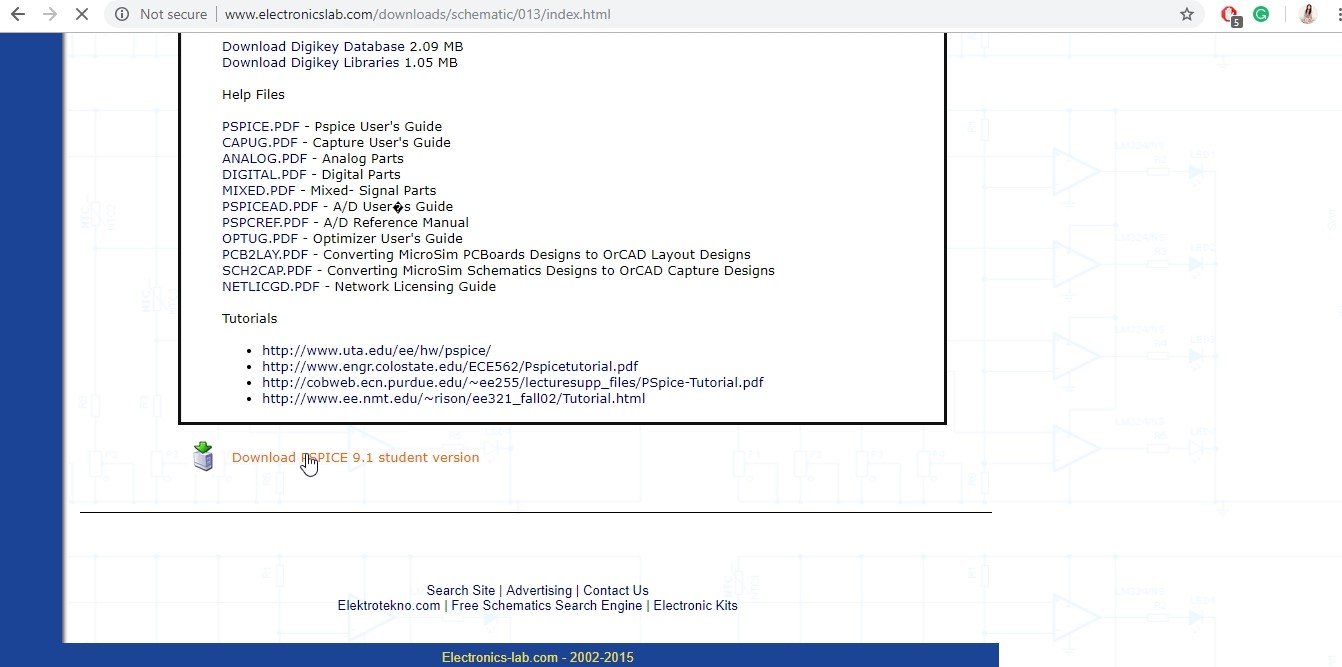
On the page that appears, you will find a description of the software and a download link. Click on the download link to begin the download process.
After the download is complete, locate the downloaded folder, which should contain a file named “91pspstu”. Before proceeding, create a new folder named “PSpice” in the C drive. This is to ensure that the extracted files do not mix with existing files in the C drive and have a separate distinction in a dedicated folder.

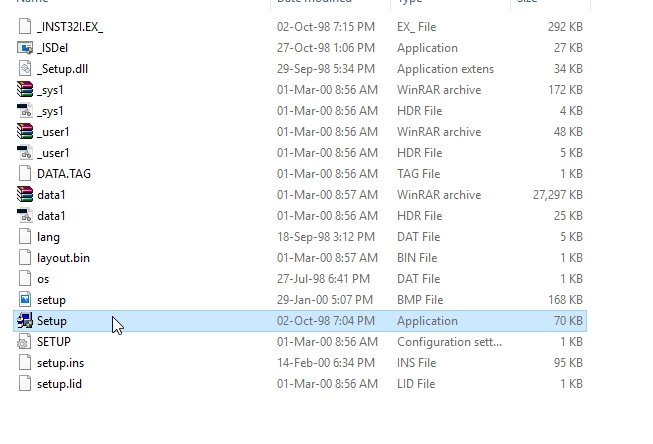
In the extraction dialogue box, navigate to the newly created “Pspice” folder in the C drive and click on “Unzip” to extract all the files from the downloaded folder. If the extracted folder contains a total of 18 files, then the download was successful.
Installation of PSPICE
From the extracted files in the “Pspice” folder, double-click on the “setup.exe” file to start the installation process.
You will be prompted for administrative authorization to run the setup as an administrator. Allow the setup to run by granting the required permissions. This will establish a connection between the setup and your system.
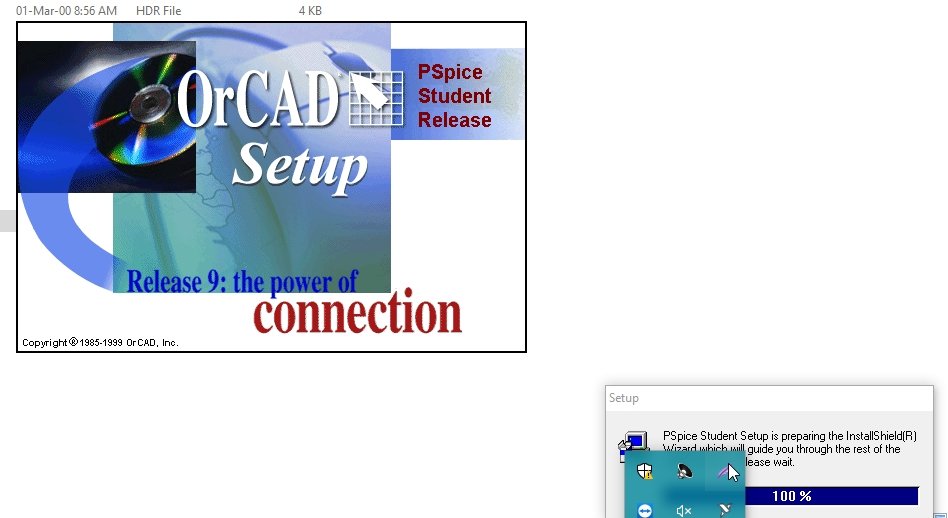
The setup will display a warning message stating that the software being installed will not allow any antivirus software to run alongside it. Click “OK” or “Next” to proceed. Then click “Yes” on the subsequent prompt message. A dialog box will appear asking if you want to download the schematic files as well. Check the box and click “Next”. Continue to click “Next” or “OK” on any subsequent prompt messages or dialog boxes to proceed with the installation.
While the setup is running, you may not be able to use any other applications. This is normal behavior. Once the setup finishes copying the files from PSPICE to your system, a final prompt message will appear, asking you to complete the installation.
If you are not interested in viewing the latest release notes for PSPICE, uncheck the box that says “View the Release Notes” and click on “Finish”. This will complete the installation and close the setup without opening the release notes in your browser.
To open PSPICE, go to the search bar of your system or press the search button on your keyboard. Type “schematics” in the search bar, and click on the suggested option that appears. This will open the PSPICE schematic where you can draw your circuit design.


In the next tutorial, we will learn about the basic components of PSPICE and how to draw a simple circuit using PSPICE. While there are various software options available in the market for circuit testing, such as Multisim, Proteus, and MATLAB, most of them provide ideal solutions without considering real-time issues. PSPICE, on the other hand, takes into account real-world circuit constraints and provides results accordingly.
Conclusion
PSPICE is a powerful tool for electronic circuit design and simulation. In this tutorial, we explored the basic uses and benefits of PSPICE, guiding you through the process of downloading and installing the student version. By using PSPICE, students can gain hands-on experience in circuit design and testing, providing them with a solid foundation before moving on to hardware implementation.
With PSPICE, you can simulate, analyze, and test circuits, obtaining accurate results for voltage and current. The software allows for system-level simulation, ensuring the reliability of your circuit design. By identifying and correcting errors in the virtual prototype, you can save time and resources in the hardware implementation phase.
To download PSPICE, simply search for the student version online and follow the installation instructions. The tutorial provided detailed steps for downloading and installing PSPICE version 9.1. Once installed, you can start designing circuits using the PSPICE schematic interface.
While there are other software options available, PSPICE stands out for its consideration of real-world circuit constraints. It provides realistic results that take into account real-time issues, making it a valuable tool for circuit design.
In the next tutorial, we will delve deeper into PSPICE, exploring its components and learning how to draw more complex circuits. Keep expanding your knowledge and unlock the full potential of circuit design with PSPICE.