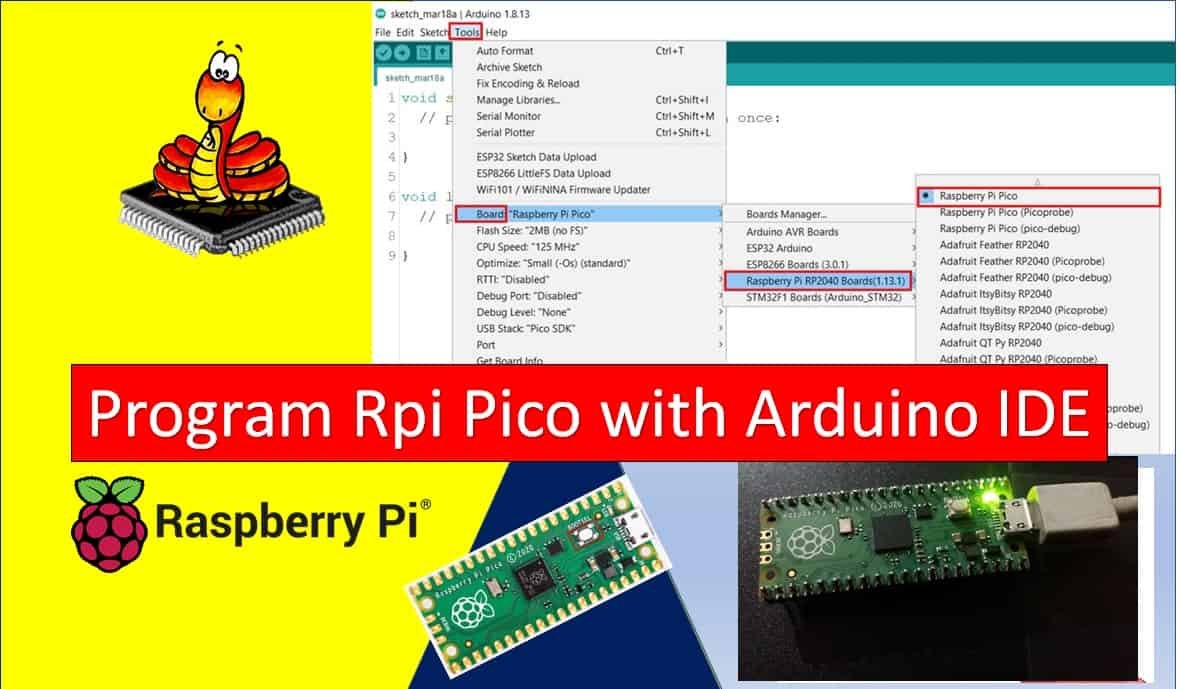
In this getting started guide, we will learn how to program Raspberry Pi Pico using Arduino IDE. It will be a step-by-step guide on how to install Raspberry Pi Pico in Arduino IDE and then run a simple Arduino code for Raspberry Pi Pico.
Recommended Components
The following components are used in this project or are helpful for getting started with Raspberry Pi Pico development.
| Component | How it’s used in this project | Buy on Amazon |
|---|---|---|
| Raspberry Pi Pico | The RP2040 board you program from the Arduino IDE. | Check Price |
| Micro USB Cable | Data cable to connect the Pico to your computer and upload code. | Check Price |
| Breadboard | Handy for prototyping circuits as you start building projects. | Check Price |
As an Amazon Associate we earn from qualifying purchases. Prices and availability are accurate as of the date/time indicated and are subject to change.
To learn about the Raspberry Pi Pico board, we have an in-depth guide regarding its peripherals below:
Setting up Raspberry Pi Pico in Arduino IDE
In this section, we will list step-by-step instructions to successfully program Raspberry Pi Pico using Arduino IDE on Windows based computers.
Downloading & Installing Pico Setup Windows Installer
The first step will be to download the Pico Setup Windows installer in our system. Click the following link (https://github.com/ndabas/pico-setup-windows/releases) and download the latest version of the installer. We are downloading v0.3.4 in our system.
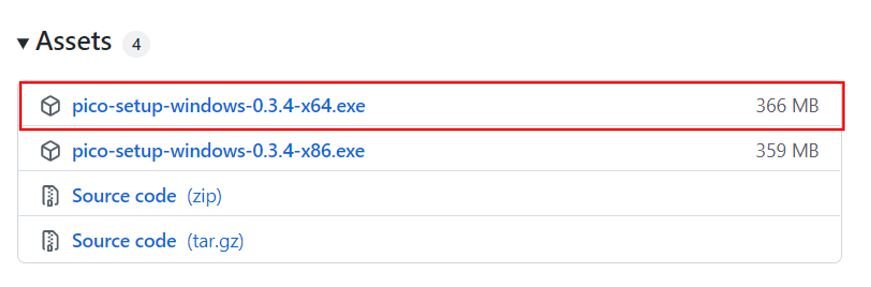
After specifying the path for the download, the .exe file will immediately start downloading. It will take a couple of minutes for the download to complete as the complete setup consists of 366MB.
To start the installation process, run the .exe file and the Pico Setup window opens. Click Next to proceed.

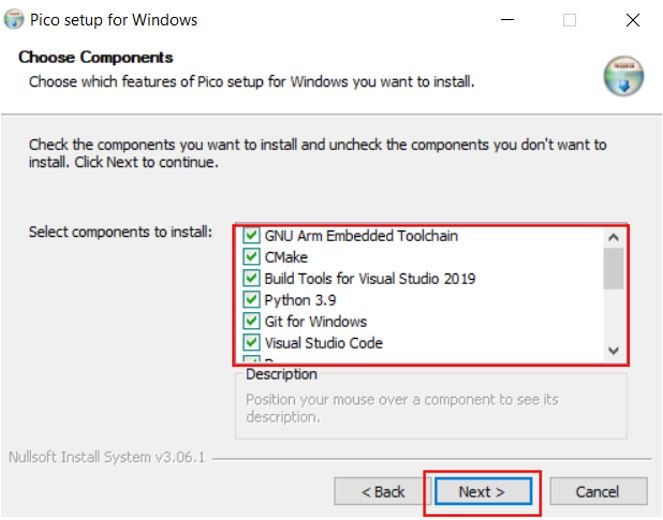
Next, select all the components of Pico setup for Windows mentioned in the list below and click Next.
Here specify the destination folder where the setup will be installed. Click Install to start the installation process.

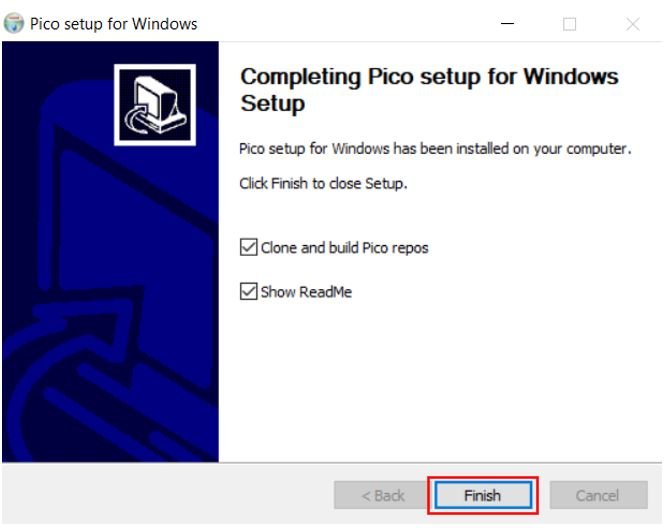
It will take several minutes for the Pico setup to finally get installed. Click Next once the installation is complete.
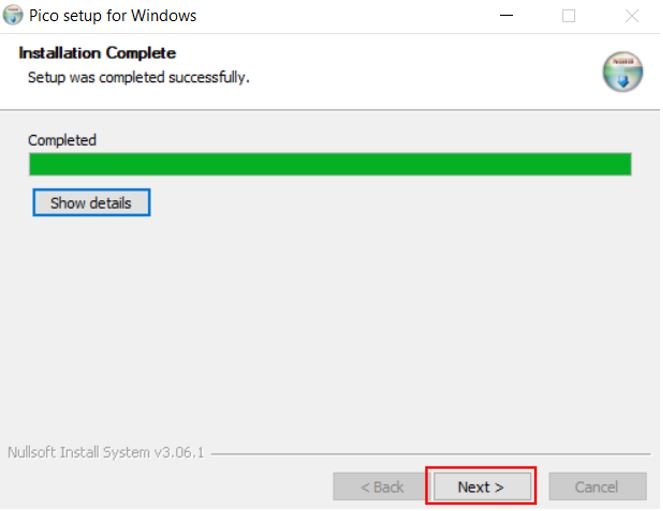
Click the Finish button to close the setup.
As we have successfully installed the Pico setup, let us proceed further and move to Arduino IDE.
Install Raspberry Pi Pico board in Arduino IDE
Note: Make sure, you have installed the latest version of Arduino IDE before proceeding further.
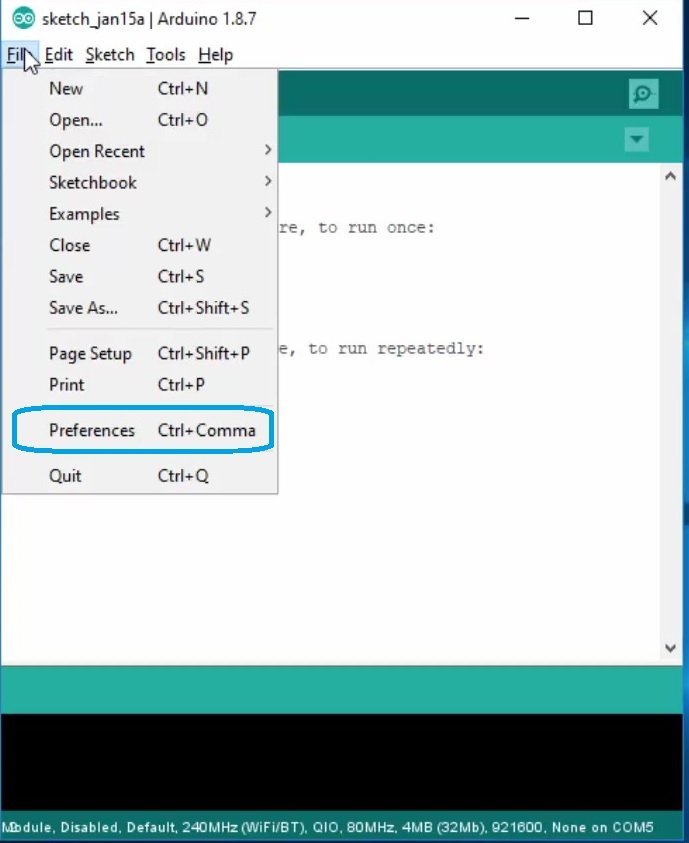
After installing the latest version of Arduino IDE, click on the Arduino IDE icon and open it.

After that go to File > Preferences.
Paste this link in Additional board manager URL
https://github.com/earlephilhower/arduino-pico/releases/download/global/package_rp2040_index.json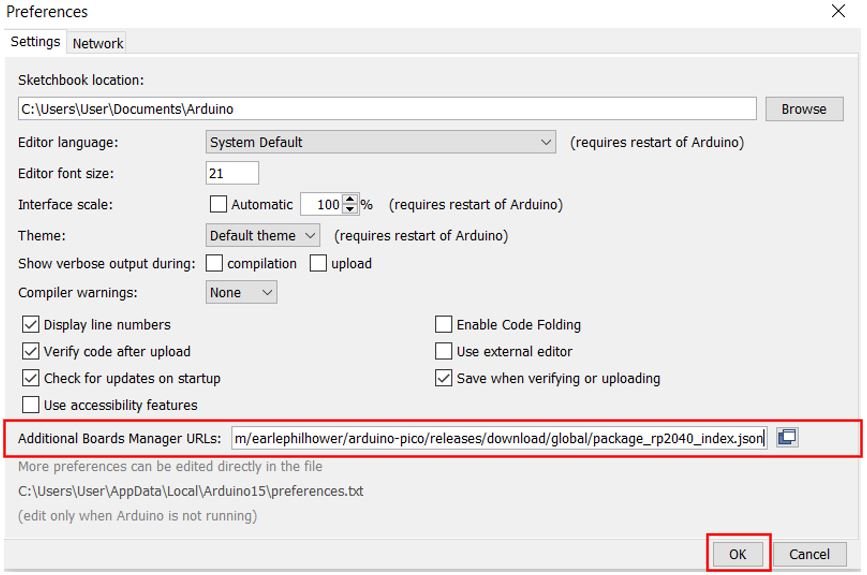
Note: If you already have other boards in this additional board manager URLs, you can separate them by commas and you can use as many boards you want.
Next go to Tools > Board > Boards Manager. Now you will see a window of where you search for available boards. In the search window type ‘Raspberry Pi Pico.’ Install the board highlighted below:

Program Raspberry Pi Pico in Arduino IDE
After we have installed Raspberry Pi Pico in Arduino IDE, let us program our board with a simple example sketch.
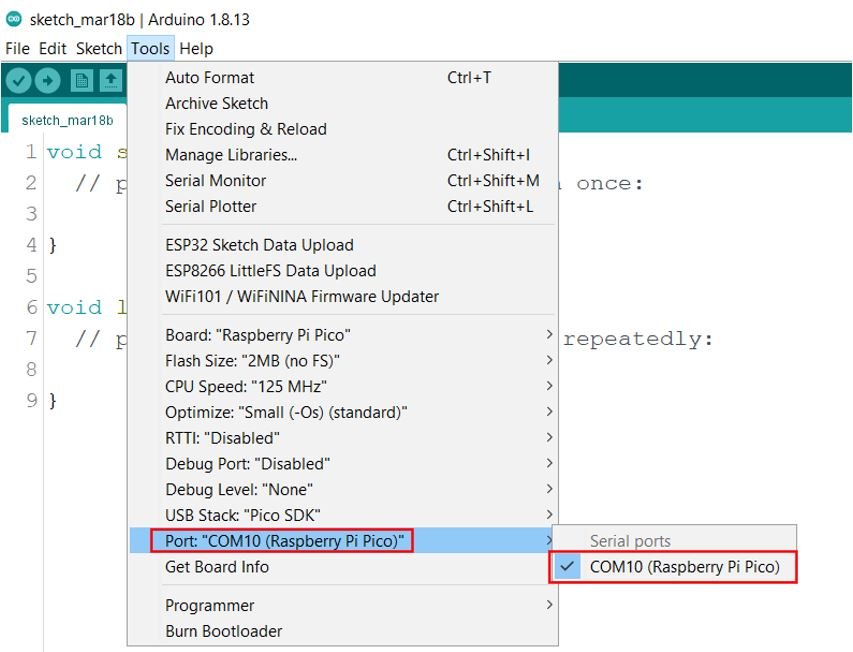
First, we will connect our board to our system through a USB cable. Then inside Arduino IDE we go to Tools > Boards and select Raspberry Pi Pico.

To select the port we go to Tools > Port and select the COM port through which our board is connected.
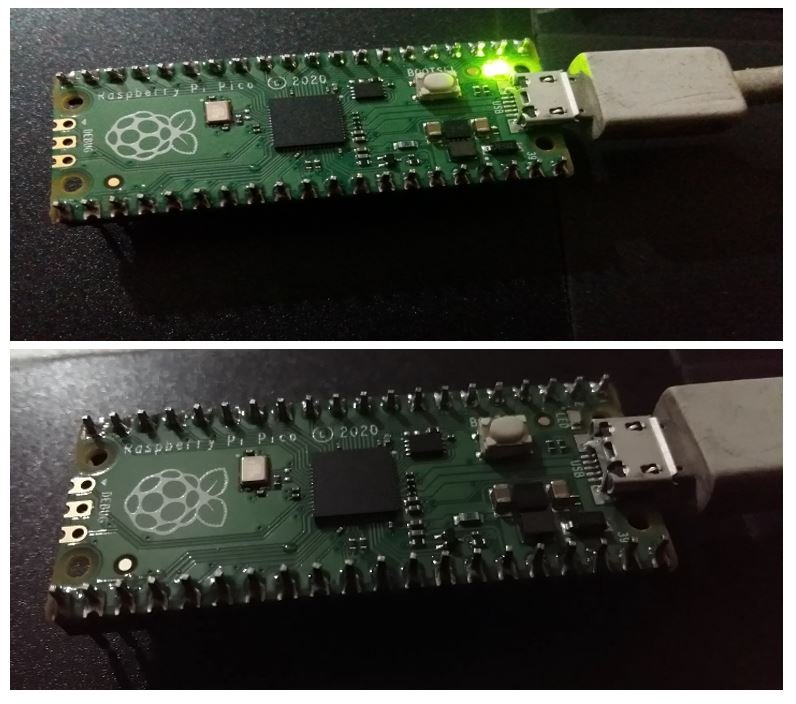
Now let us run a simple example sketch. Go to File > Examples > Basics > Blink to open a built-in example sketch that blinks the onboard LED of the microcontroller.
The onboard LED is connected with GPIO25 in Raspberry Pi Pico. Therefore specify GPIO25 as the built-in LED.
 modified 8 May 2014
  by Scott Fitzgerald
  modified 2 Sep 2016
  by Arturo Guadalupi
  modified 8 Sep 2016
  by Colby Newman

  This example code is in the public domain.

  http://www.arduino.cc/en/Tutorial/Blink
*/

// the setup function runs once when you press reset or power the board
void setup() {
  // initialize digital pin LED_BUILTIN as an output.
  pinMode(25, OUTPUT);
}

// the loop function runs over and over again forever
void loop() {
  digitalWrite(25, HIGH);   // turn the LED on (HIGH is the voltage level)
  delay(1000);                       // wait for a second
  digitalWrite(25, LOW);    // turn the LED off by making the voltage LOW
  delay(1000);                       // wait for a second
}
Click on upload button to upload the code to Raspberry Pi Pico. The built-in LED will start blinking at a rate of 1 second.
If you find difficulty in uploading code, unplug the board from the USB port and plug it back in while holding down the BOOTSEL button on Raspberry Pi Pico.
After we are able to successfully turn the built-in LED on and off, we can be certain that the Arduino IDE is working perfectly with the Raspberry Pi Pico.
You may also like to read:
- Getting Started with Raspberry Pi Pico using Thonny IDE
- Raspberry Pi Pico GPIO Programming with MicroPython – LED Blinking Examples
- Getting Started with Raspberry Pi Pico using uPyCraft IDE
- Interface Push Button with Raspberry Pi Pico and Control LED
- Raspberry Pi Pico ADC with Voltage Measurement Examples
- Raspberry Pi Pico PWM MicroPython LED Fading Examples