In this user guide, we will learn how to send emails using Arduino through the IFTTT web service and Arduino IDE. For demonstration purposes, we will send a temperature reading in the email. We will use Arduino Ethernet Shield 2 to enable internet connectivity for our Arduino board.

Recommended Components
The following components are used in this project or are helpful for building it with the Arduino.
| Component | How it’s used in this project | Buy on Amazon |
|---|---|---|
| Arduino Uno R3 | The main controller board that runs the sketch and sends the email request through IFTTT. | Check Price |
| Breadboard | Solderless board to prototype the wiring used in this project. | Check Price |
| Jumper Wires | Used to make the connections between the Arduino, Ethernet shield, and any sensor. | Check Price |
As an Amazon Associate we earn from qualifying purchases. Prices and availability are accurate as of the date/time indicated and are subject to change.
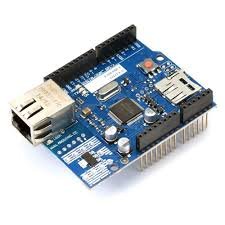
Arduino with Ethernet Shield
Ethernet Shield comes with different pins, provided for connections. We place this shield on the Arduino board properly and connect the Ethernet port with the router providing the internet service. Note that The Ethernet shield is attached to pins 10, 11, 12, 13 so those cannot be used as general-purpose input-output pins.
Note: This shield is also compatible with Arduino Mega.
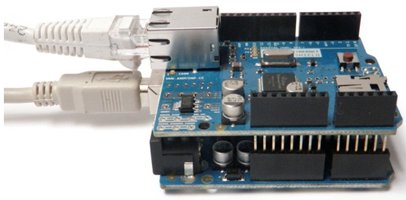
Connect the Ethernet shield with router as shown in the picture below:
Refer to the following article to get to know the mandatory requirements before plugging this shield on the Arduino board.
Configuring IFTTT Web service for sending Emails with Arduino
IFTTT means ‘If this, then that.’ It is an open-source service that gives the user the freedom to program a response to an event according to their likes. We can create an applet which are chains of conditional statements by a combination of several app services and add triggering parameters. We will be using this service to show you how to send emails using Arduino. To work with this web service, we will have to follow a series of steps to ensure the proper functionality.
Creating an Account
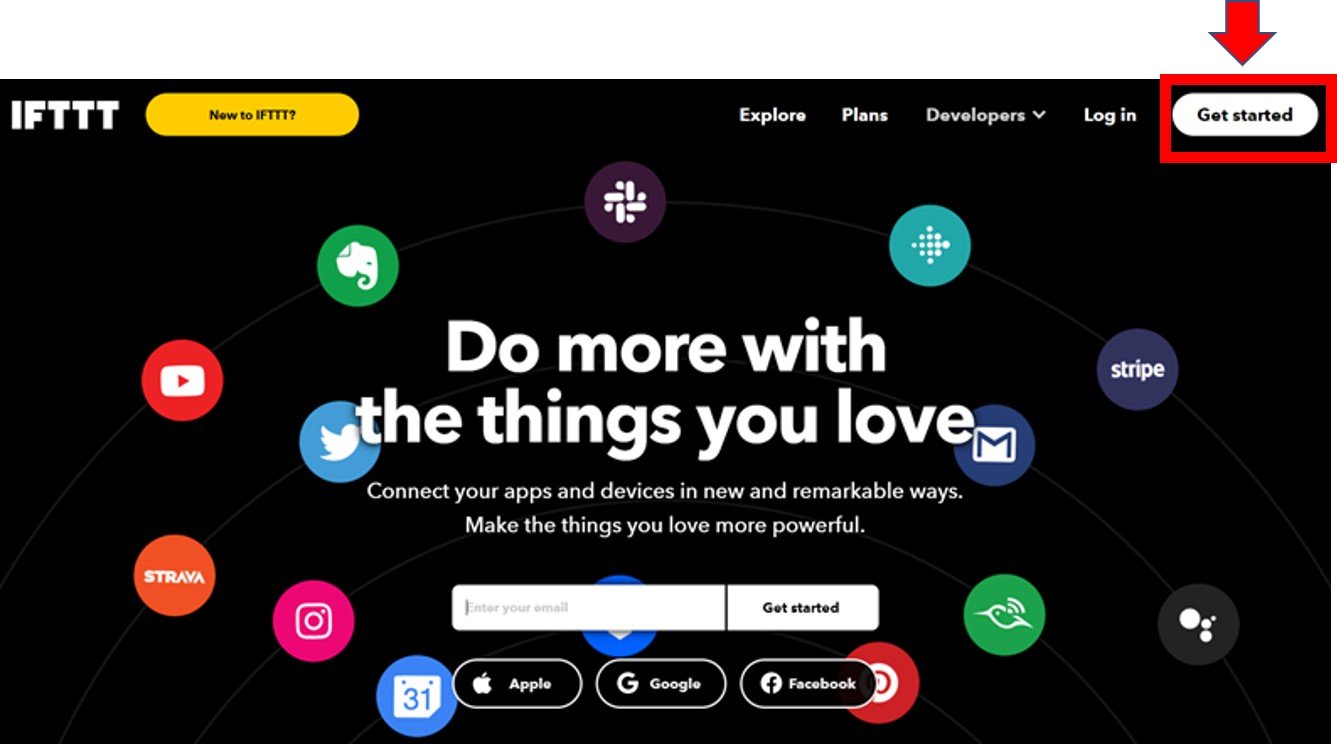
Although the IFTTT service is free to use, we will have to create an account. First go to the following website: https://ifttt.com/
The following window will appear. Click on the ‘Get Started’ button.
The following window will appear. You can select any one from these three options (Apple, Google or Facebook) to connect. Or you can simply ‘sign up’ with your own given email. We will be following this scheme.
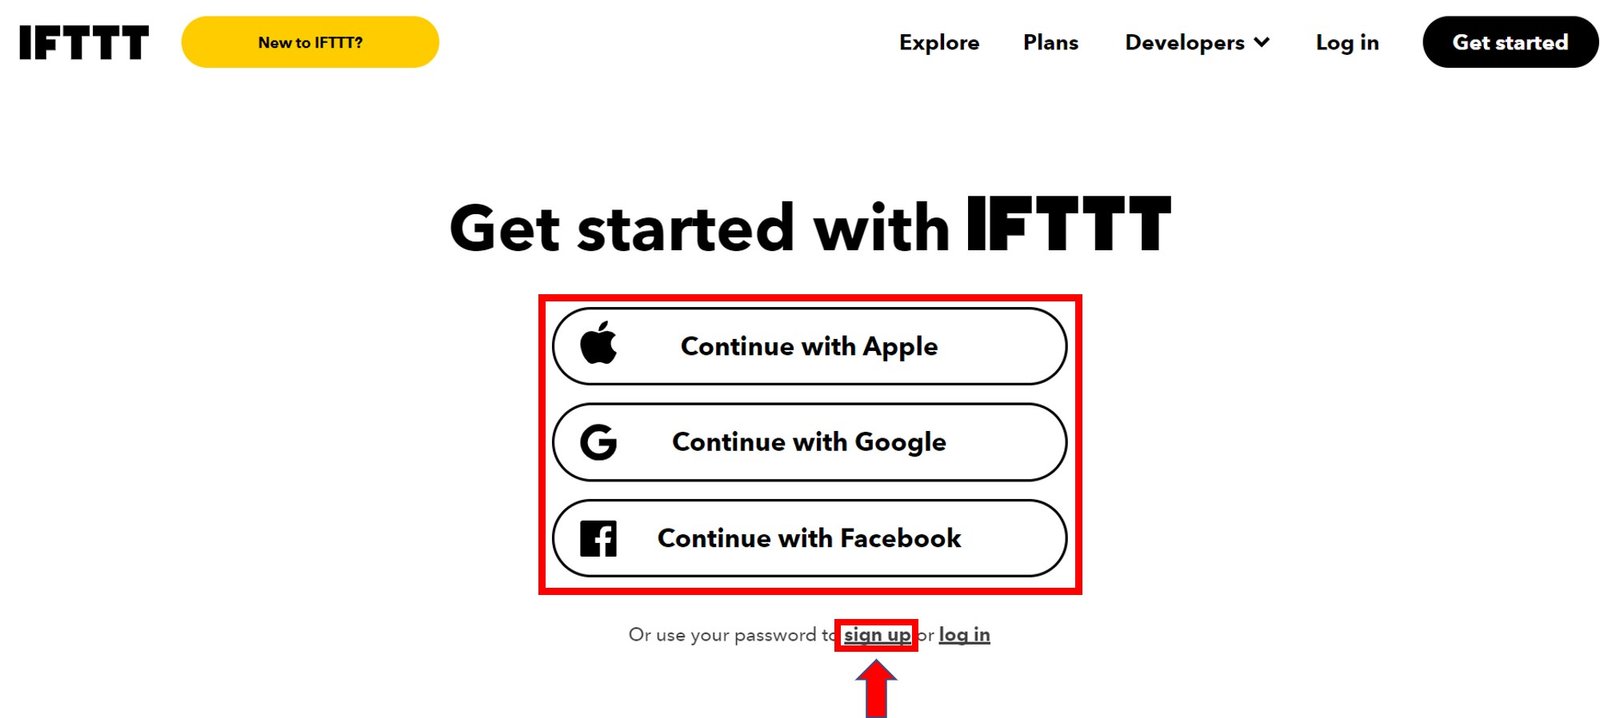
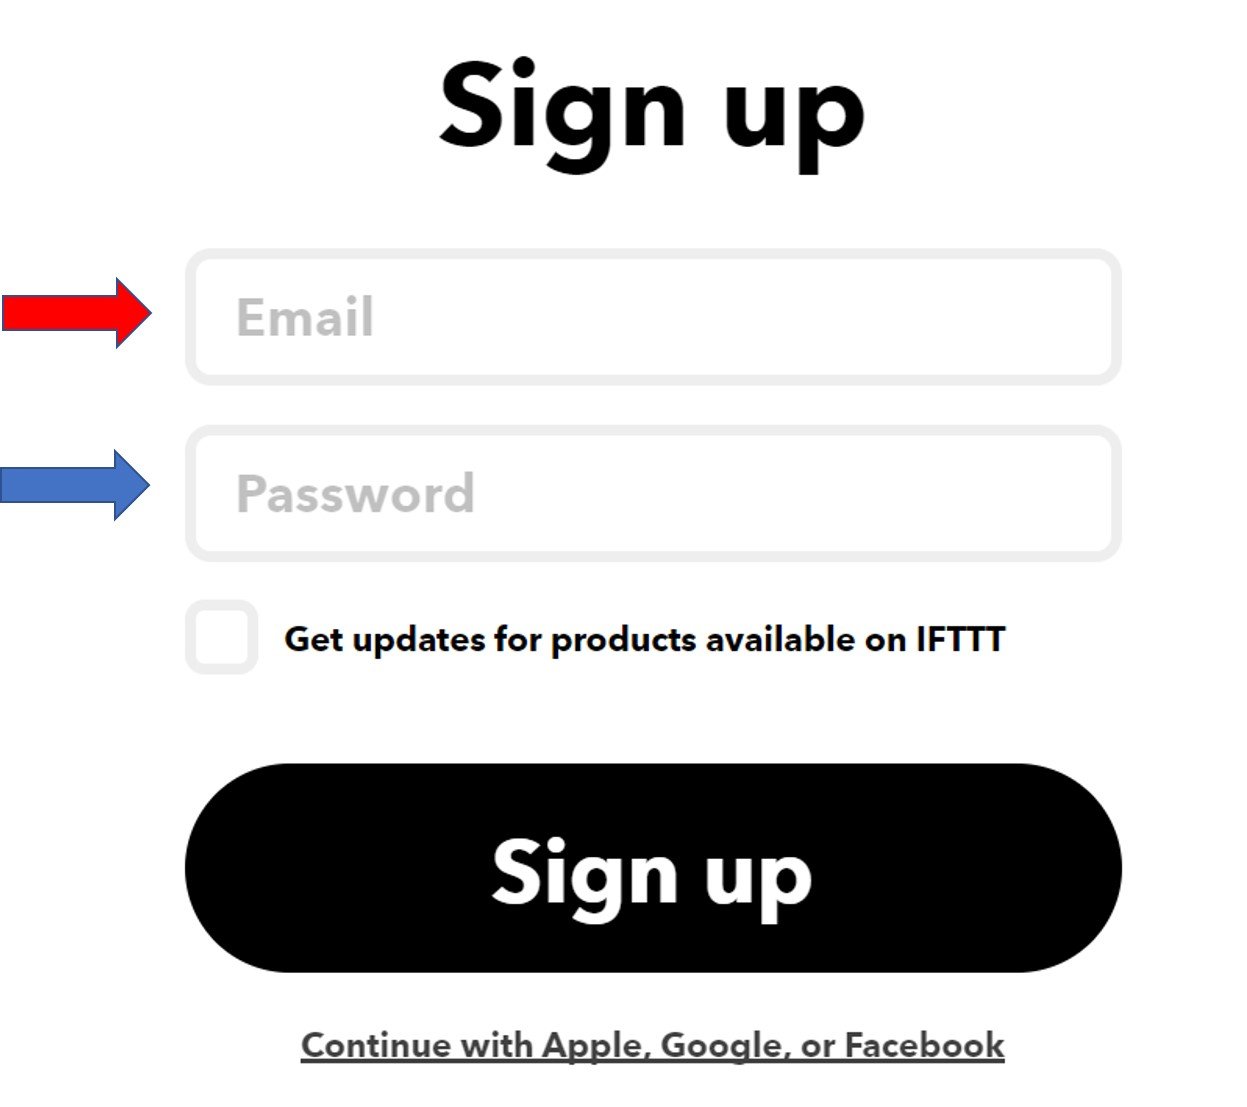
Click the ‘sign up’ tag. You will see the following window pop up. Enter your email address and password to start working in IFTTT. This whole process is free of cost for the first three applets.
Creating an Applet
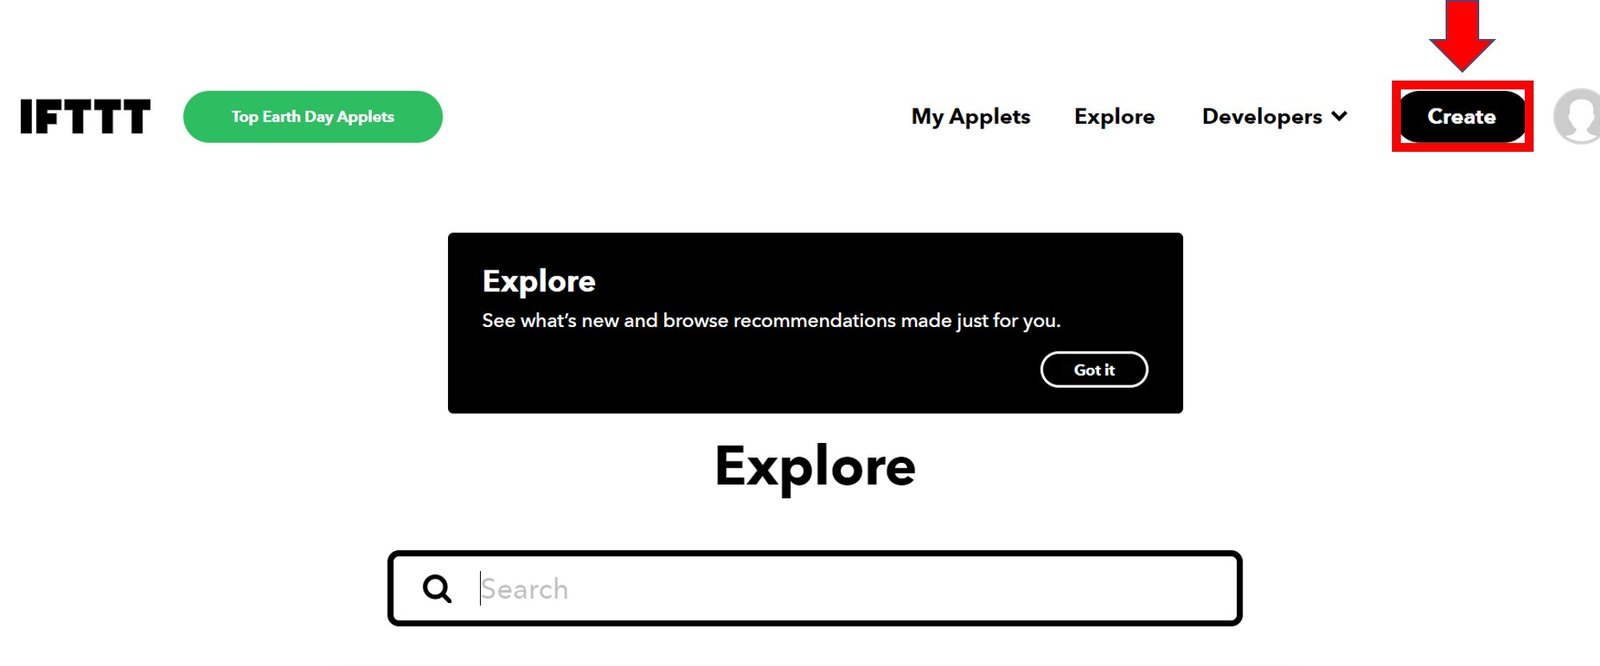
After you have created your account, we will be directed to the page where we will create our applet. Click on ‘Create.’
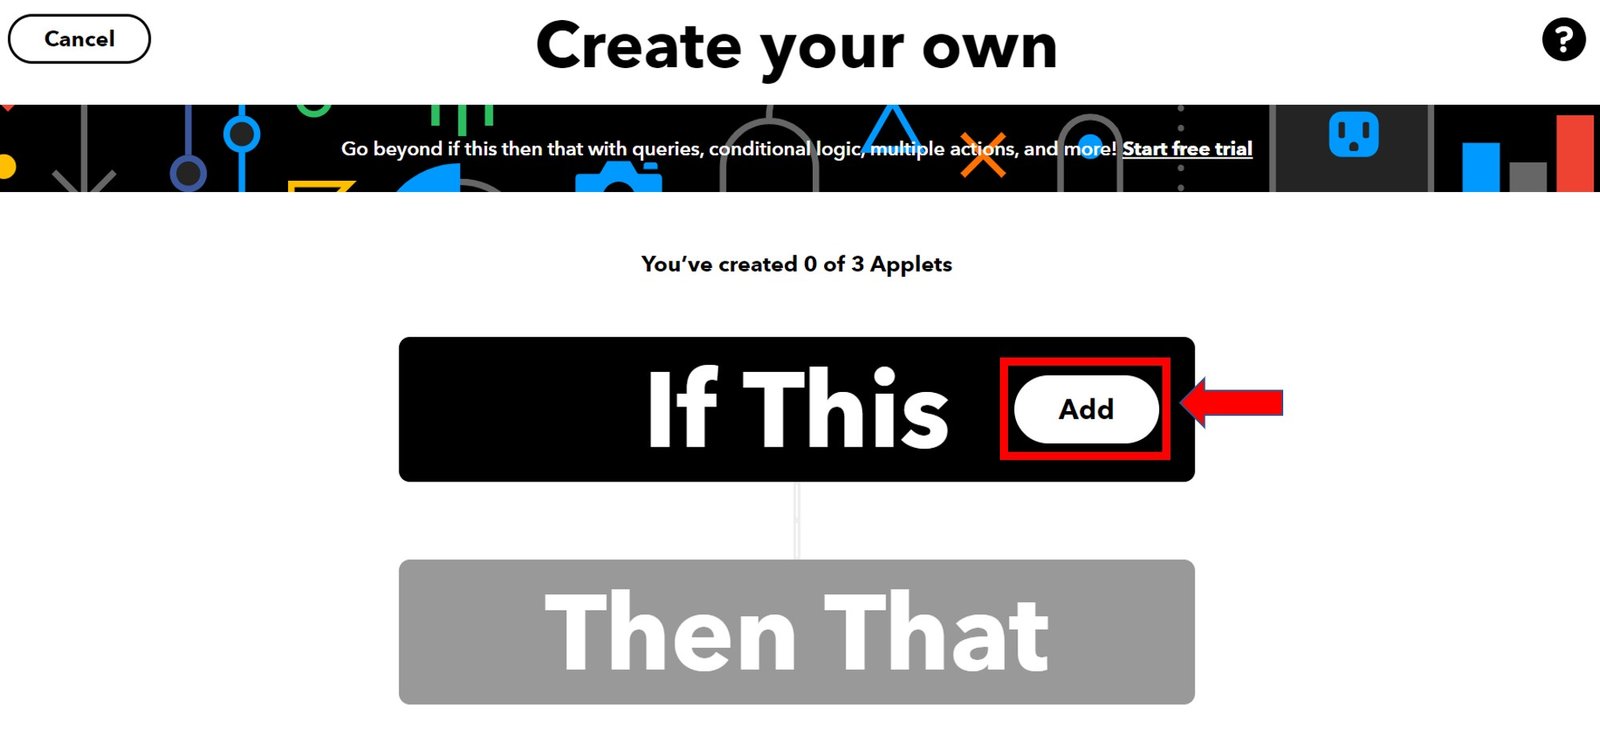
The following window opens up. Click the following Add button in the ‘If This’ section.
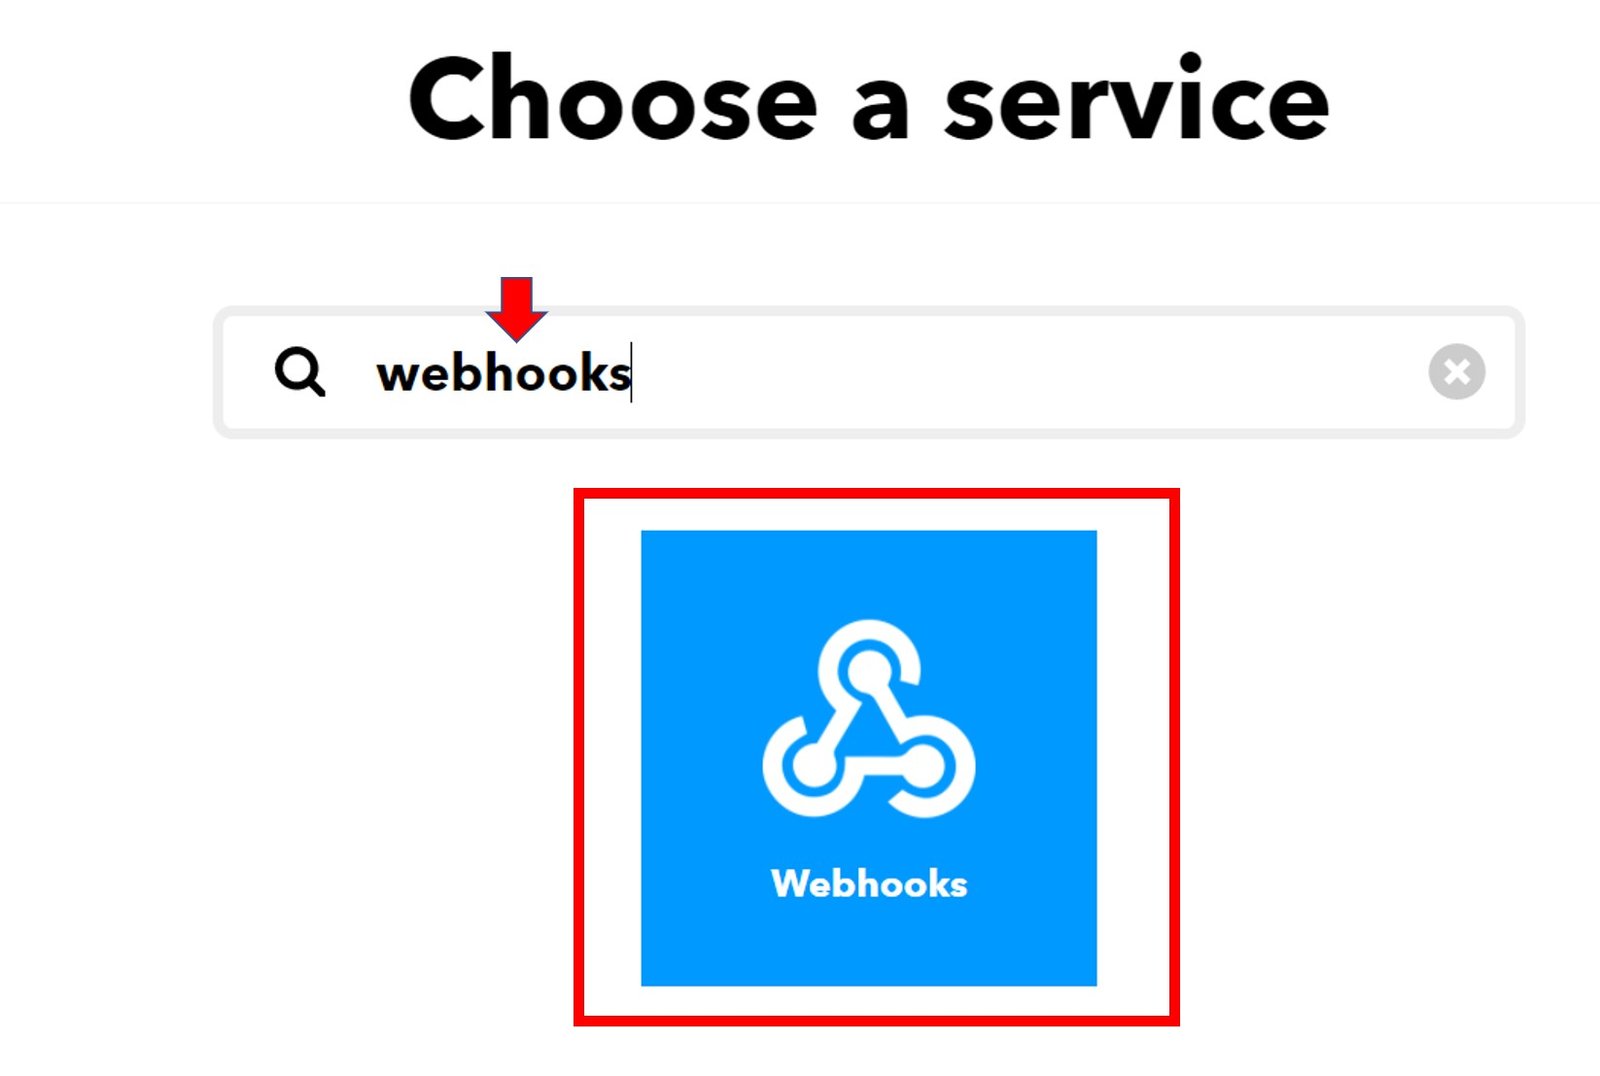
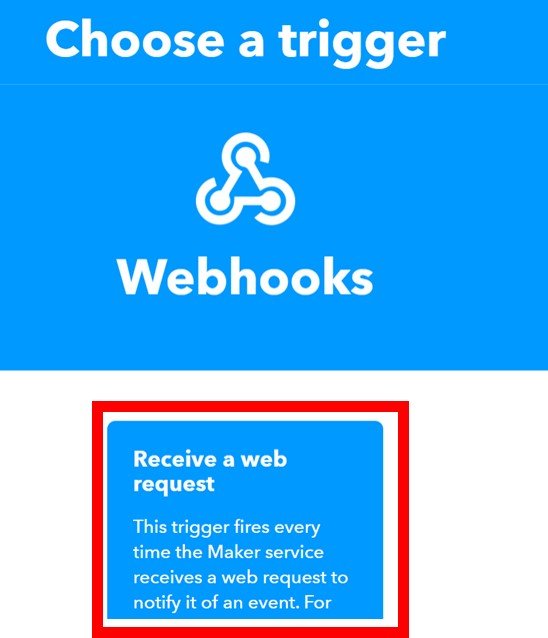
Another page will open in which we will have to choose our service. There is a lot of options to choose from. Write down ‘webhooks’ in the search option and its icon will appear:
Select Trigger
Next, choose the trigger as: ‘Receive a web request’ by clicking on it. Whenever webhooks will receive a web request, some action will take place. This we will define in the ‘THAT’ section.
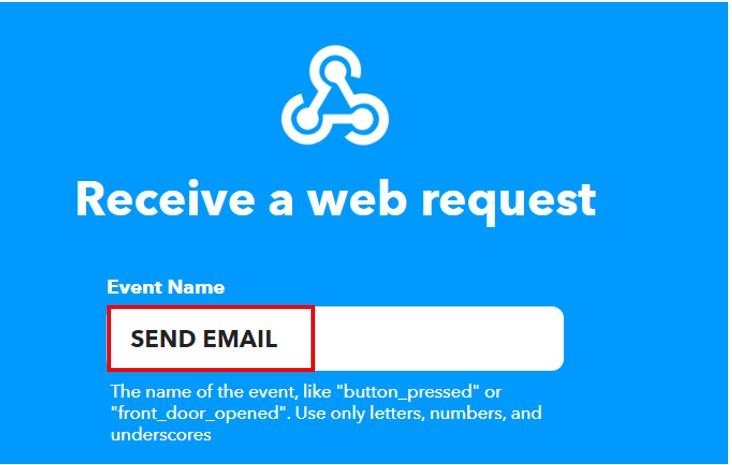
After clicking the Receive a web request, the following window will open up. We will write down ‘SEND EMAIL’ as the event name for the web request. You can use any other name of your choice. Click ‘Create Trigger’ button.
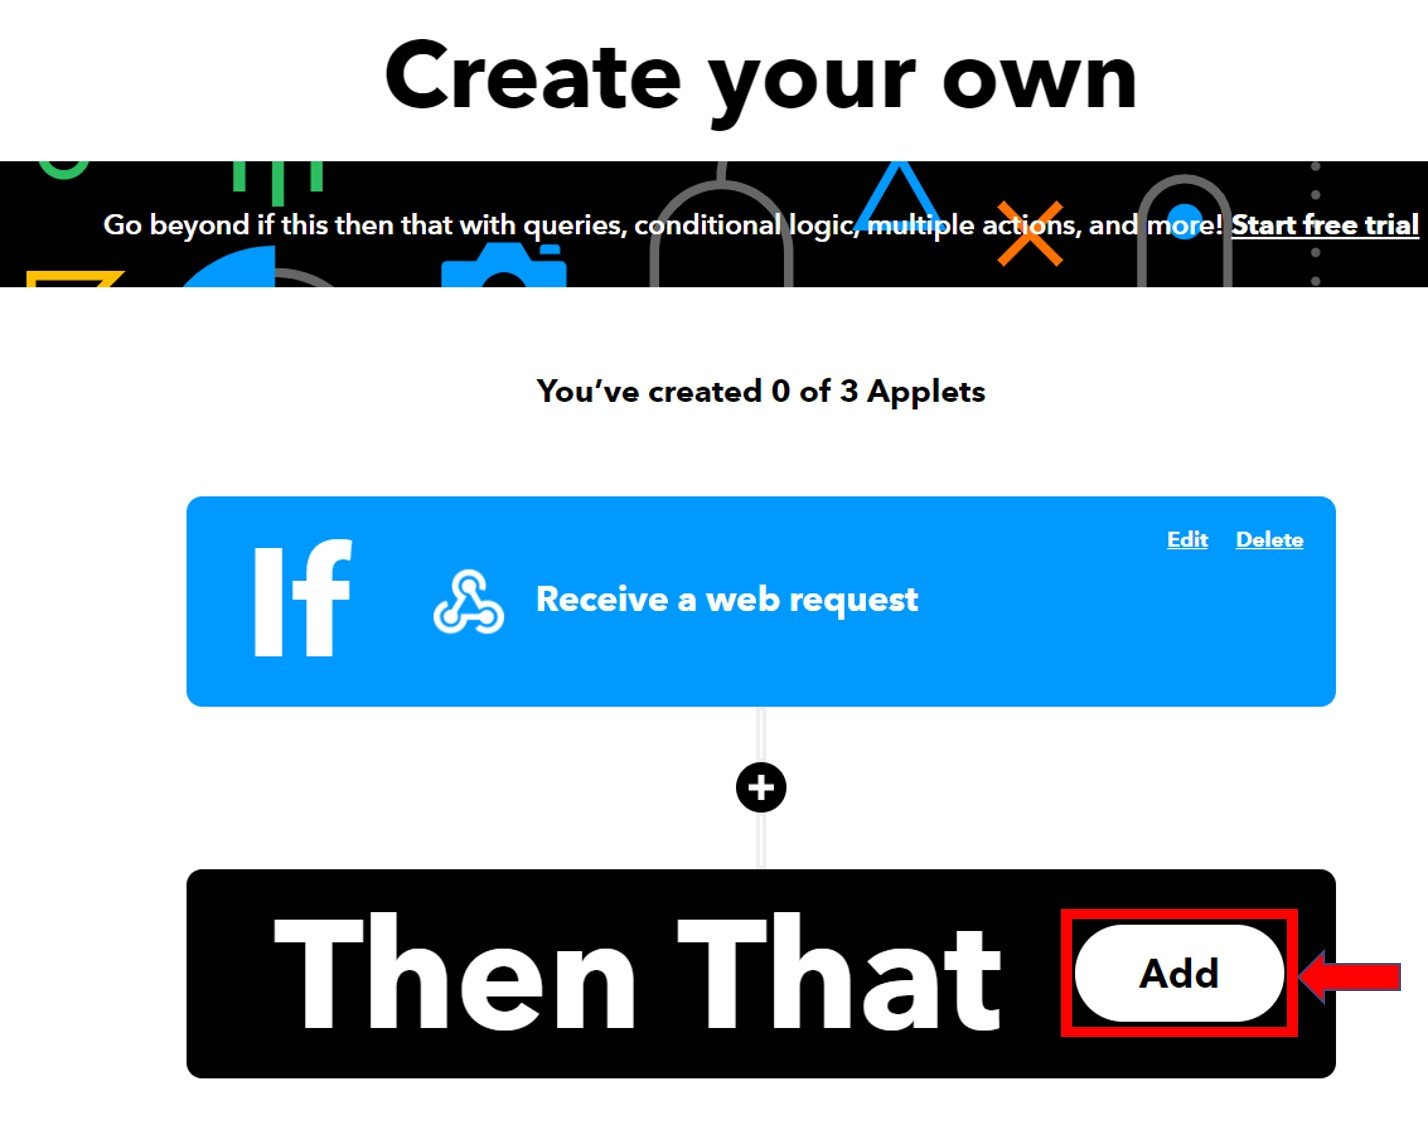
After the trigger is created, we are taken back to the web page where we first added the service for the ‘IF THIS’ section. Now we will click the ADD button for the ‘THEN THAT’ section.
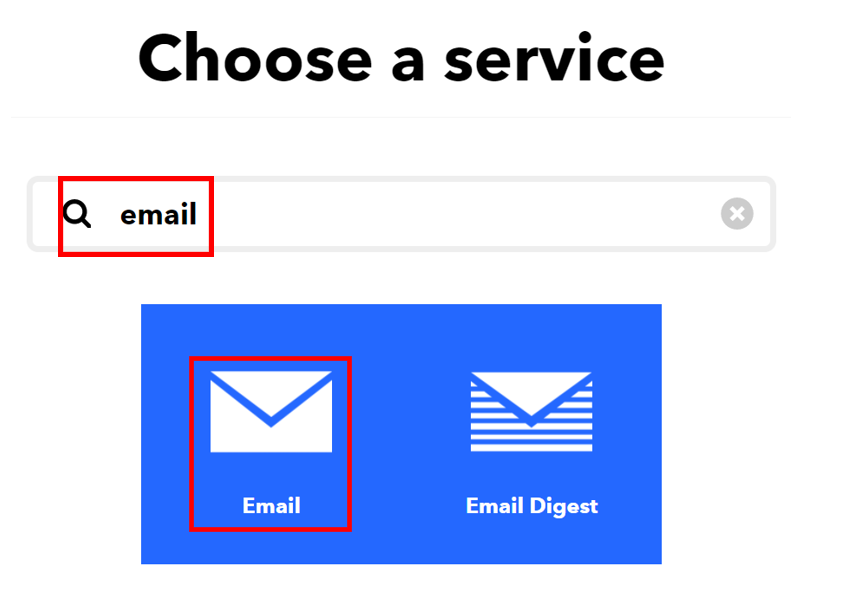
Now we will choose the service. We have to choose what will happen if a web request is received. We will type ‘email’ in the search option and click on its icon. This is because we want to receive email notification whenever a web request is received.
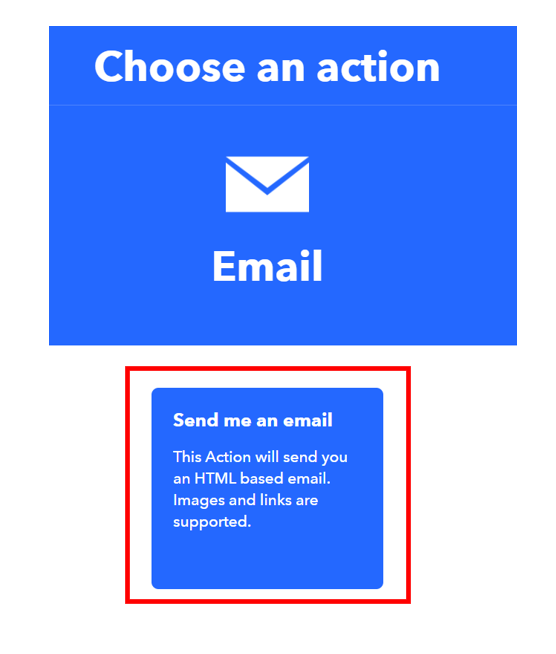
The following page opens up. Choose ‘Send me an email’ to proceed further.
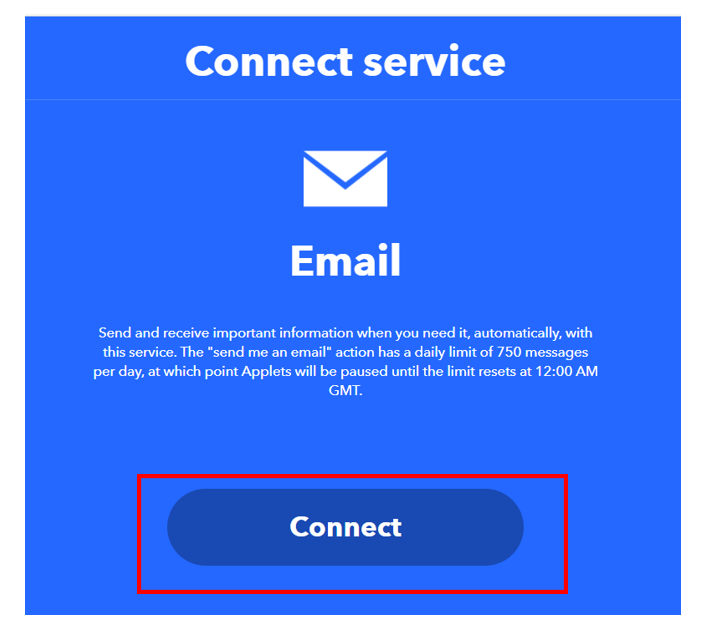
Click on the ‘Connect’ button as shown below.
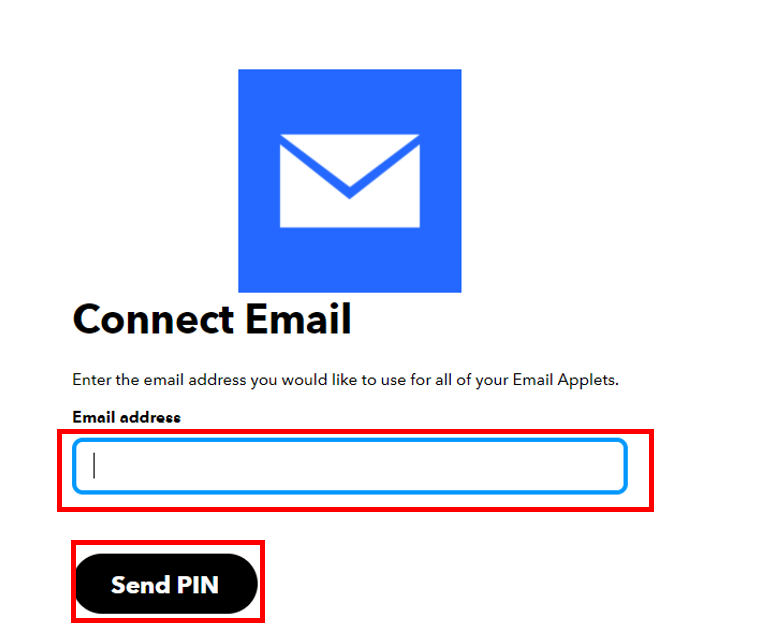
Next, write down your email address and click ‘Send Pin’ as shown below:
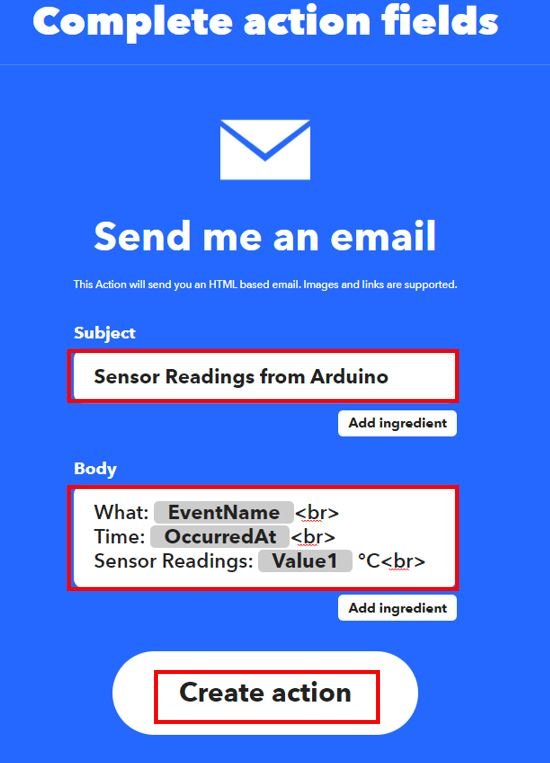
After you successfully enter the PIN, a new window will open up. Complete the action fields by specifying the subject and body of the email. Afterwards, click ‘Create Action.’
In our case, we want to send a temperature reading in the email so we have included the unit (°C) beside Value1 in the body.
After we have created the action, we will be guided towards the initial web page of IFTTT. Click ‘Continue’ to proceed.
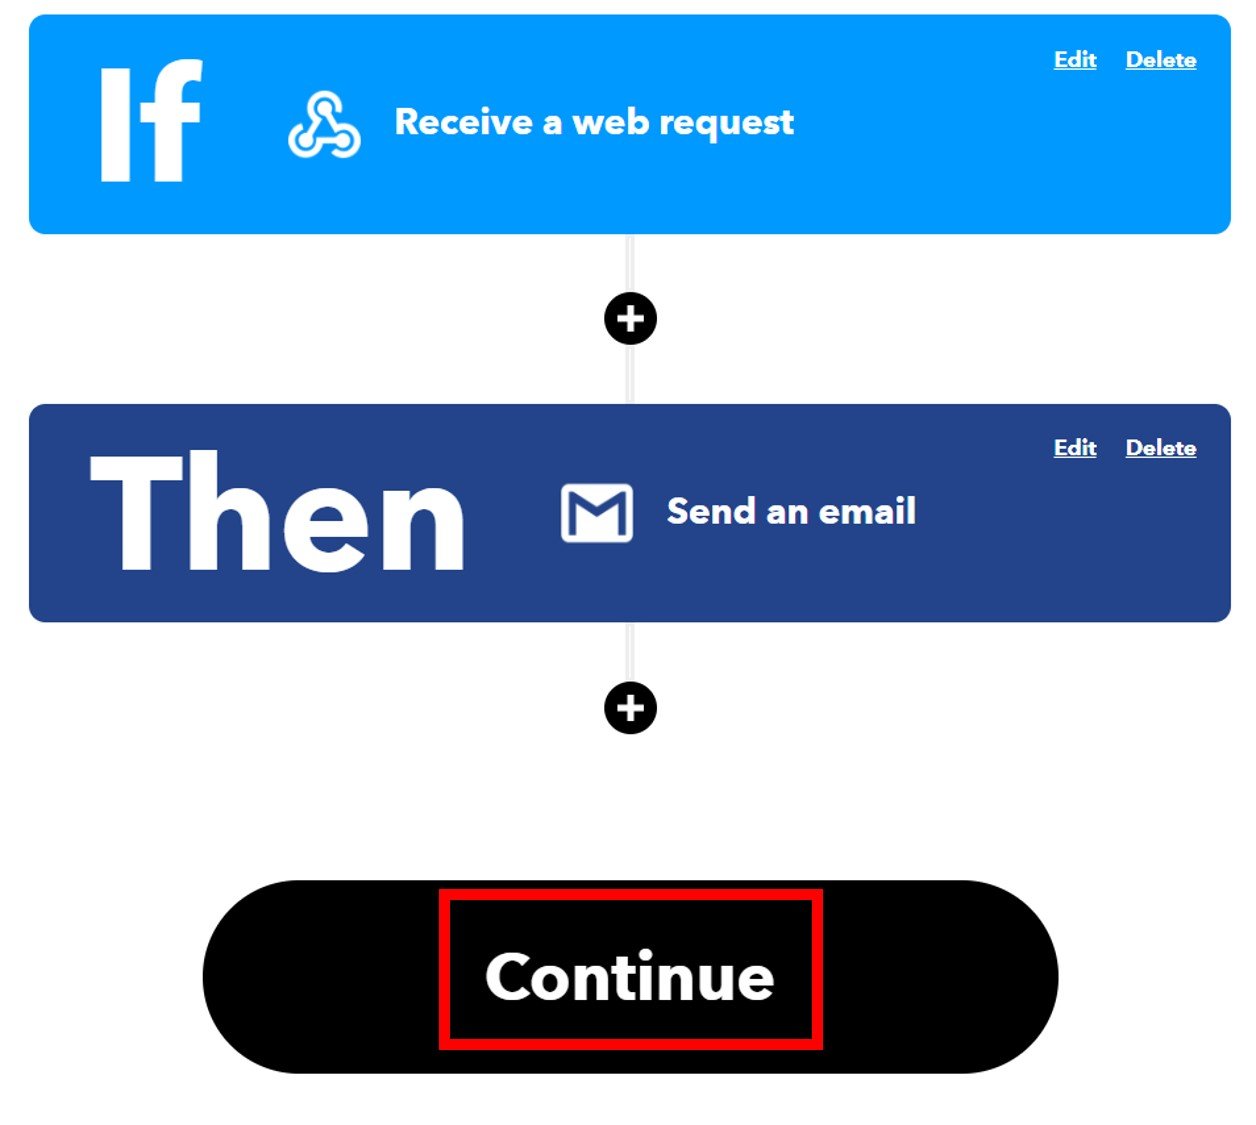
After this click the Finish button. Make sure to turn ON the notifications when the applet is running.
You have successfully created the applet as shown below.

Obtaining the Private Key
Before we proceed further with our project, we want to access our private key. This is important as it will be required while programming our Arduino board.
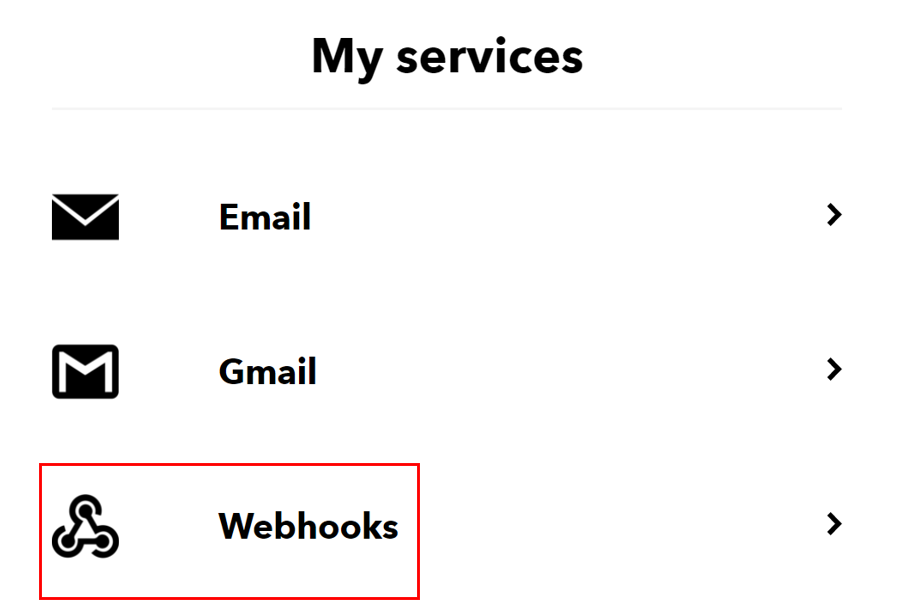
Go to your applet and select “My Services” or open a webpage with the link: ifttt.com/my_services. The following windows will appear. Afterward, click on Webhooks.
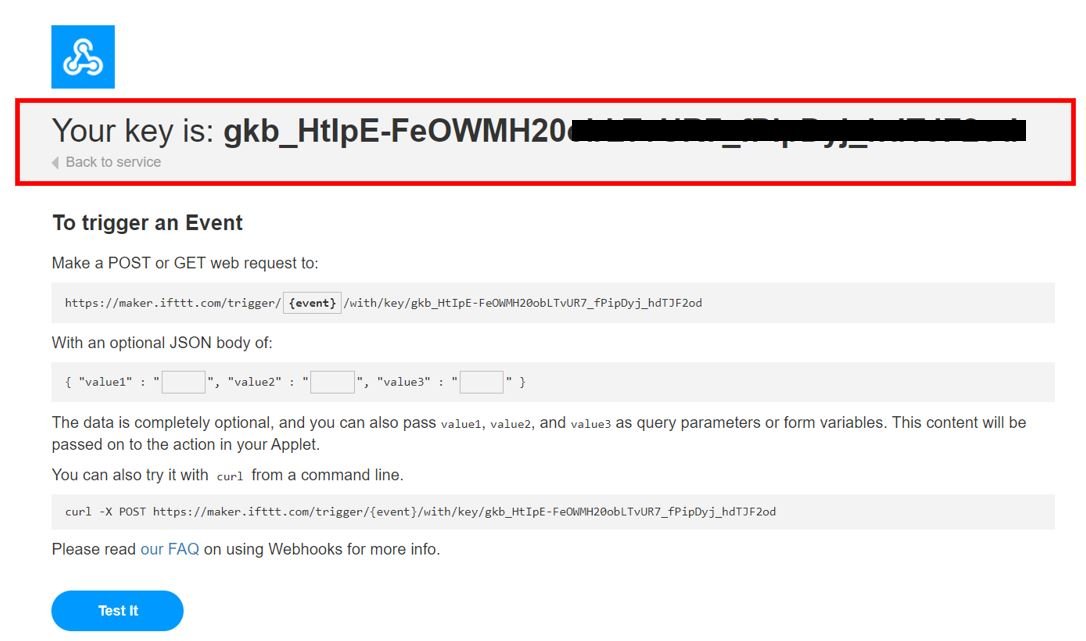
This will take you to the following web page. Click on ‘Documentation.’

You will receive a key that should be secure with you.
Testing the Applet
Before programming our Arduino, let us test the applet first. Open a new web browser and paste the following URL in the search bar and press enter:
https://maker.ifttt.com/trigger/REPLACE_WITH_YOUR_EVENT_NAME/with/key/XXXXXXXXXXXXXXXXXXXXX?value1=31.2Remember to change REPLACE_WITH_YOUR_EVENT_NAME with the event name that you set and the XXXXXXXXXXXXXXXXXXXXX with the Webhooks private key
In our case, we are using the following URL:
https://maker.ifttt.com/trigger/SEND EMAIL/with/key/gkb_HtIpE-FeOWMH20*************************?value1=31.2After pressing enter, the web browser shows the following message:
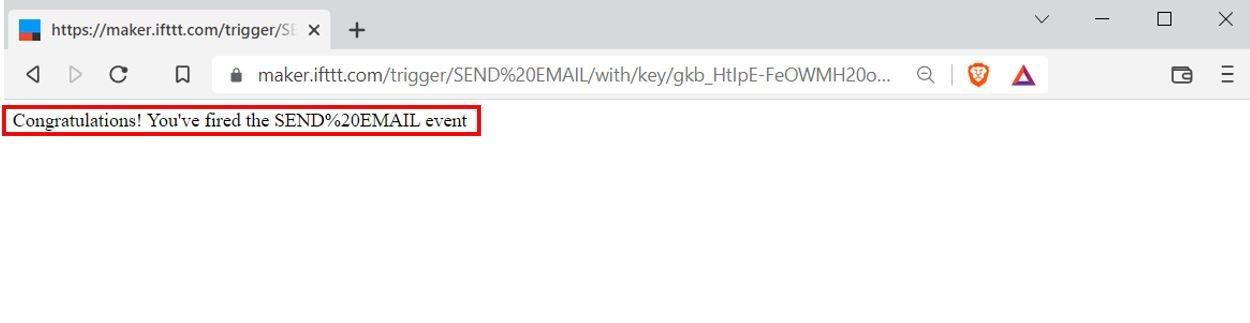
Go to your email account and open it. There you will be able to view the email notification from IFTTT with the value you just sent .This means that the applet is running successfully.
Arduino Sketch to Send Email using IFTTT
Open your Arduino IDE and go to File > New to open a new file. Copy the code given below in that file. You just have to replace the MAC Address and PATH_NAME according to your values.
#include <SPI.h>
#include <Ethernet.h>

byte mac[] = { 0xDE, 0xAD, 0xBE, 0xEF, 0xFE, 0xED };

EthernetClient client;

int HTTP_PORT   = 80;
String HTTP_METHOD = "GET";
char HOST_NAME[] = "maker.ifttt.com";
String PATH_NAME   = "/trigger/SEND EMAIL/with/key/gkb_HtIpE-FeOWMH20*************************"; // Replace with your event name and private key
String queryString = "?value1=33.5"; // For example, the temperature value is 33.5°C

void setup() {
  Serial.begin(15200);
  if (Ethernet.begin(mac) == 0) {
    Serial.println("Failed to obtaining an IP address");
    while (true);
  }
  if (client.connect(HOST_NAME, HTTP_PORT)) {
    Serial.println("Connected to server");
    client.println("GET " + PATH_NAME + queryString + " HTTP/1.1");
    client.println("Host: " + String(HOST_NAME));
    client.println("Connection: close");
    client.println();

    while (client.connected()) {
      if (client.available()) {
        char c = client.read();
        Serial.print(c);
      }
    }
    client.stop();
    Serial.println();
    Serial.println("Disconnected");
  } else {
    Serial.println("Connection Failed");
  }
}

void loop() {

}
How the Code Works?
We will start by including the necessary libraries for this project. Both the required libraries are built-in so you will not be required to install them.
#include <SPI.h>
#include <Ethernet.h>
Next specify the MAC address of the shield:
byte mac[] = {0xDE, 0xAD, 0xBE, 0xEF, 0xFE, 0xED};Create an EthernetClient object.
EthernetClient client;The next step is very important. Specify the HTTP Port which is 80. The HTTP_METHOD holds the type of HTTP request. It is GET in our case. The HOST_NAME[] will hold the server which will be identical for everyone. The PATH_NAME will hold the event name and the Webhooks private key (unique for your created applet). Make sure to replace theses two parameters with your own values. The ‘queryString’ variable shows that we want to send the temperature reading 33.5 in the email.
int  HTTP_PORT   = 80;
String HTTP_METHOD = "GET";
char  HOST_NAME[] = "maker.ifttt.com";
String PATH_NAME   = "/trigger/SEND EMAIL/with/key/gkb_HtIpE-FeOWMH20*************************"; // Replace with your event name and private key
String queryString = "?value1=33.5"; // For example, the temperature value is 33.5°C
Inside the setup() function, open the serial communication at a baud rate of 115200.
Serial.begin(115200); We will initialize the Ethernet library and the network settings using Ethernet.begin() with the Ethernet hardware address of the shield as an argument inside it. This returns a ‘1’ in case of a successful DHCP connection and ‘0’ incase of failure.
  if (Ethernet.begin(mac) == 0) {
    Serial.println("Failed to obtaining an IP address");
    while (true);
  }
Next, we will connect to the IFTTT server and make the HTTP GET request along with the PATH_NAME (includes the event name and the Webhooks private key) and the queryString (includes the value to be sent in the email).
 if (client.connect(HOST_NAME, HTTP_PORT)) {
    Serial.println("Connected to server");
    client.println("GET " + PATH_NAME + queryString + " HTTP/1.1");
    client.println("Host: " + String(HOST_NAME));
    client.println("Connection: close");
    client.println();

    while (client.connected()) {
      if (client.available()) {
        char c = client.read();
        Serial.print(c);
      }
    }
    client.stop();
    Serial.println();
    Serial.println("Disconnected");
  } else {
    Serial.println("Connection Failed");
  }
Demonstration
Choose the correct board and COM port before uploading your code to the board.
Go to Tools > Board and select Arduino Module.

Next, go to Tools > Port and select the appropriate port through which your board is connected.
Click on the upload button to upload the code into the Arduino development board. After you have uploaded your code to the Arduino development board press its ENABLE button.
Open your serial monitor and set the baud rate to 115200. In a few moments, you will see that a successful connection has been made with the server and the email has been generated.
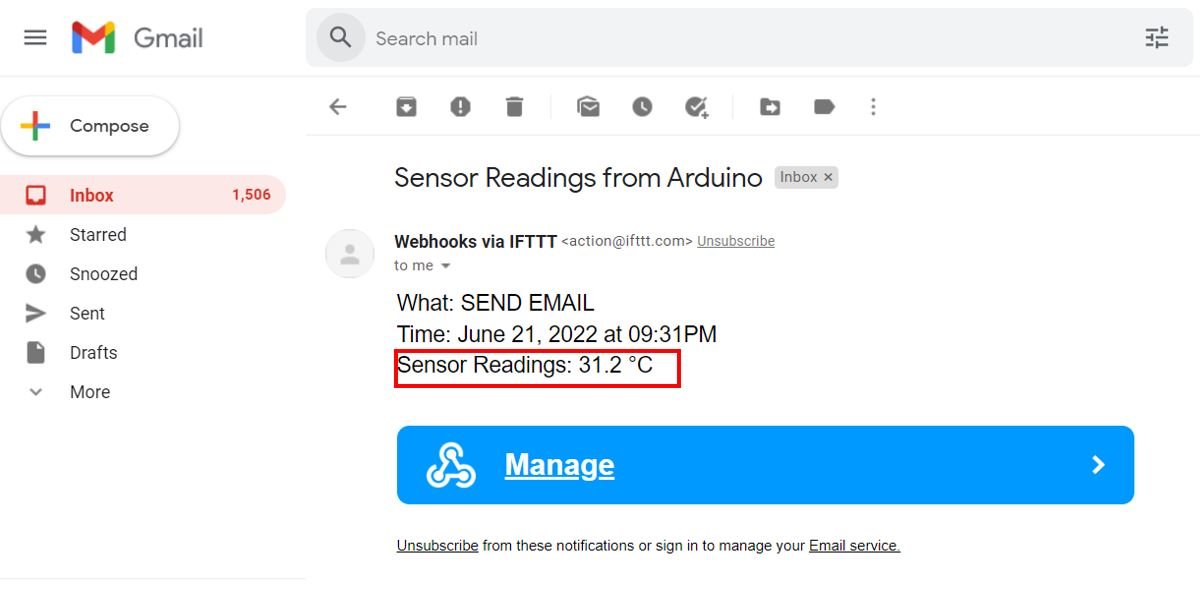
Go to your email account and open it. There you will be able to view the email notification from IFTTT regarding the Sensor Readings from Arduino and its exact date and time.

You may also like to read about other project we created with IFTTT: