In this tutorial, we will show you how to use rosserial with Arduino IDE and ROS (Robotic Operating System) and how to setup a ROS node on Arduino. Rosserial Arduino is a middleware software framework that combines with Arduino to build intelligent robotic models. We will use Arduino 1.8.19 with ROS Melodic in Ubuntu 64 bit 18.04 version in this guide. Firstly, we will see how to use ROS melodic on Ubuntu 18.04. After that we see how to install rosserial library in Arduino IDE. In the end, we will see an example to publish data on ROS topic from Arduino to ROS which is running on Ubuntu.
Recommended Components
The following components are used in this project or are helpful for building it with the Arduino.
| Component | How it’s used in this project | Buy on Amazon |
|---|---|---|
| Arduino Uno R3 | Runs as a ROS node that publishes “hello world!” messages to ROS over rosserial. | Check Price |
| Breadboard | Handy for prototyping any sensors or actuators you connect in later rosserial projects. | Check Price |
| Jumper Wires | Connect external components to the Arduino as you expand on this getting-started example. | Check Price |
As an Amazon Associate we earn from qualifying purchases. Prices and availability are accurate as of the date/time indicated and are subject to change.
Prerequisites
Before we start this tutorial, you need to have Arduino IDE and ROS installed on your Linux machine.
- To install ROS Melodic, follow this link. Select your platform from the list of supported platforms. We are using Ubuntu.

This opens the installation guide to successfully install ROS Melodic in Ubuntu platform. Follow all the steps properly to successfully install it.
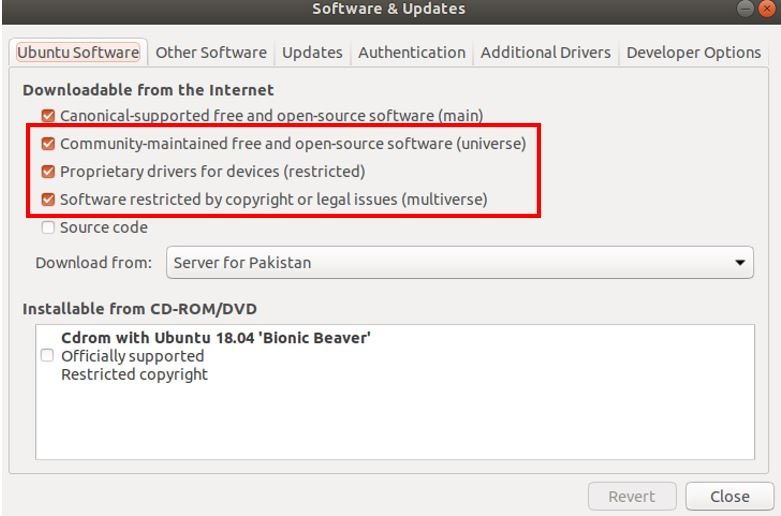
First, make sure that your Ubuntu repositories have allowed “restricted,” “universe,” and “multiverse.” To check this go to Software and Updates > Ubuntu Software and make sure the following are checked.
Now open a terminal and type the following command and press enter. This will setup your sources list:
sudo sh -c 'echo "deb http://packages.ros.org/ros/ubuntu $(lsb_release -sc) main" > /etc/apt/sources.list.d/ros-latest.list'Next we have to setup the keys. If you have not installed curl then first type the following command in the terminal and press enter.
sudo apt install curl Next, after installing curl, type the following command in the terminal and press enter. This sets the keys.
curl -s https://raw.githubusercontent.com/ros/rosdistro/master/ros.asc | sudo apt-key add -Before installing the ROS packages first we will make sure that our Debian package index is updated. Therefore, type the following command in the terminal and press enter.
sudo apt updateFinally, we will type the following command in the terminal and press enter. This command is for the Desktop-Full install which is the recommended configuration.
sudo apt install ros-melodic-desktop-full- To install Arduino IDE in Linux, follow this link. Open the download option according to your machine type. In our case, we are using Linux 64 bits.
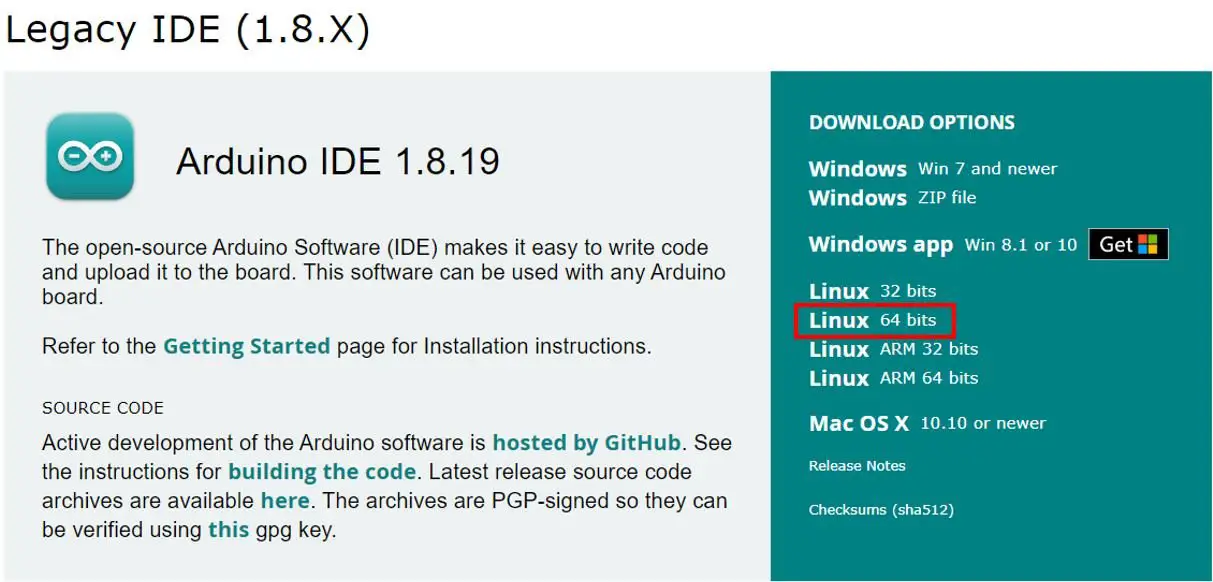
The arduino-1.8.19-linux64.tar.xz file will start downloading. After the download is completed, extract the file. Now open the terminal and navigate to the extracted folder arduino-1.8.19. Then type the following command in the terminal and press enter.
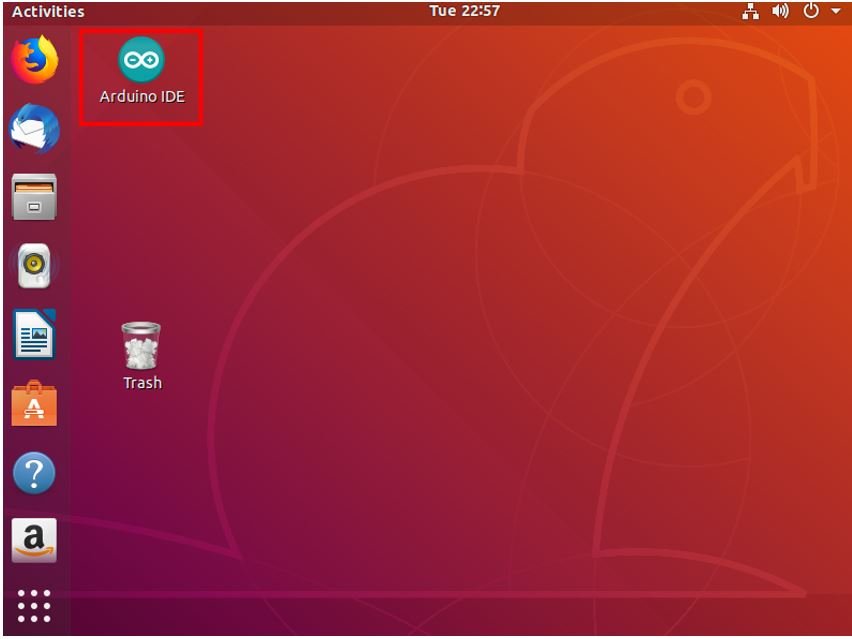
./install.shThe installation process will start. After it is successfully completed, the Arduino IDE icon will be created on your desktop.
Install Rosserial Arduino Packages
After installing ROS on your machine, open a new terminal and type the following commands one by one. Mention your <distro>. In our case it is Melodic. It can either be Kinetic, Indigo or Melodic, according to your ROS distribution.
sudo apt-get install ros-<distro>-rosserial
sudo apt-get install ros-<distro>-rosserial-arduino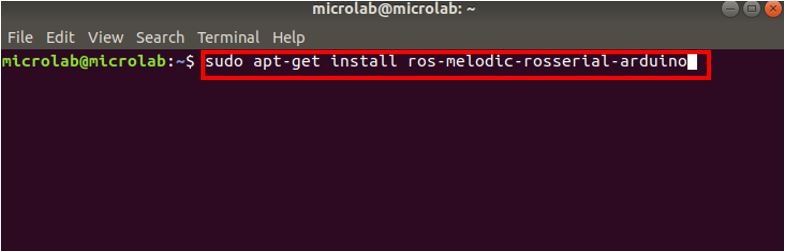
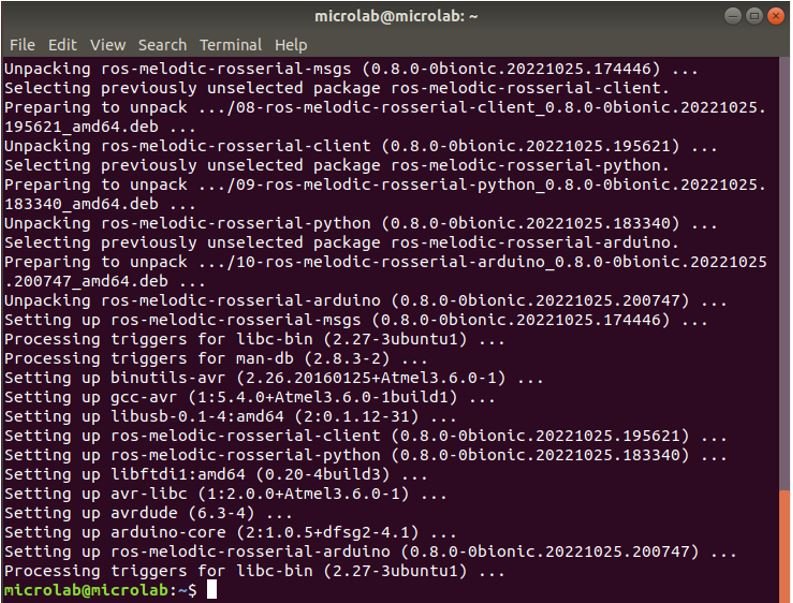

This will install rosserial packages on your machine. Rosserial uses Arduino’s UART communication protocol. The Arduino board is able to publish and subscribe to ROS messages by functioning as a ROS node. This means that the Arduino ROS node publisher is able to transmit messages to the machine with ROS and the Arduino ROS node subscriber is able to receive messages from the machine with ROS. All of this is achieved by the Rosserial Arduino library which helps the Arduino board to integrate with ROS and communicate with it.
Setup Arduino IDE for ROS
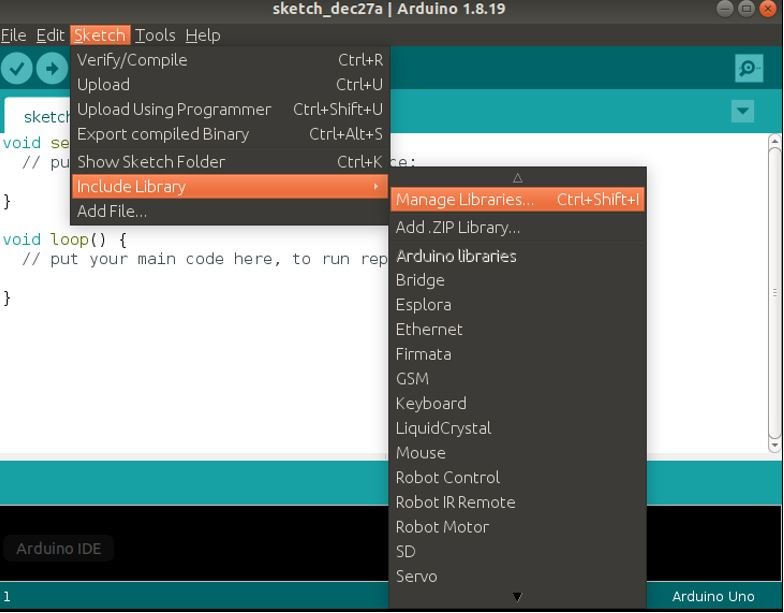
Open your Arduino IDE in Linux, and go to Sketch > Manage Library > Include Library. This opens the Arduino Library Manager.
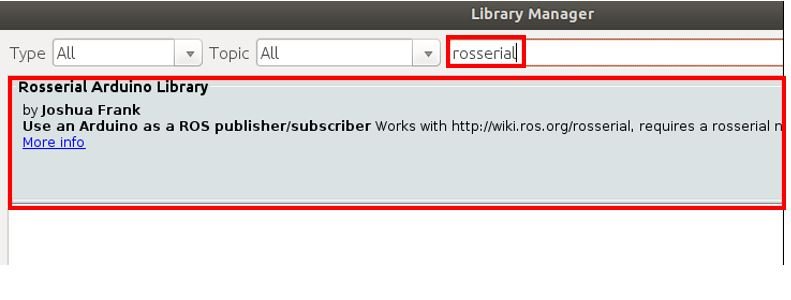
We will install the ros_lib package in Arduino IDE using the library manager. Type ‘rosserial’ in the search bar and press enter.
Install the latest version of the Rosserial Arduino Library by Joshua Frank.
Rosserial Arduino Publisher Example
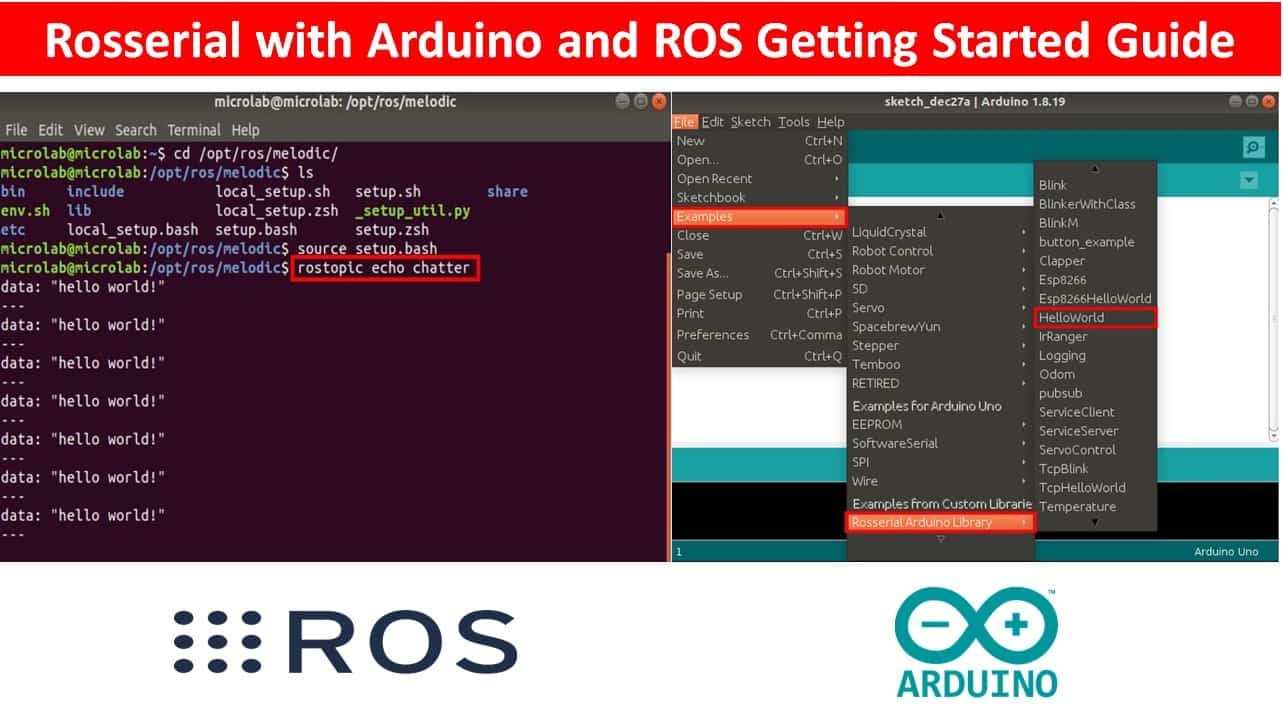
Let us demonstrate how to create a publisher using rosserial. As an example, we will use the rosserial publisher example which prints ‘hello world!.
Go to Files > Examples > Rosserial Arduino Library > Hello World.
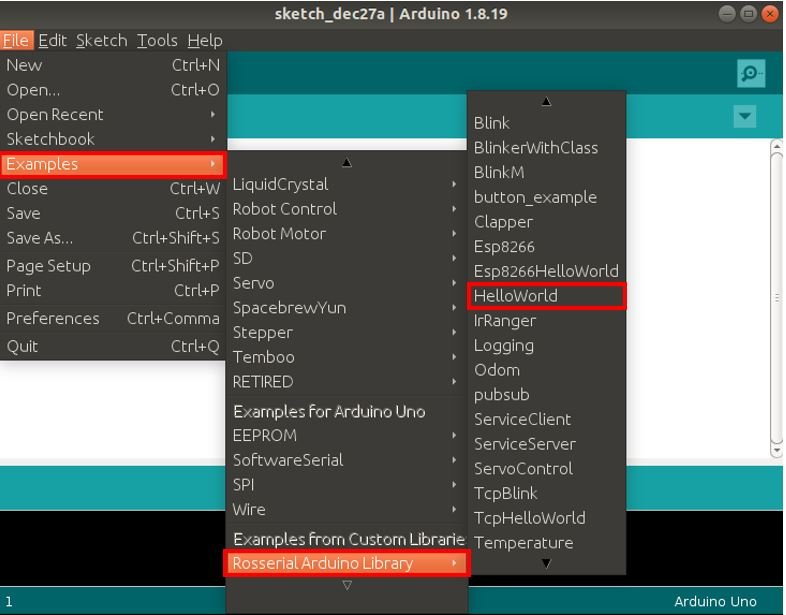
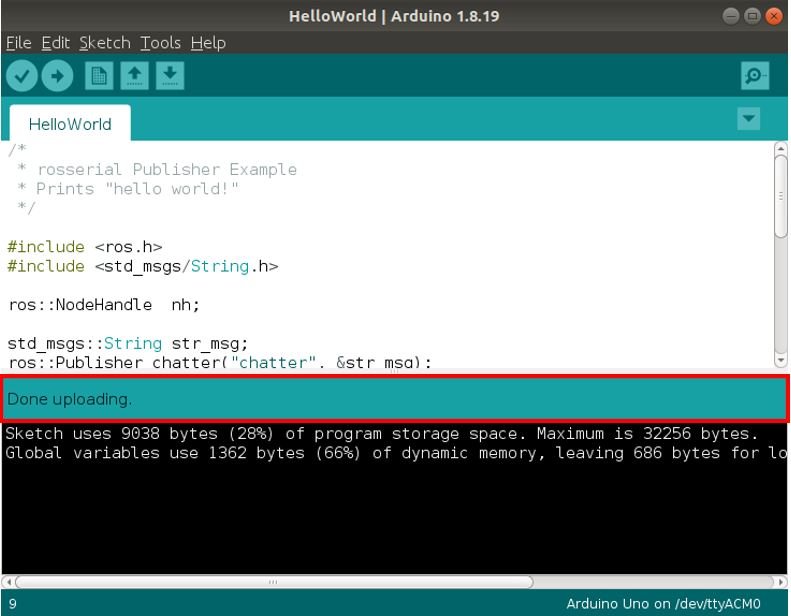
This opens the HelloWorld example sketch for Rosserial Arduino Library. In this example, Arduino publishes the ‘hello world!’ message to the ‘chatter’ topic.
/*
 * rosserial Publisher Example
  * Prints "hello world!"
 */

 // Use the following line if you have a Leonardo or MKR1000
 //#define USE_USBCON

#include <ros.h>
#include <std_msgs/String.h>

  ros::NodeHandle nh;
  std_msgs::String str_msg;
  ros::Publisher chatter("chatter", &str_msg);
  char hello[13] = "hello world!";

  void setup()
  {
     nh.initNode();
     nh.advertise(chatter);
   }

   void loop()
   {
     str_msg.data = hello;
     chatter.publish( &str_msg );
     nh.spinOnce();
     delay(1000);
   }
Working of the Code
The code starts by including the necessary libraries required for this which includes ros.h for ROS and std_msgs/String.h for messages.
#include <ros.h>
#include <std_msgs/String.h>
Then the instance of the NodeHandle is created called ‘nh.’ This will be used later on to create the publisher and initialize it.
ros::NodeHandle nh;Next, we create an instance of the Publisher chatter() which takes in two parameters. The first parameter is the name of the topic which is “chatter” and the second parameter is the reference to the instance that we created for the message that will be published.
  std_msgs::String str_msg;
  ros::Publisher chatter("chatter", &str_msg);
  char hello[13] = "hello world!";
Inside the setup() function, the ROS node is initialized and the chatter topic is advertised.
  void setup()
  {
     nh.initNode();
     nh.advertise(chatter);
   }
Inside the loop() function, hello world! message held in the character array hello is published by the Node after every second. The spinOnce() method ensures that the ROS serial communication is handled appropriately.
   void loop()
   {
     str_msg.data = hello;
     chatter.publish( &str_msg );
     nh.spinOnce();
     delay(1000);
   }
Upload Code to Arduino UNO
Plug your Arduino board into the USB port on your computer. Now head over to Tools > Board and select Arduino UNO and Tools > Port and select the Port through which your Arduino is connected. In our case, it is /dev/ttyACM0
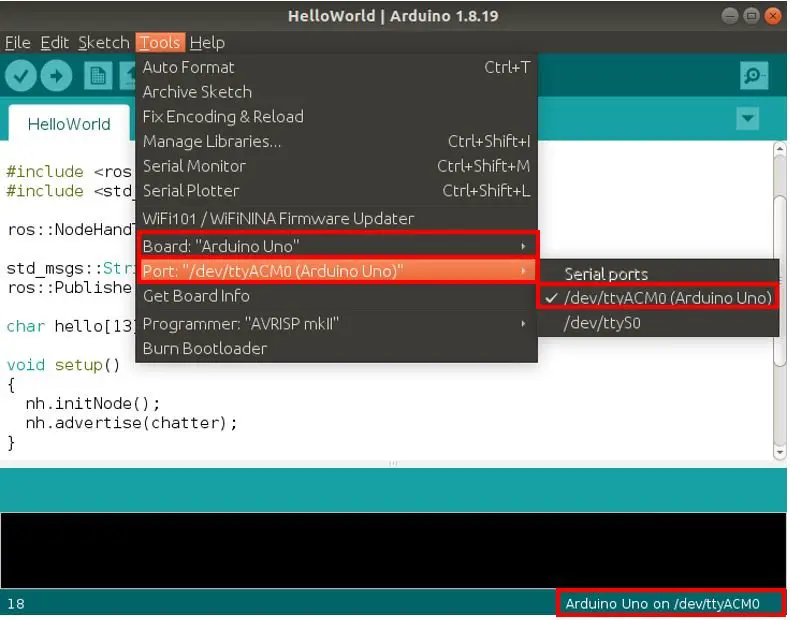
Now click the upload button to upload the code to Arduino board.
In order to successfully upload this sketch to your board, we will have to modify the msg.h file. Head over to Arduino > libraries > Rosserial_Arduino_Library > src > ros > msg.h and open it. Change #include <cstring> to #include <string.h> (line 40) and std::memcpy() to memcpy() (lines 68 and 182)
You can get the following error message while uploading the code.
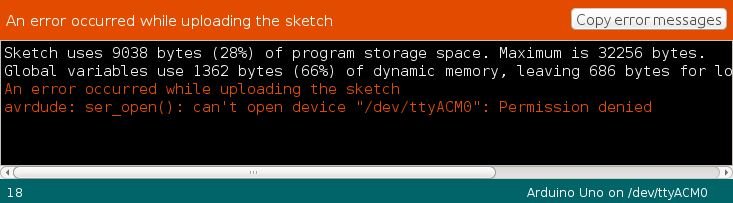
If this happens, open a terminal and type the following command and press enter. This will identify the port and list it in the system.
sudo chmod a+rw /dev/ttyACM0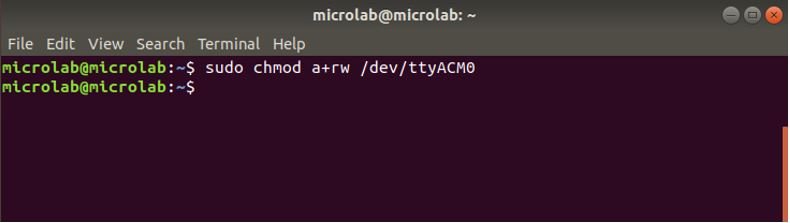
Now upload the code to Arduino again and it will be successfully uploaded.
Run the Code
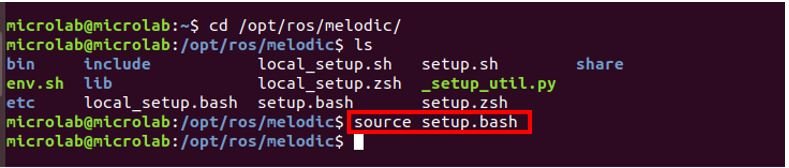
After the code is successfully uploaded, open a new terminal. Type the following commands and press enter:

This shows that ROS Melodic is installed on our machine. Now to run any ros commands we have to set up the ROS environment first. We have to source setup.bash script. Hence type the following command and press enter:
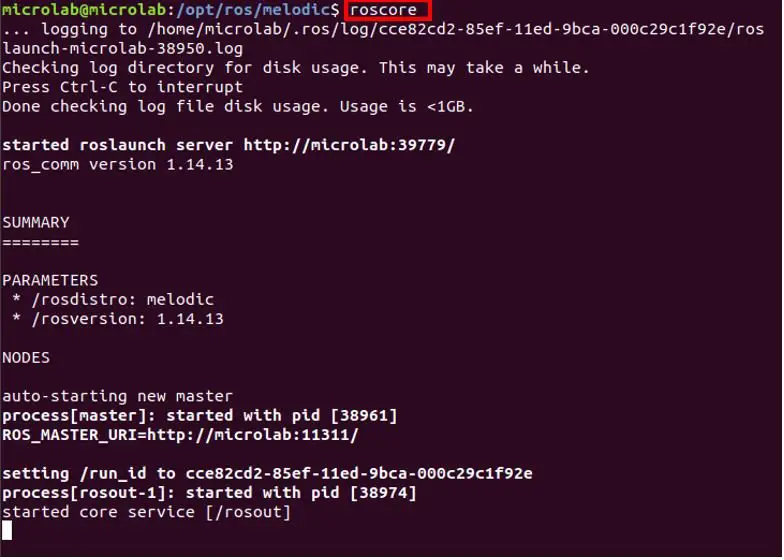
Now to launch the ROS Master, type roscore in the terminal and press enter. It gives the following output as shown below:
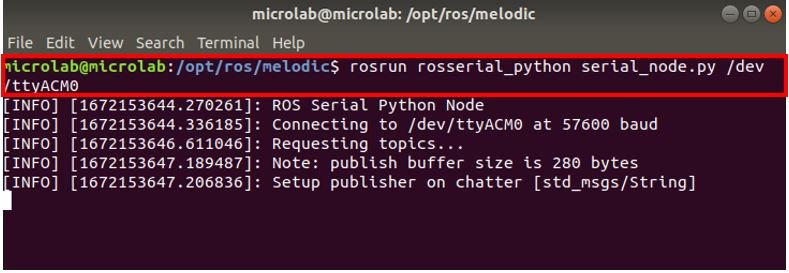
Now open a new terminal to launch the ROS serial server. Type the following command in the terminal and press enter. This will ensure the integration between ROS and Arduino. Make sure to enter the correct port through which your Arduino is connected.
rosrun rosserial_python serial_node.py /dev/ttyACM0This is the output that we get. Note that it connects to the serial port, requests the topics and setups the publisher on chatter.
To view the messages open a new terminal and navigate to the ros melodic folder. Then source the setup.bash and type the following command to view the messages coming from Arduino.
rostopic echo chatter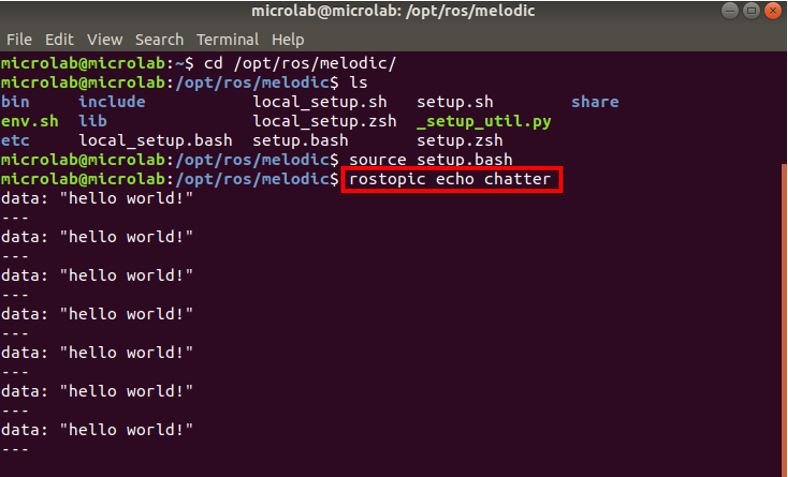
In summary:
In this tutorial, we have learned how to setup a ROS node on Arduino and publish node data to ROS using rosserial Arduino library. In the coming tutorials, we will see how to receive data from ROS on Arduino.